Appearance
USER MANUAL MABENTA APPLICATION
Introduction
The Mabenta application innovate the way small business owners approach daily transactions, streamlining operations and cutting down on overhead costs. Traditional POS systems can be cumbersome, expensive, and often come with a steep learning curve. However, with the Mabenta application, small business can transform their standard mobile devices into a POS system within minutes.
Distinctive Features of the Mabenta Application:
- User-Friendly Interface: Designed with simplicity in mind, even those new to POS systems can navigate and operate the application with ease.
- Real-time Inventory Management: Automatically updates inventory as sales are made, ensuring you always have a pulse on stock levels.
- Secure Transactions: Employing advanced encryption methods, every transaction is safe from potential breaches, giving both the business owner and the customer peace of mind.
- Sales Reports and Analytics: Generate daily, weekly, or monthly sales reports to track performance and identify sales trends.
- Tax and Discount Configuration: Easily add applicable taxes or discounts to products, ensuring accurate and hassle-free billing.
Scope
- **POINT OF SALE**
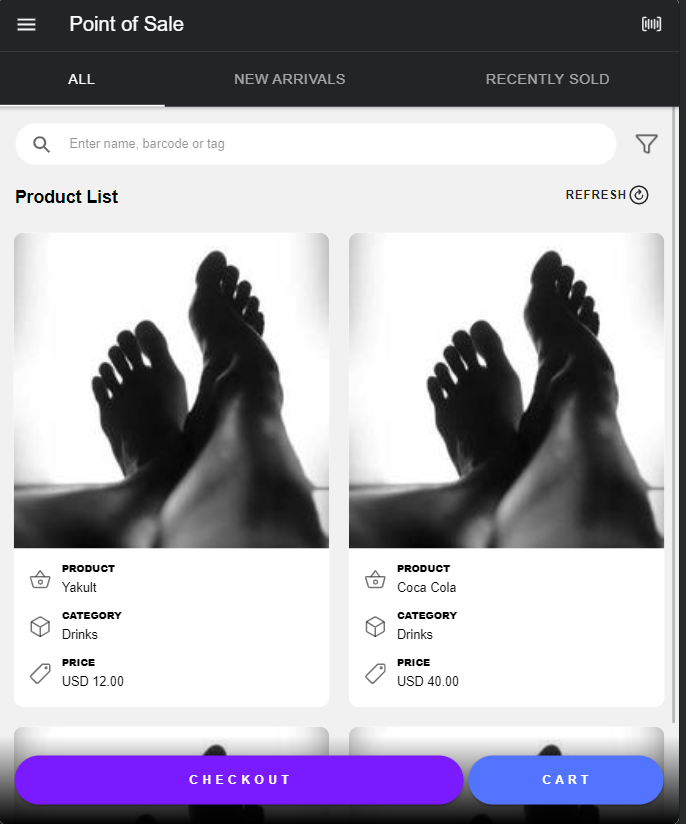
- VIEW ALL PRODUCT LIST - users can view all the product available.
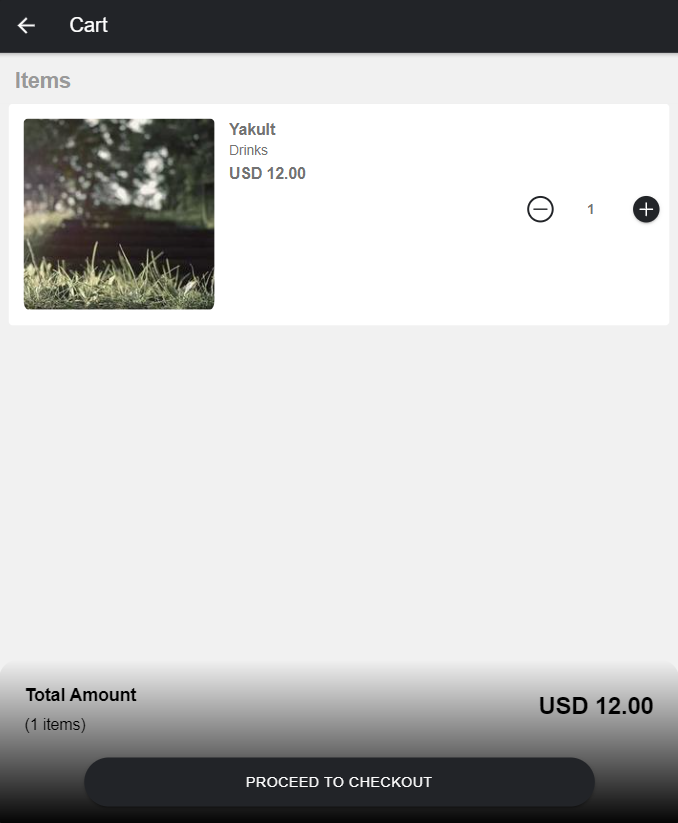
- CART - users can view all the listed product that added.
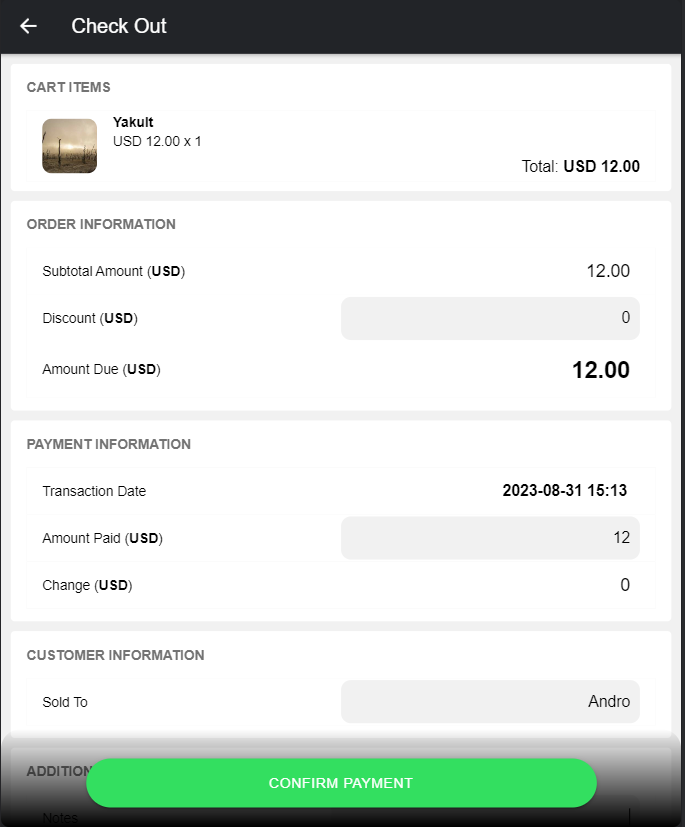
CHECKOUT - users can checkout and the printout the receipt.
**PRODUCT**
**CATEGORY** - user can create a category for every item. users can perform **CRUD** on the category
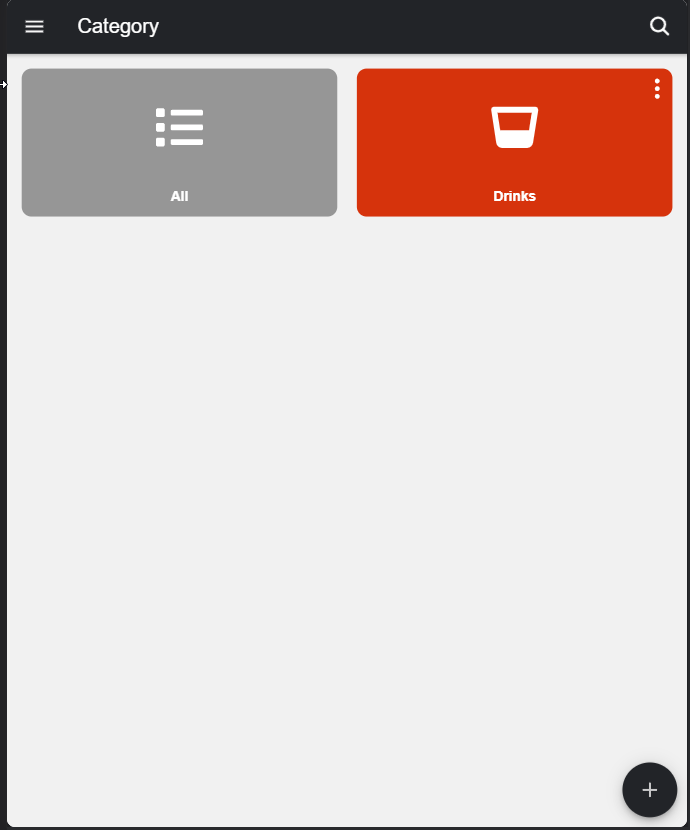
- VIEW ALL CATEGORY - user can view all the category
- CREATE CATEGORY - users can create a category and also can design the logo of the category.
- EDIT CATEGORY - users can update a category and also can redesign the logo of the category.
DELETE CATEGORY - users can delete a category.
PRODUCT - under category user can view all the product. user can perform CRUD method.
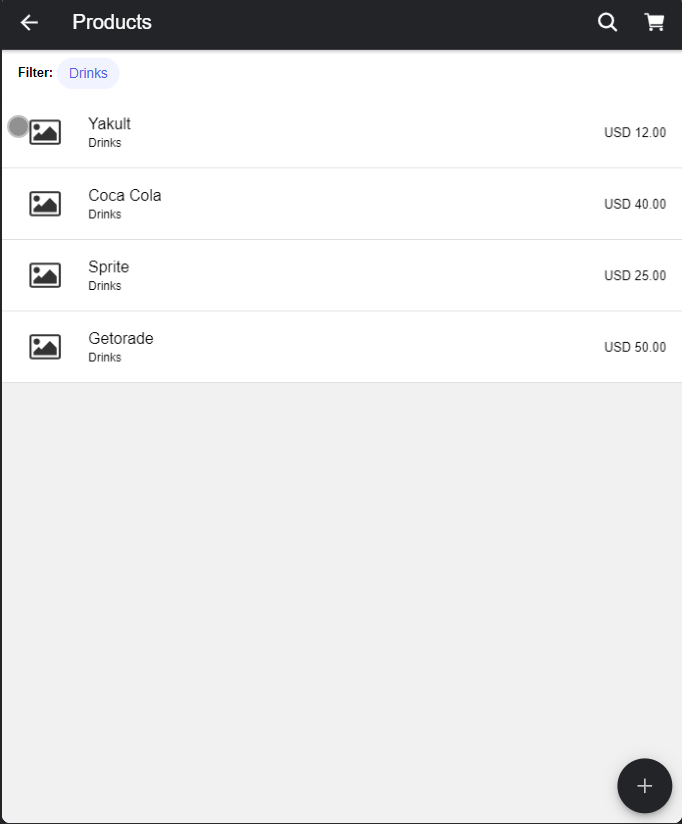
- VIEW ALL PRODUCT - user can view all the product specific to the category.
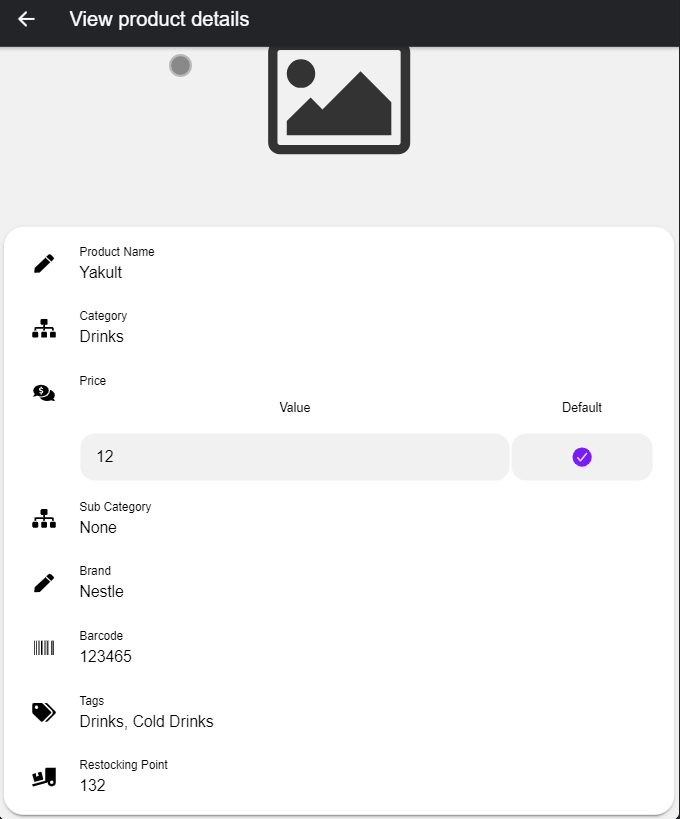
- VIEW ONE PRODUCT - user can view the details of the product
- CREATE NEW PRODUCT - user can add new product
- EDIT PRODUCT - user can edit the details of the product
DELETE PRODUCT - user can delete the product
BRANDS - user can perform CRUD method on brands.
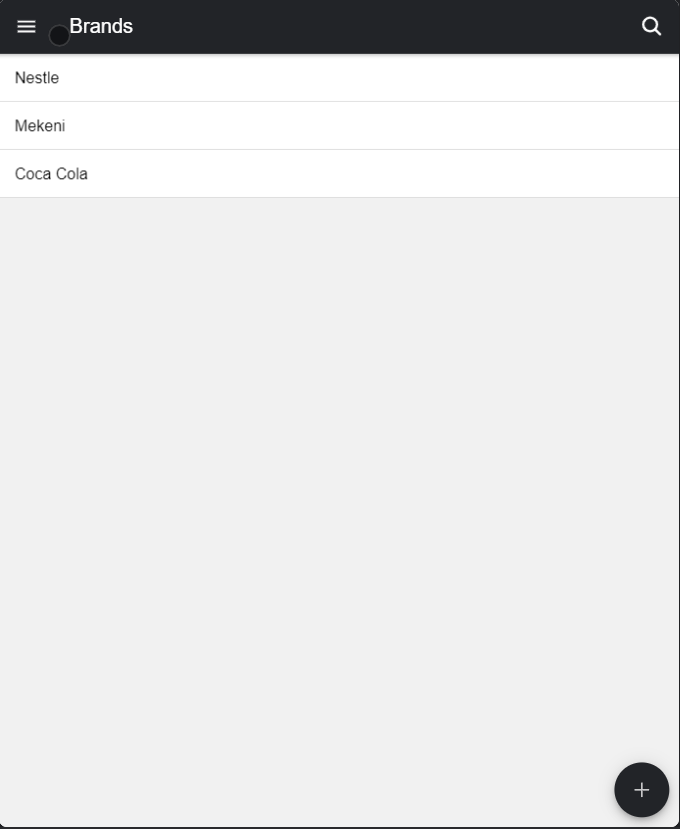
- VIEW ALL BRANDS - user can view all the brands
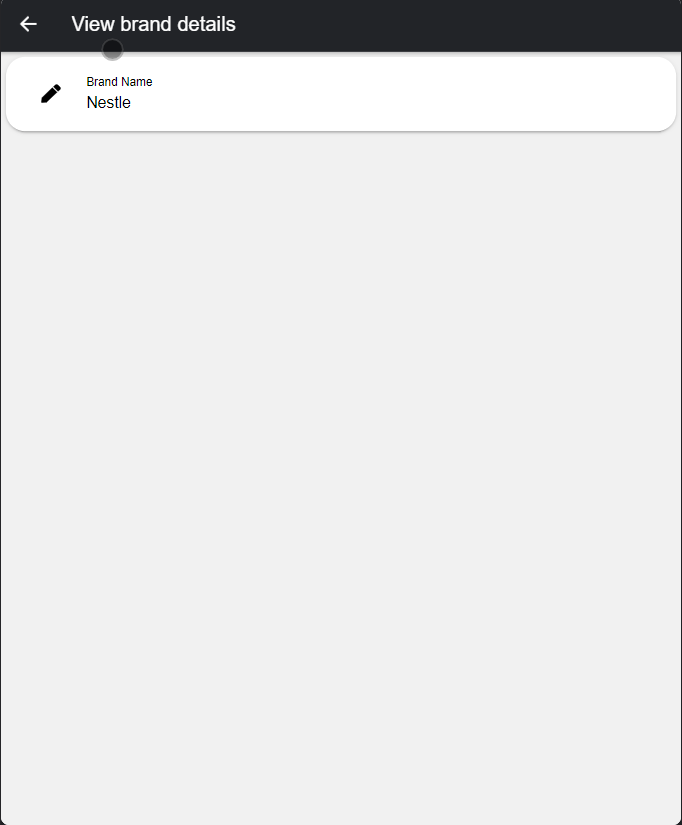
- VIEW ONE BRANDS - user can view detail of the brand
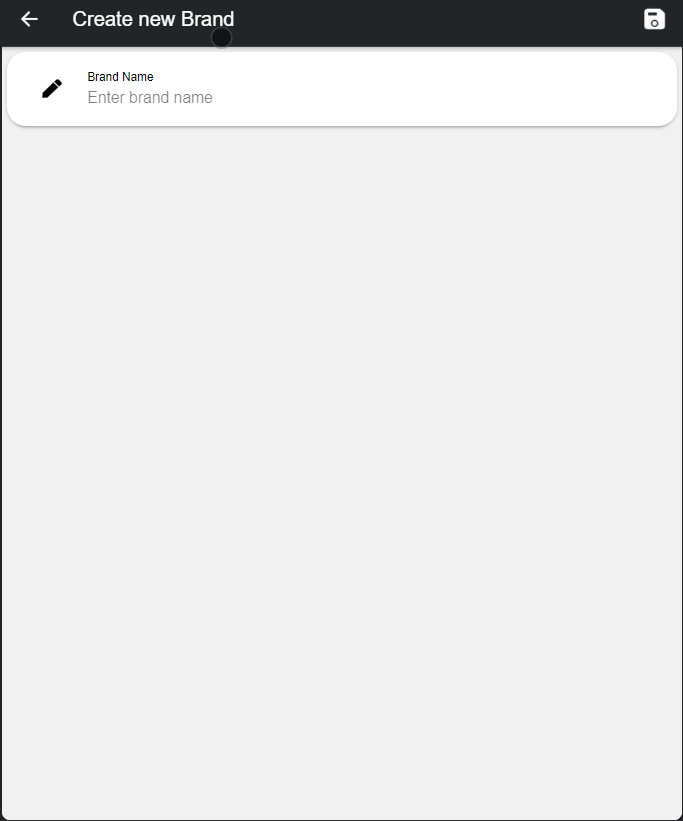
- CREATE NEW BRANDS - user can create a new brand
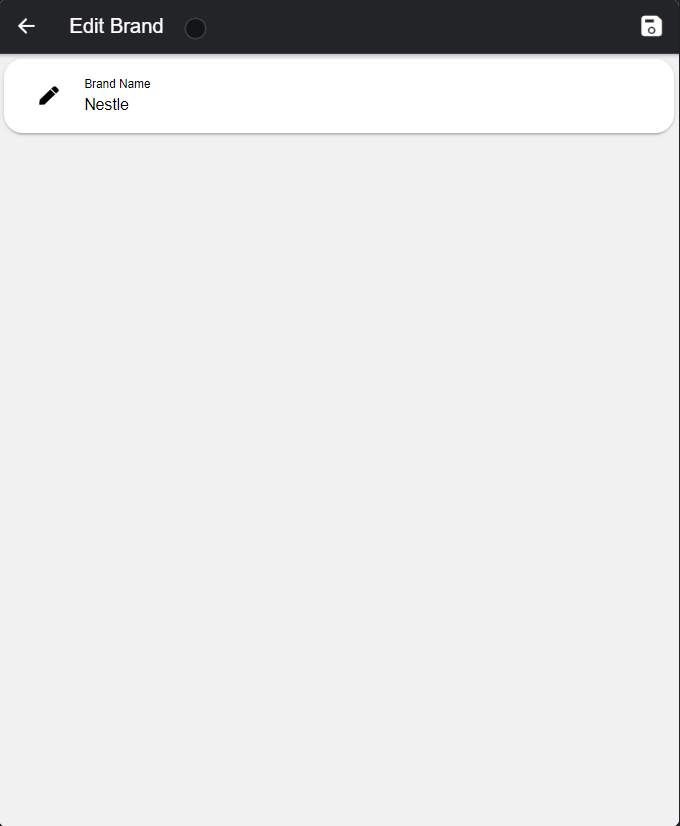
- EDIT BRANDS - user can edit the details of the brand
DELETE BRANDS - user can delete a brand
**ITEM RETURN** - user can view all the item that have been returned, user can add date on when did the item return, user can perform CRUD method.
- VIEW ALL ITEM RETURN - user can view all the item return, according to its date
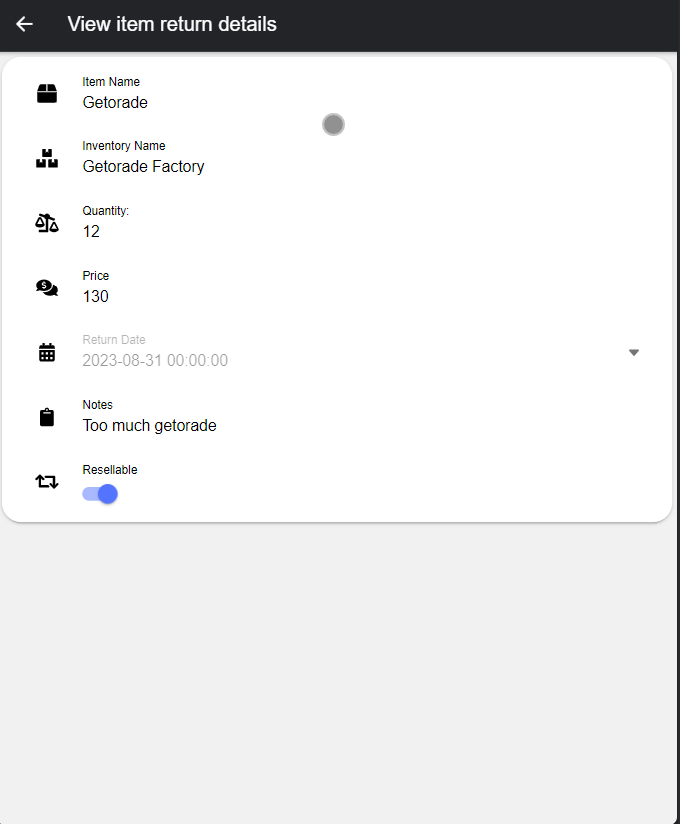
- VIEW ONE ITEM RETURN - user can view the details of the item return
- CREATE NEW ITEM RETURN - user can create a new Item return
- EDIT ITEM RETURN - user can edit the details of the item returned
DELETE ITEM RETURN - user can delete a item returm
**INVENTORY** - user can only view the inventory
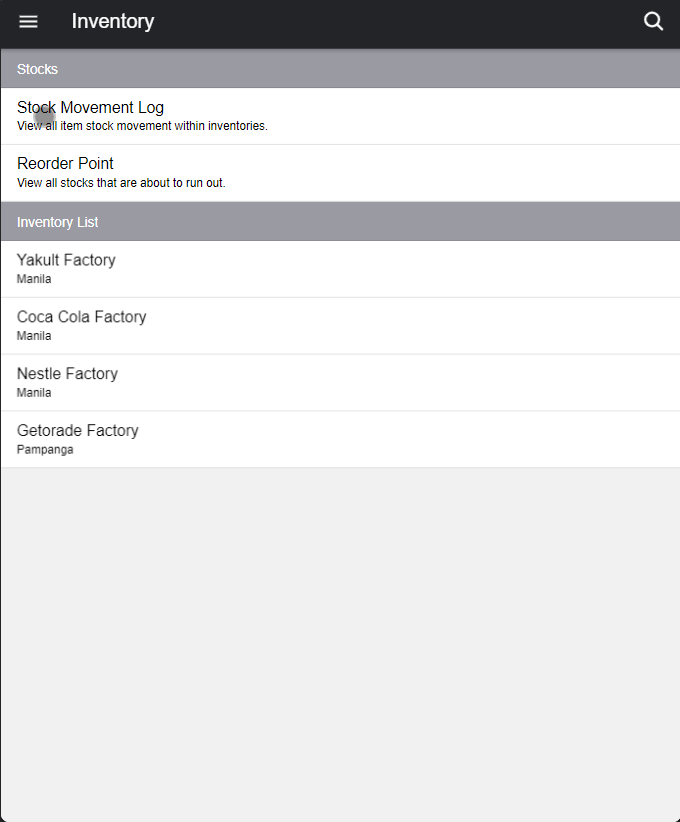
- VIEW ALL INVENTORY - user can view all the inventory created.
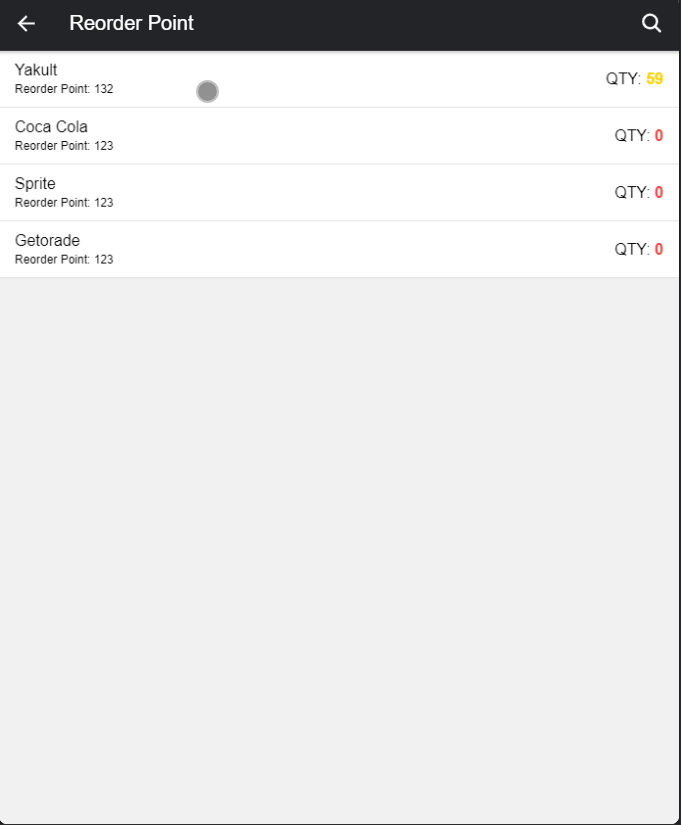
REORDER POINT - user can view all the product quantity.
**RESTOCK LOG** - user can view the date when its going to restock. user can perform CRUD method
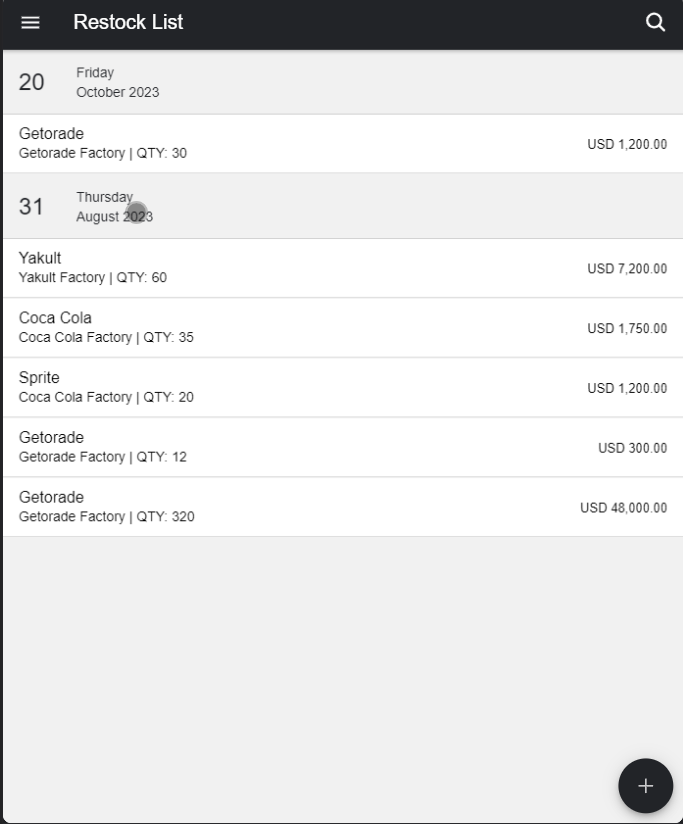
- VIEW ALL RESTOCK LIST - user can view all listed restock
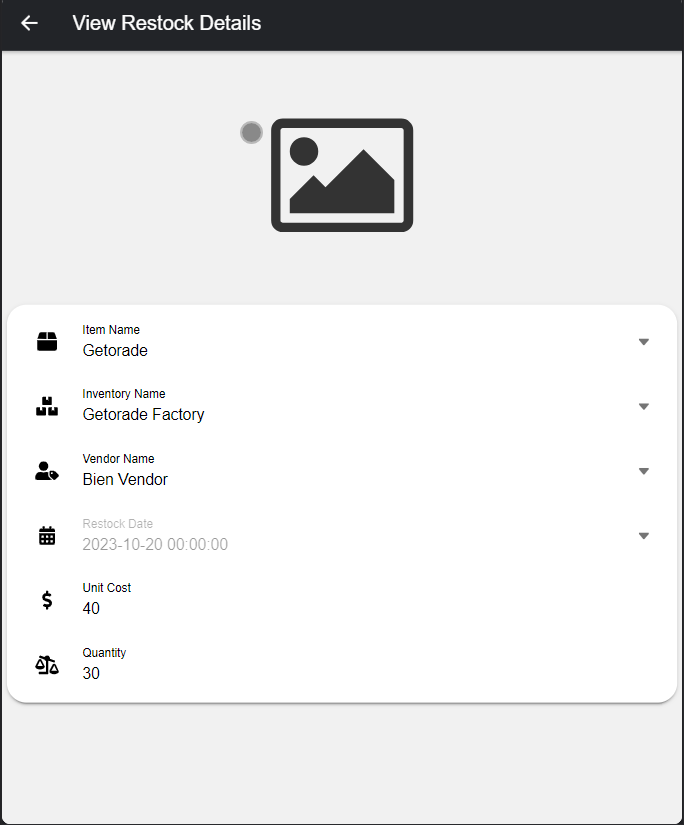
- VIEW ONE RESTOCK - user can view the details of the restock
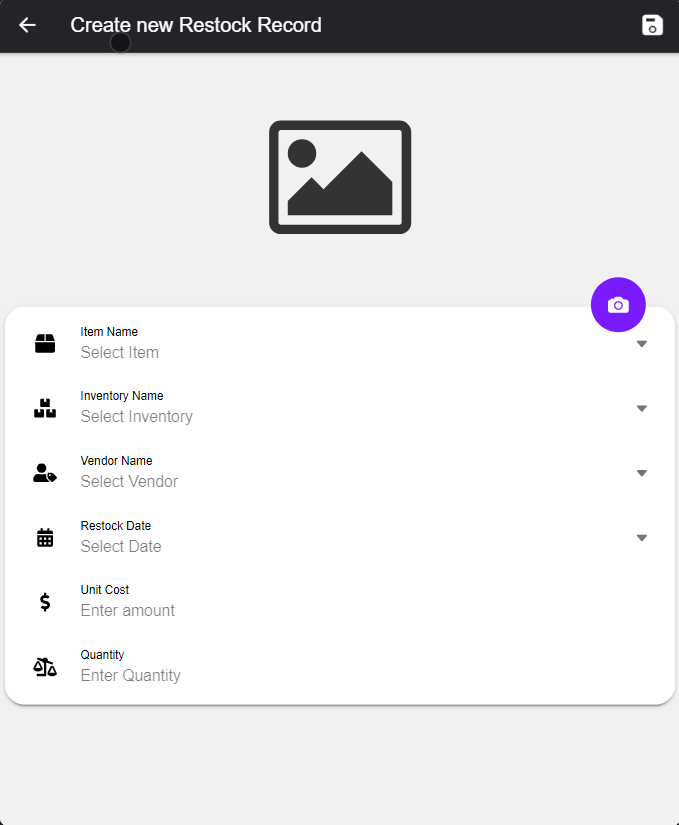
- CREATE NEW RESTOCK - user can create new restock
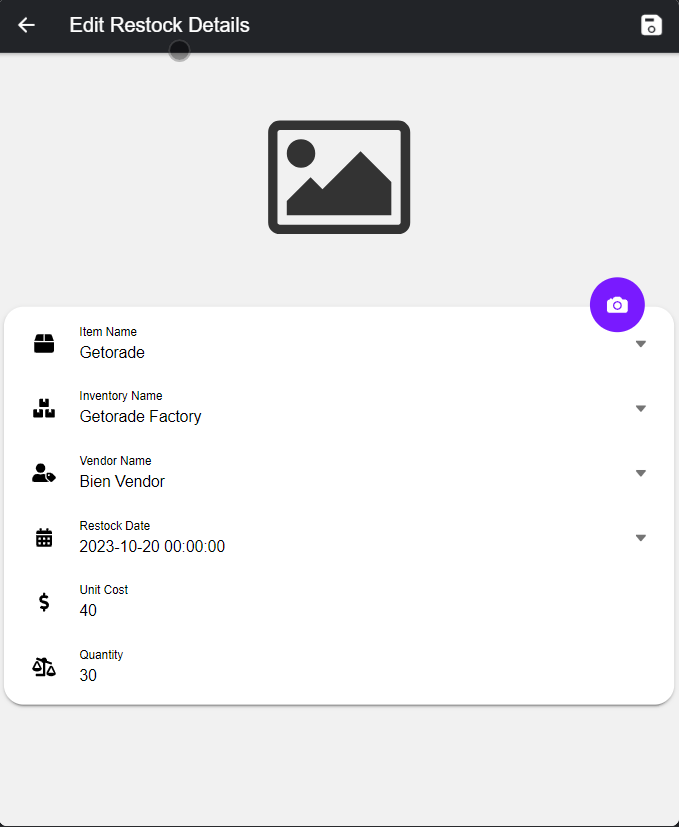
- EDIT RESTOCK - user can edit the details of the restock
DELETE RESTOCK - user can delete a restock
**CASH FLOW** - user can view all the incoming expenses or income, user can also perform CRUD method and add dates on when creating cash flow.
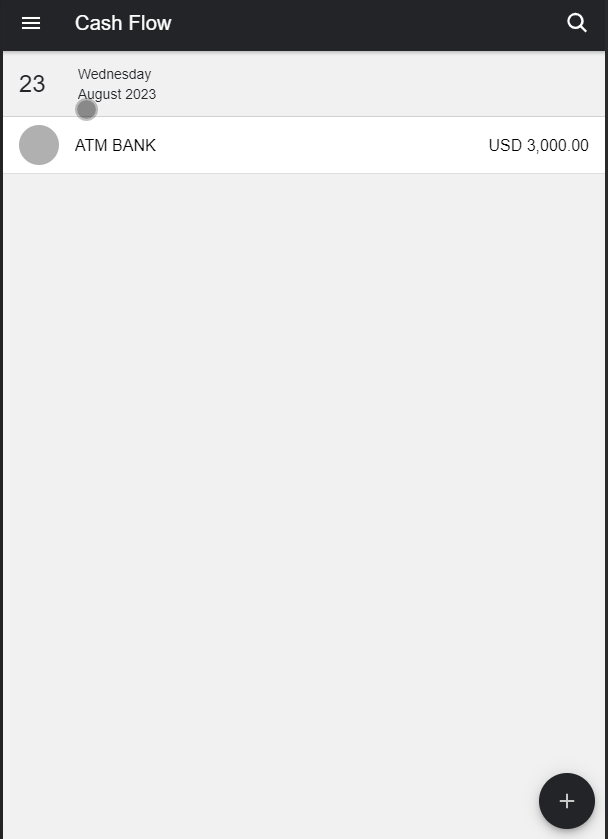
- VIEW ALL CASHFLOW - user can view all the cash flow created and according to date
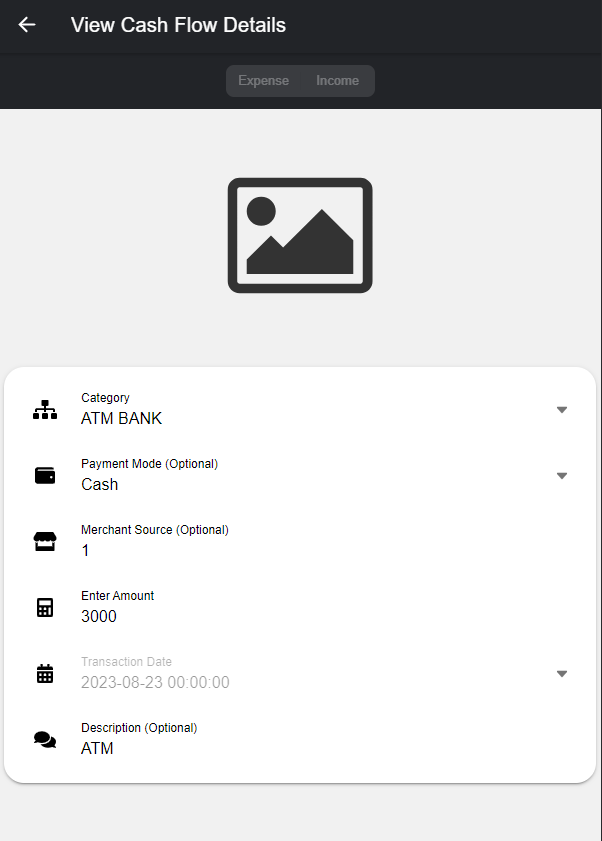
- VIEW ONE CASHFLOW - user can view the details of the cashflow
- CREATE NEW CASHFLOW - user can create a new cashflow
- VIEW ALL CASH FLOW CATEGORY - user can view all the cash flow category created
- CREATE NEWCASH FLOW CATEGORY - user can create new cash flow category
- EDIT CASHFLOW - user can edit the details of the cash flow
- DELETE CASHFLOW - user can delete the cash flow
- REPORTS - user can only view all the report list.
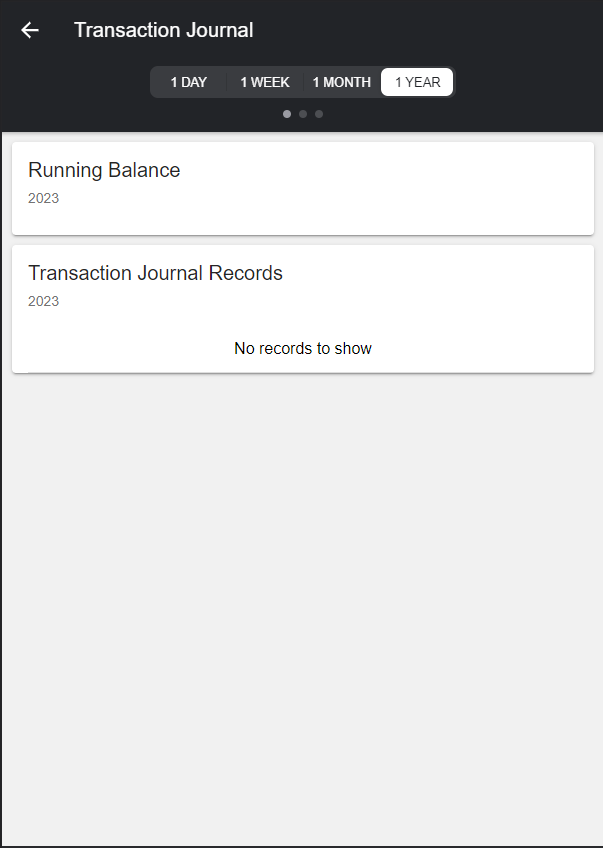
- TRANSACTION JOURNAL - user can view the transaction report.
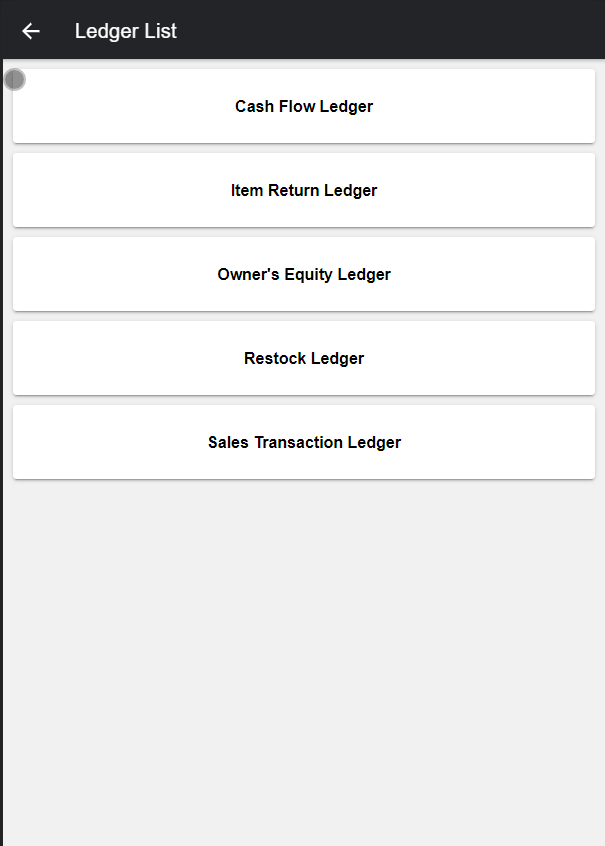
- LEDGERS - user can view all the ledger list, this are cash flow ledger, item return ledger, owner's equity ledger, restock ledger, and sales transactions ledger
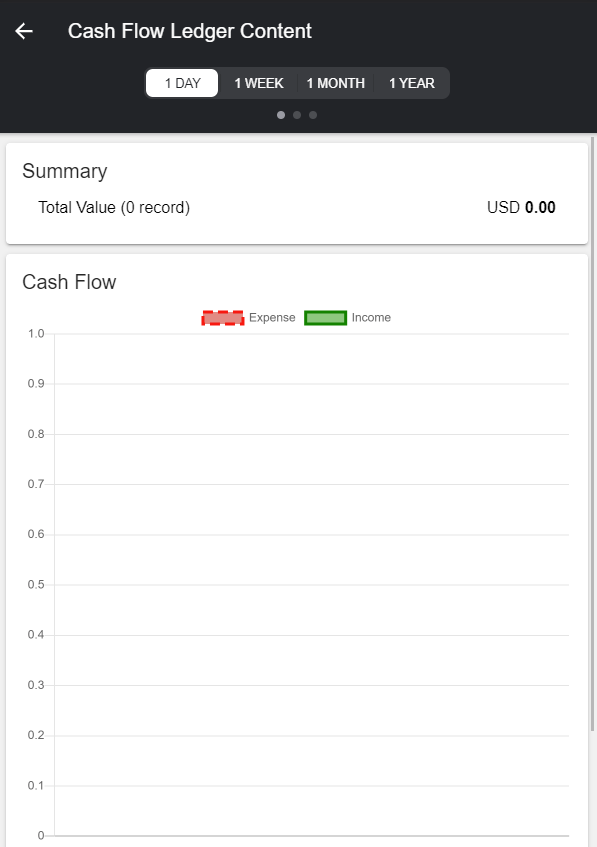
- CASH FLOW LEDGER - user can cash flow report
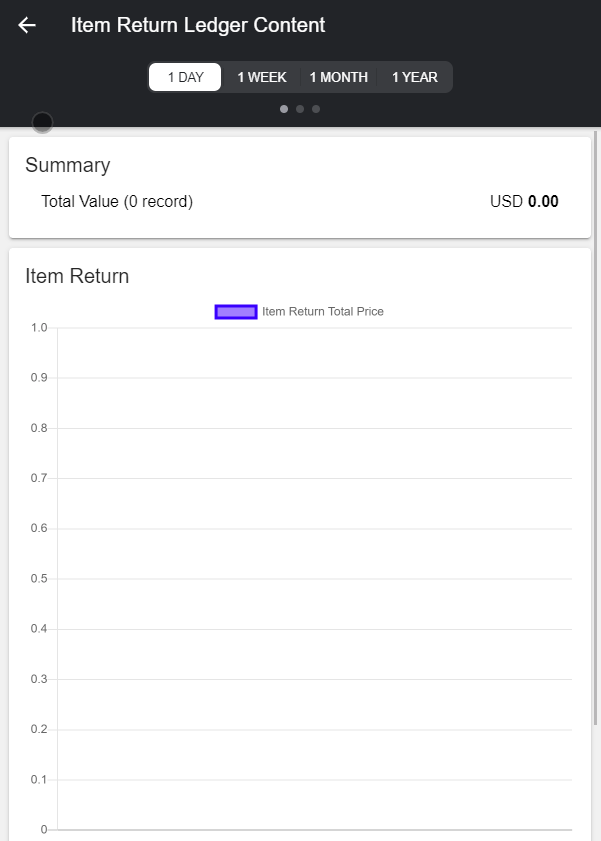
- ITEM RETURN LEDGER - user can item view the item return report
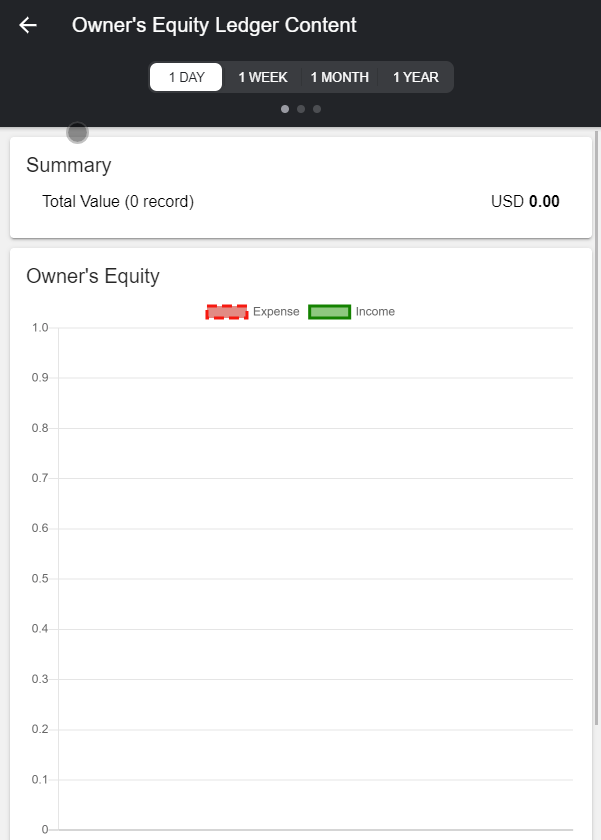
- OWNER EQUITY LEDGER - user can view the owners equity report
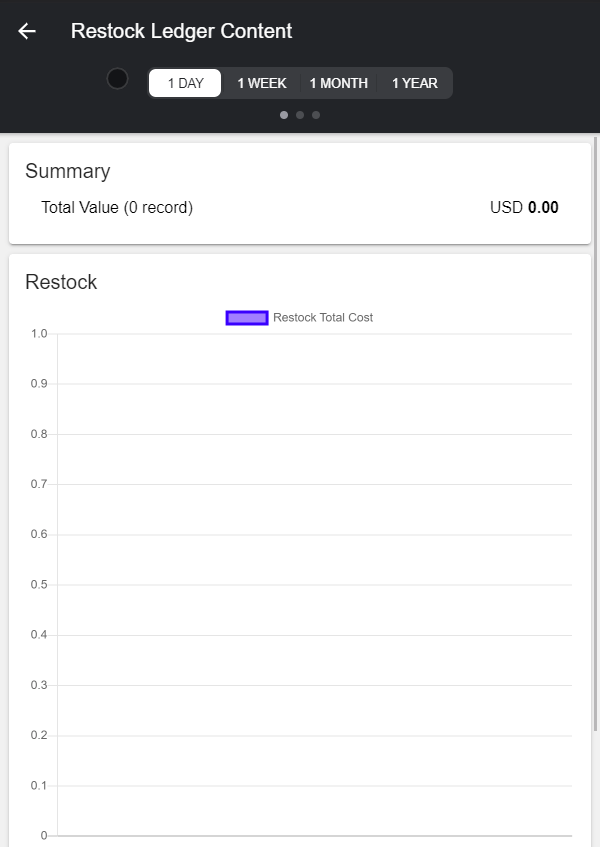
- RESTOCK LEDGER - user can view the restock report
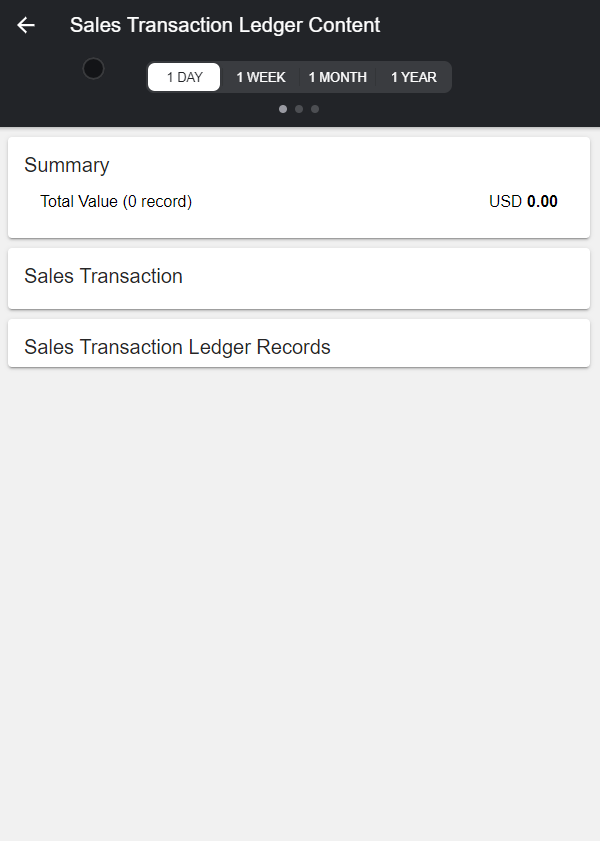
- SALES TRANSACTION LEDGER - user can view the sales transaction report
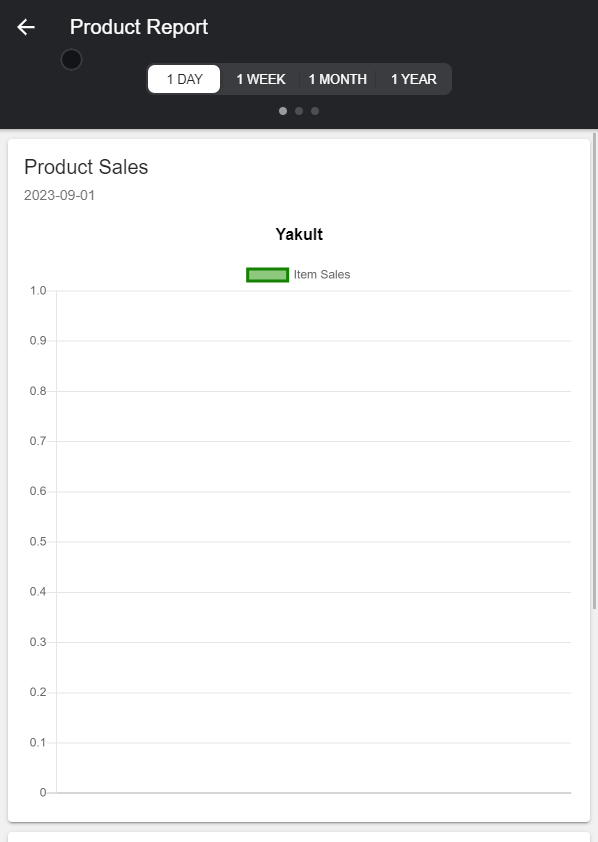
- PRODUCT REPORT - user can view the product report
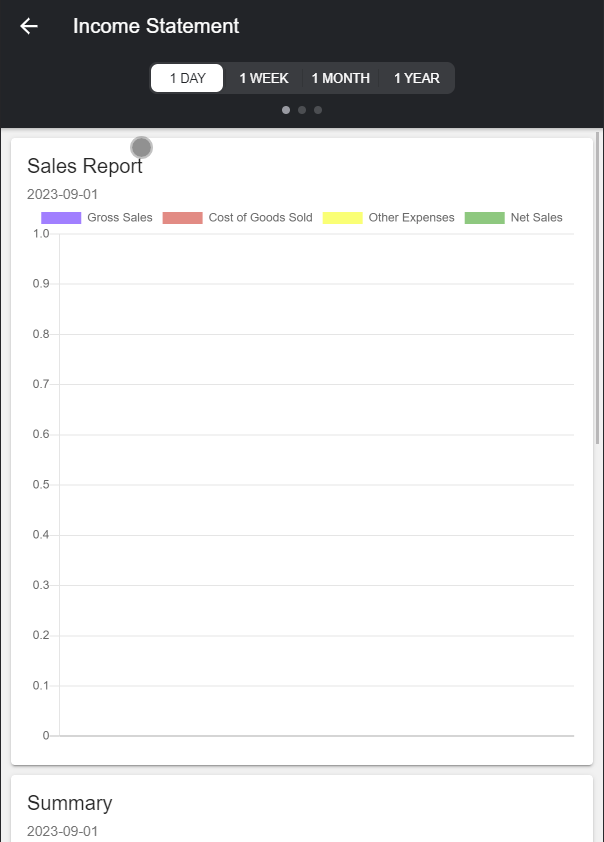
- INCOME STATEMENT - user can view the income statement report
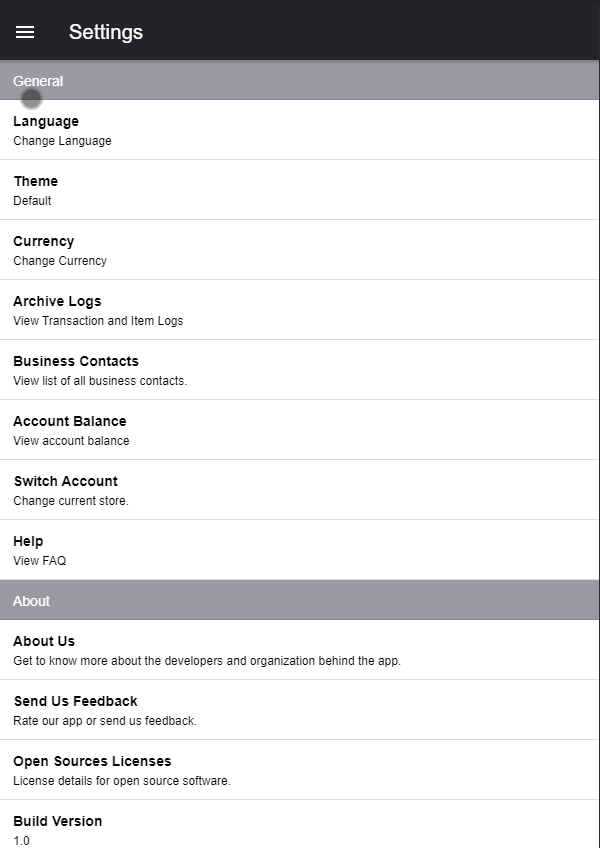
- SETTING - user can access the settings, they can perform changing language, change currency, check archive logs, business contacts, account balance, and switch account.
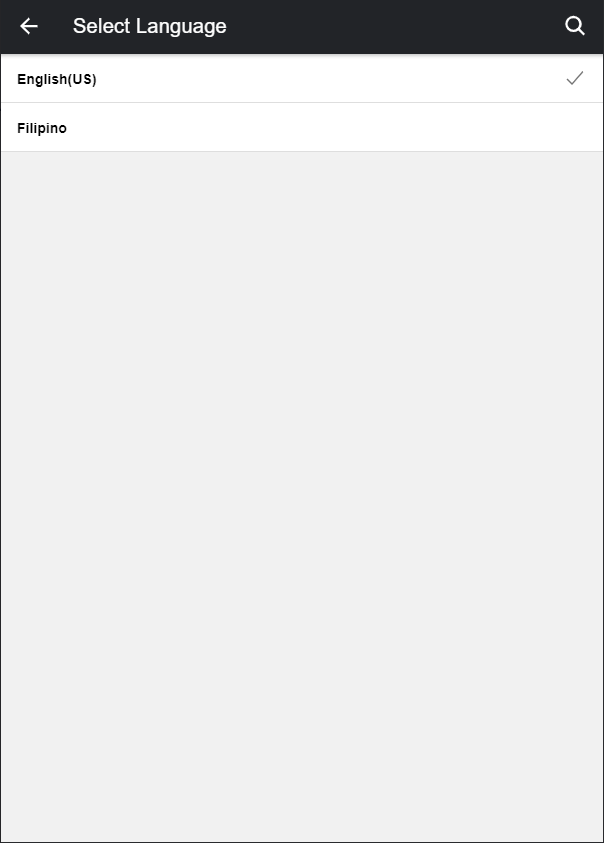
- LANGUAGE - user can switch the language for the application, avaiable to swtich is English and Filipino
- CURRENCY - user can change the currency of the account
- ARCHIVE LOGS - user can view the audit logs for Sales Transaction Logs, and Item Audit Logs
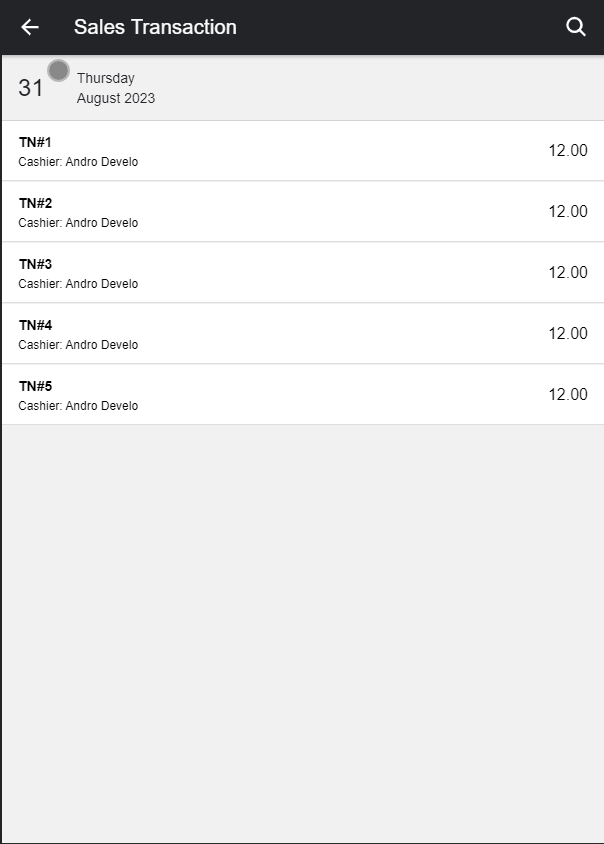
- SALES TRANSACTION LOGS - user can view the paid receit of the customer
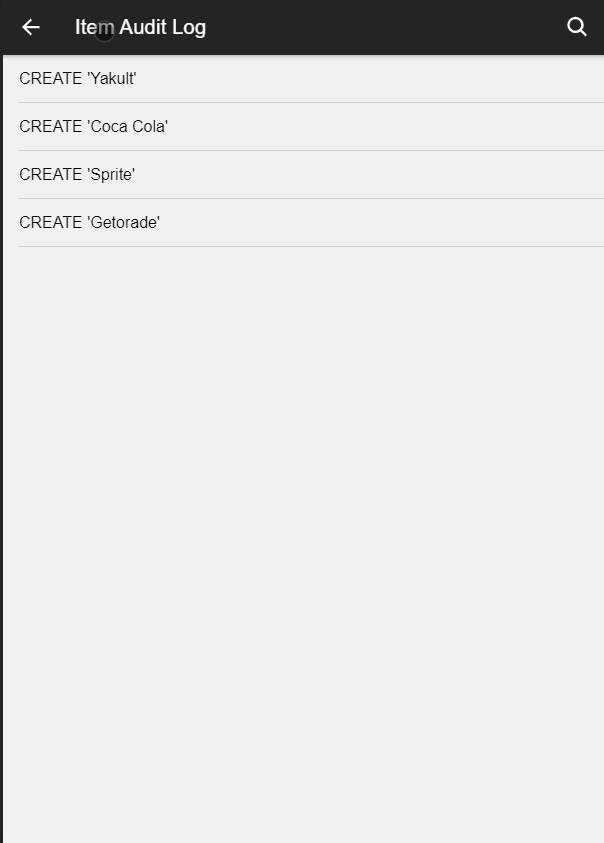
- AUDIT LOGS - user can view the audit report for the product if it created, edit, delete
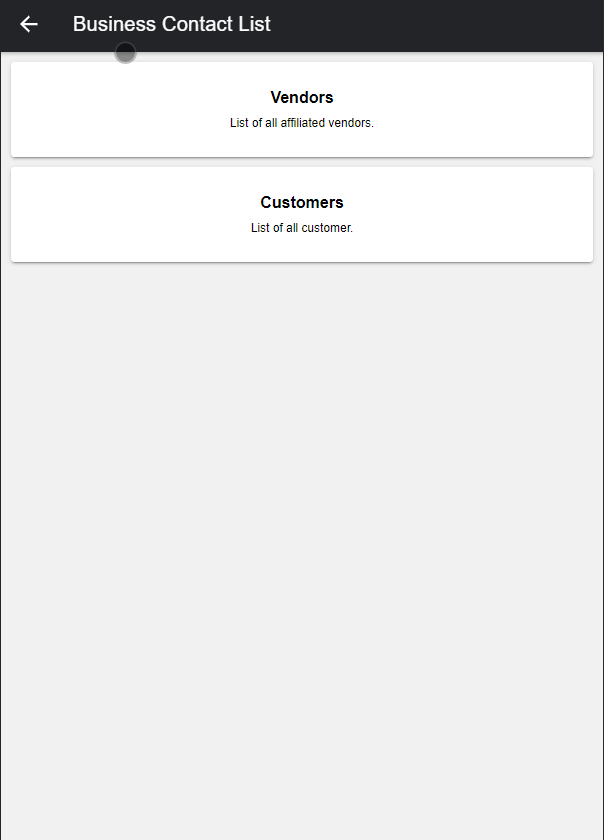
- BUSINESS CONTACTS - user can view the vendors and customers, user can perform CRUD method on vendors and customers.

- VENDORS - user can view all the created vendors
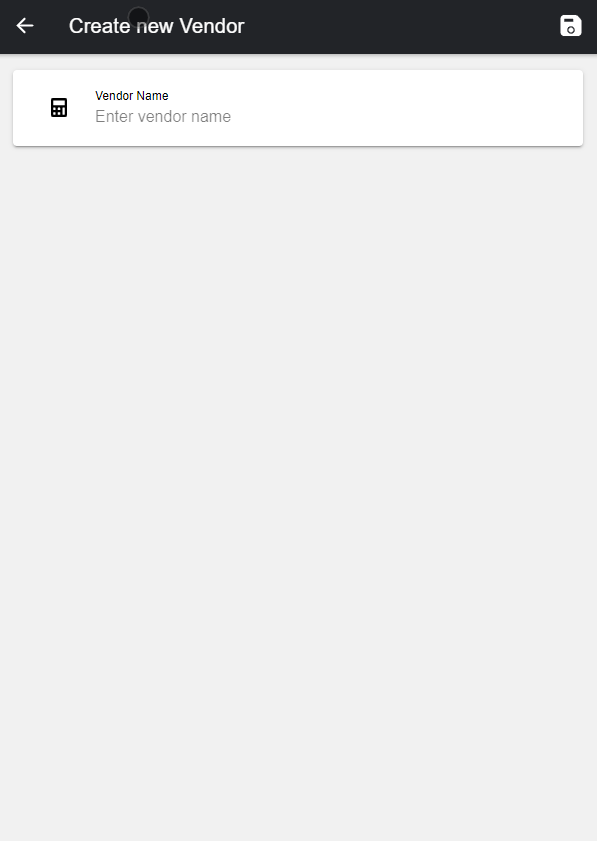
- CREATE A NEW VENDOR - user can create a new vendor
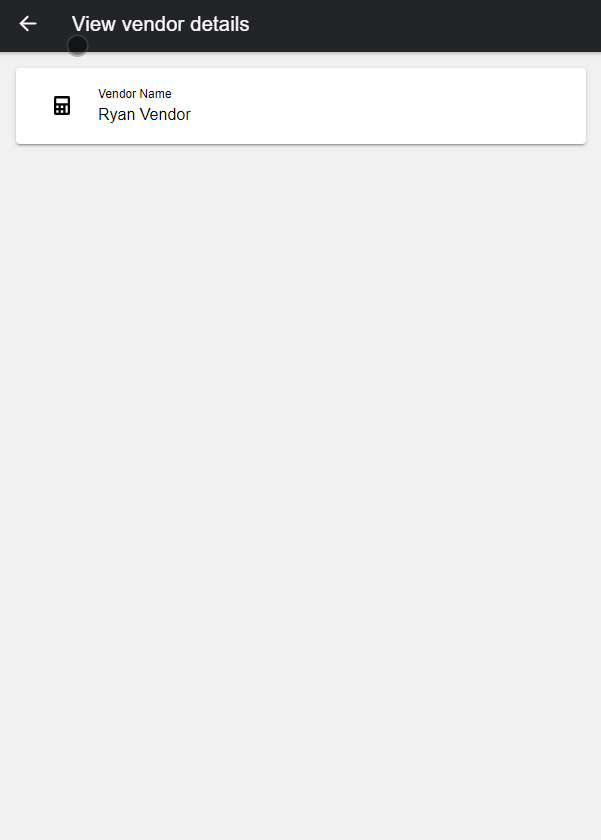
- VIEW ONE VENDOR - user can view details of the vendor.
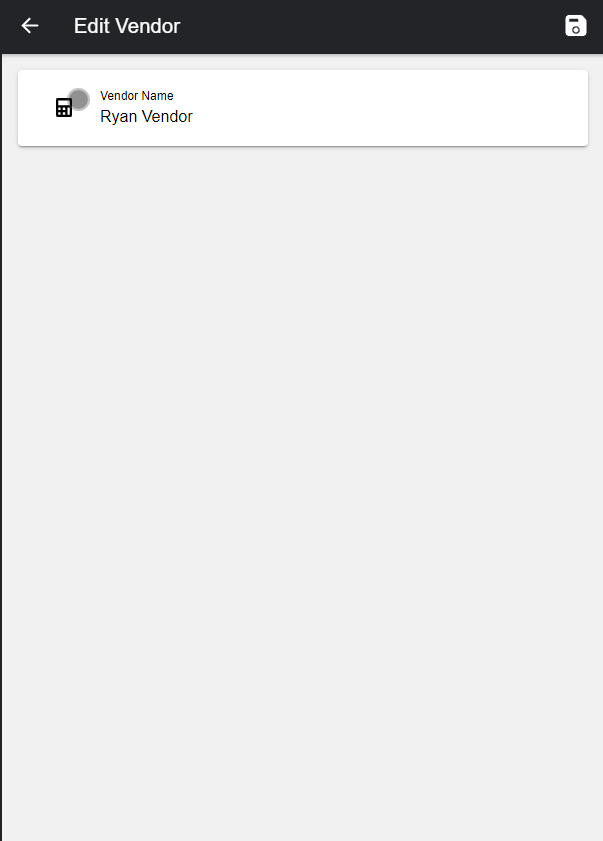
- EDIT VENDOR - user can edit the vendor details.
- DELETE VENDOR - user can delete a vendor
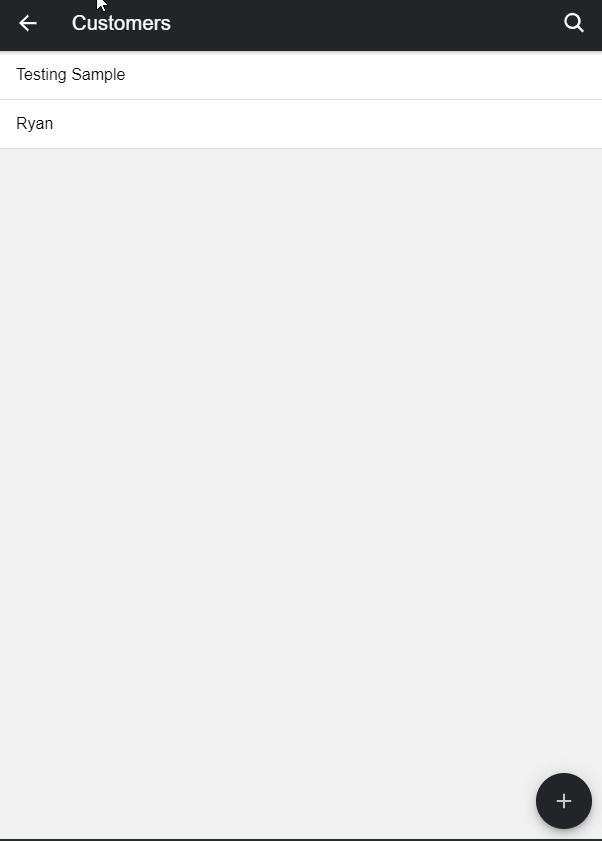
- CUSTOMER - user can view all the customers created
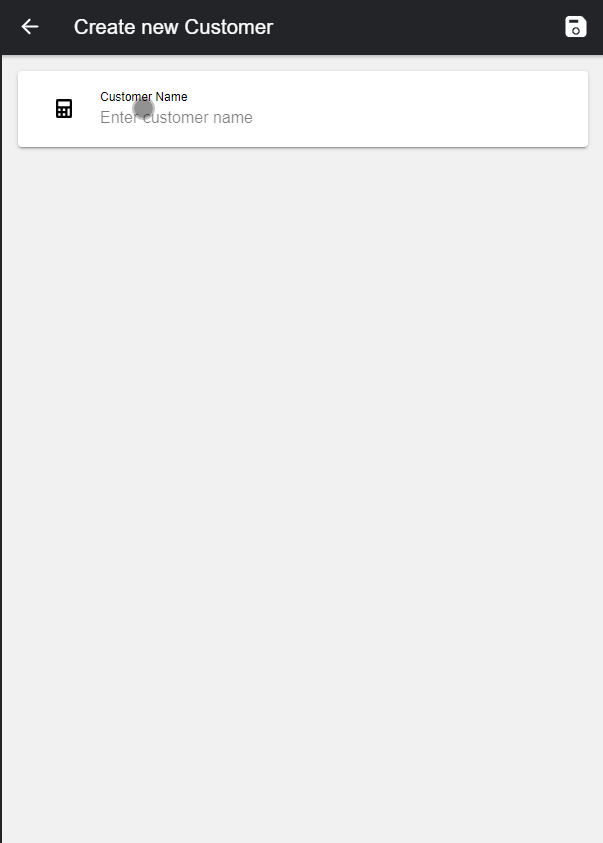
- CREATE A NEW CUSTOMER - user can create a new customer
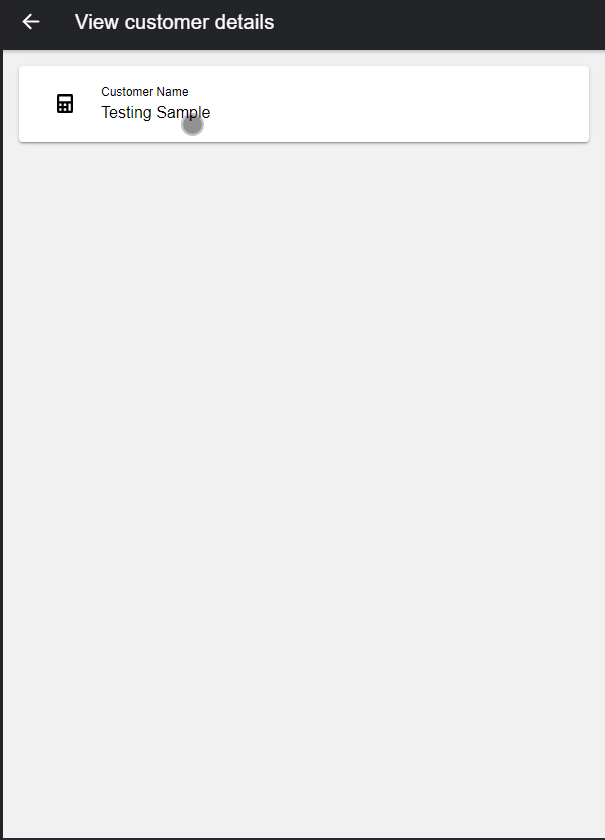
- VIEW ONE CUSTOMER - user can view customer details
- EDIT CUSTOMER - user can edit details of the customer
- DELETE CUSTOMER - user can delete customer

- ACCOUNT BALANCE - user can add account balance, user can choose if its withdraw or deposit
- CREATE A NEW ACCOUNT BALANCE - user can create a new account balance either withdraw or deposit
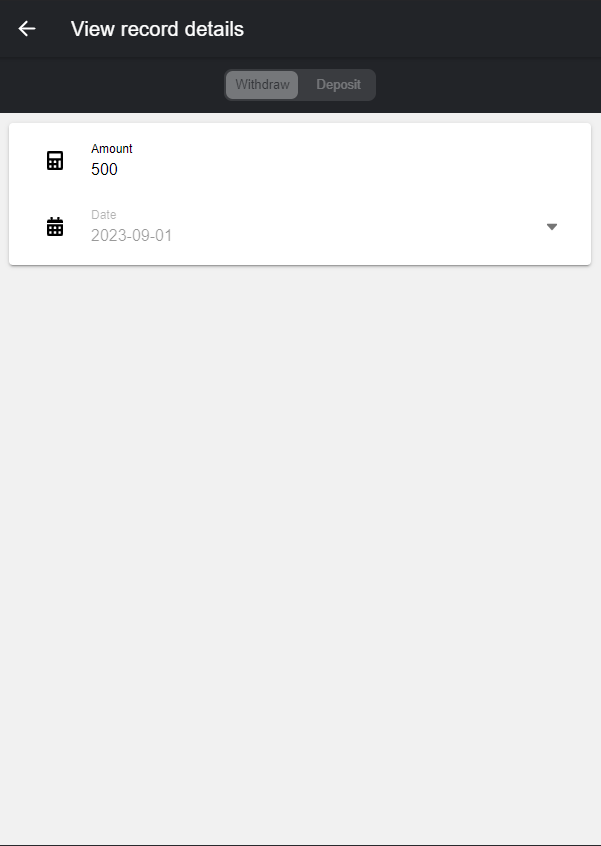
- VIEW ONE ACCOUNT BALANCE - user can view the details of the account balance
- EDIT ACCOUNT BALANCE - user can edit the account balance details
DELETE ACCOUNT BALANCE - user can delete a account balance
SIGN OUT
limitations
| Feature | Description | Suggestions |
|---|---|---|
| Point of Sale | Checkout haven't yet have a code when you checkout a product ist should be able to print out the receipt of the product bought. | None |
| Cash Flow Category | It doesn't work, it wont user create a Cash flow category, and doesn't show all the created Cash flow Category, becuase of that it wont let user update and delete. | None |
| Account Customer | it doesn't make sense due to its application being not be able to create an customer account, so the account customer has no point yet in the application | Customer use for it or remove it on the application. |
| Creating Inventory | you have to go to restock to create a new inventory | You should put the create inventory on the inventory List add + like the other features does. |
| Sale Transaction | has a bug where you can see the confirm transaction, when viewing previous transaction | None |
| Recently Sold | I don't know what purpose or it doesn't function, either you should view the previous transaction or It will show the recent sold out product. | None |
Step by step procedure how to use the application
When using the application first you need to log in first.
How to login
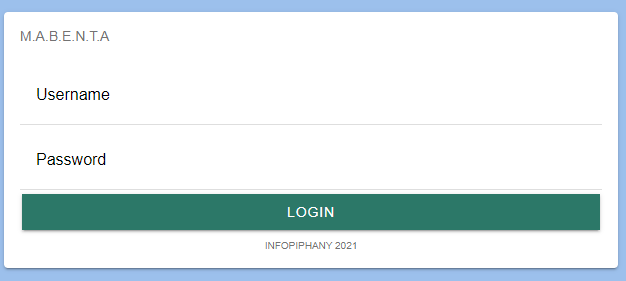
Step 1: Go to the login page of the application Step 2: Enter Username and Password Step 3: Tap the Login button
When done logging in to the application, you need to go first to the postman and add certain accounts needed to run the application.
Creating Account needed for mabenta application
Step 1: Open POSTMAN, and run the program. Step 2: Drop down the folder Account. Step 3: You need to Create an Account Listed in the Account folder. 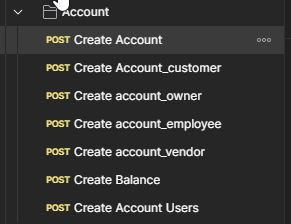 Step 4: Click the Send button for every
 POST method on the Account folder. Step 5: Go back to the Mabenta application.
When done creating account you can now freely use the mabenta application.
How to create a Product.
To create a product, you need first to create a category for the product.
How to create Category
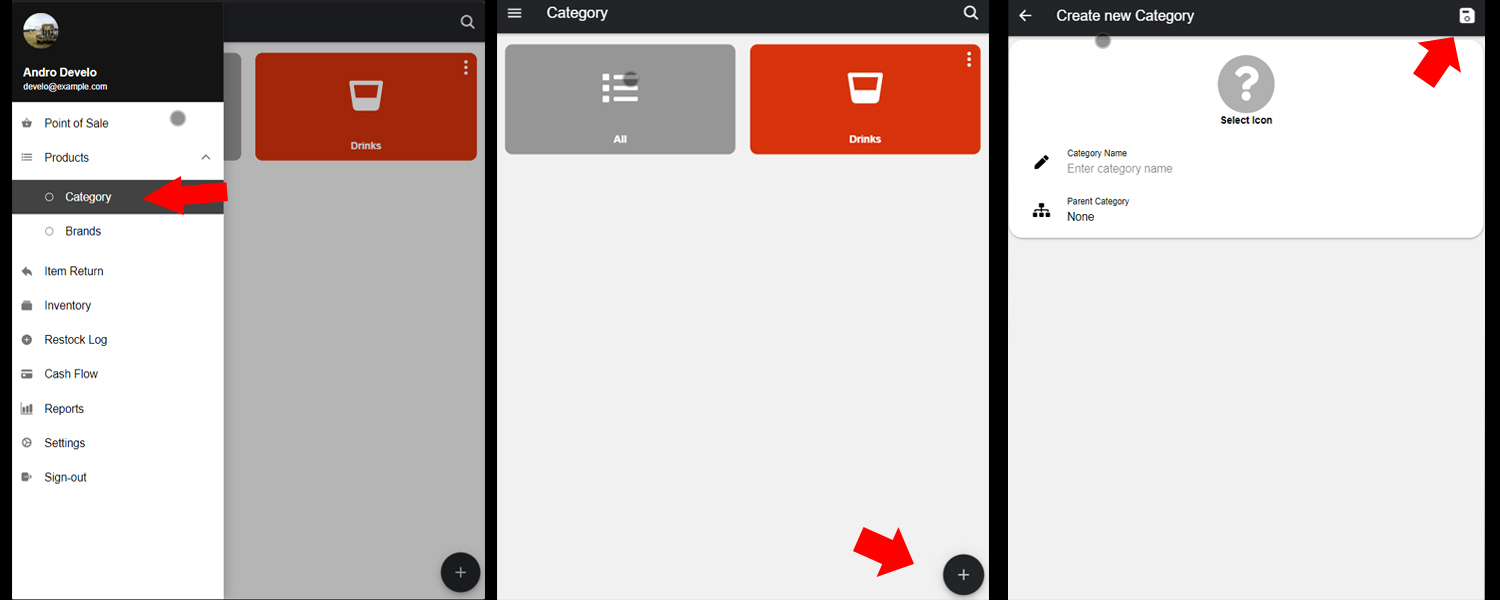
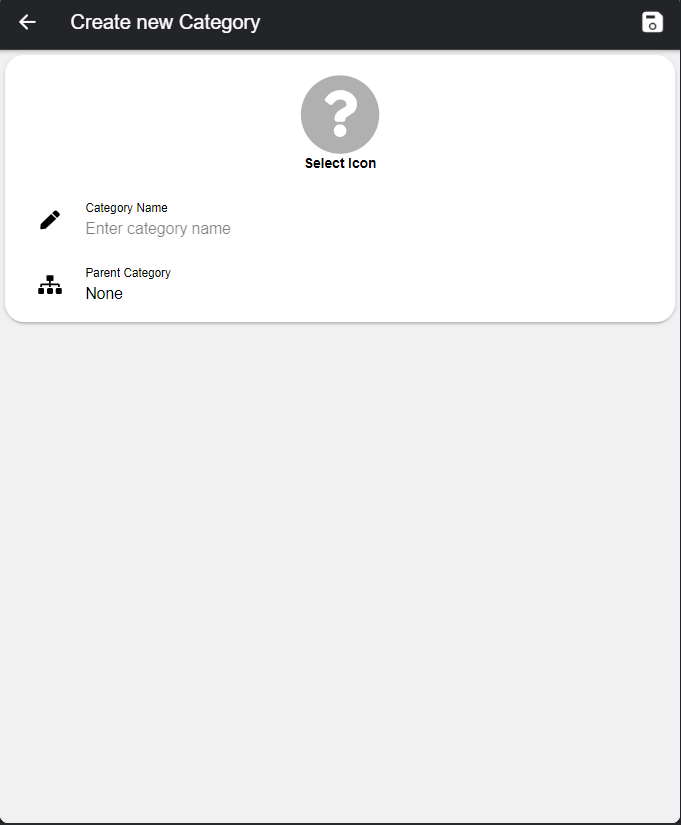
Step 1: Go to the navigation bar or simply tap the = on the top left side. Step 2: Tap Products, Under the product tap Category. Step 3: Tap the + on the bottom right side of the screen. Step 4: Assign value for Category Name, Parent Category, and assign Icon for the category. Step 5: Tap the Save button on the top right side of the application.
You have created a category.
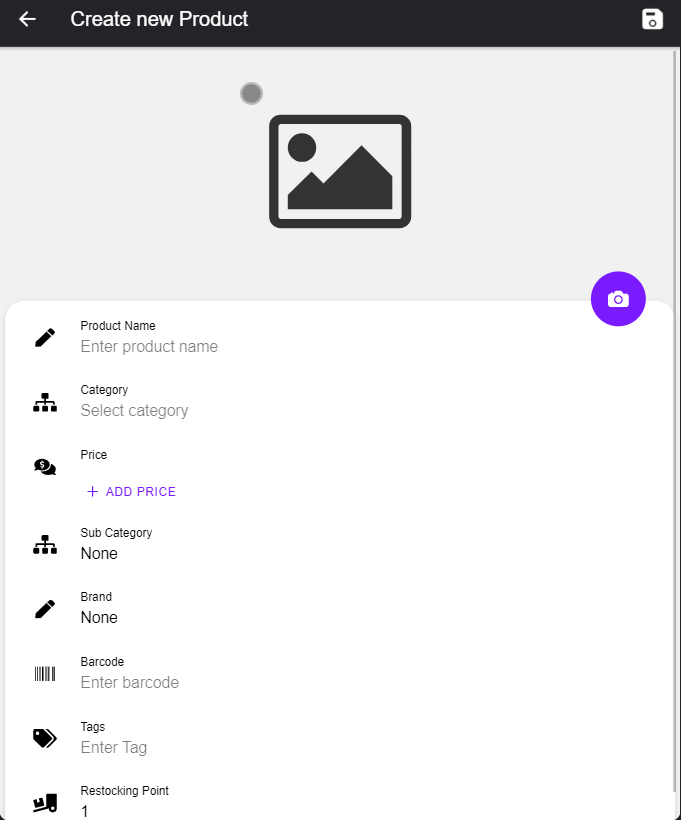
How to add a Product on the category
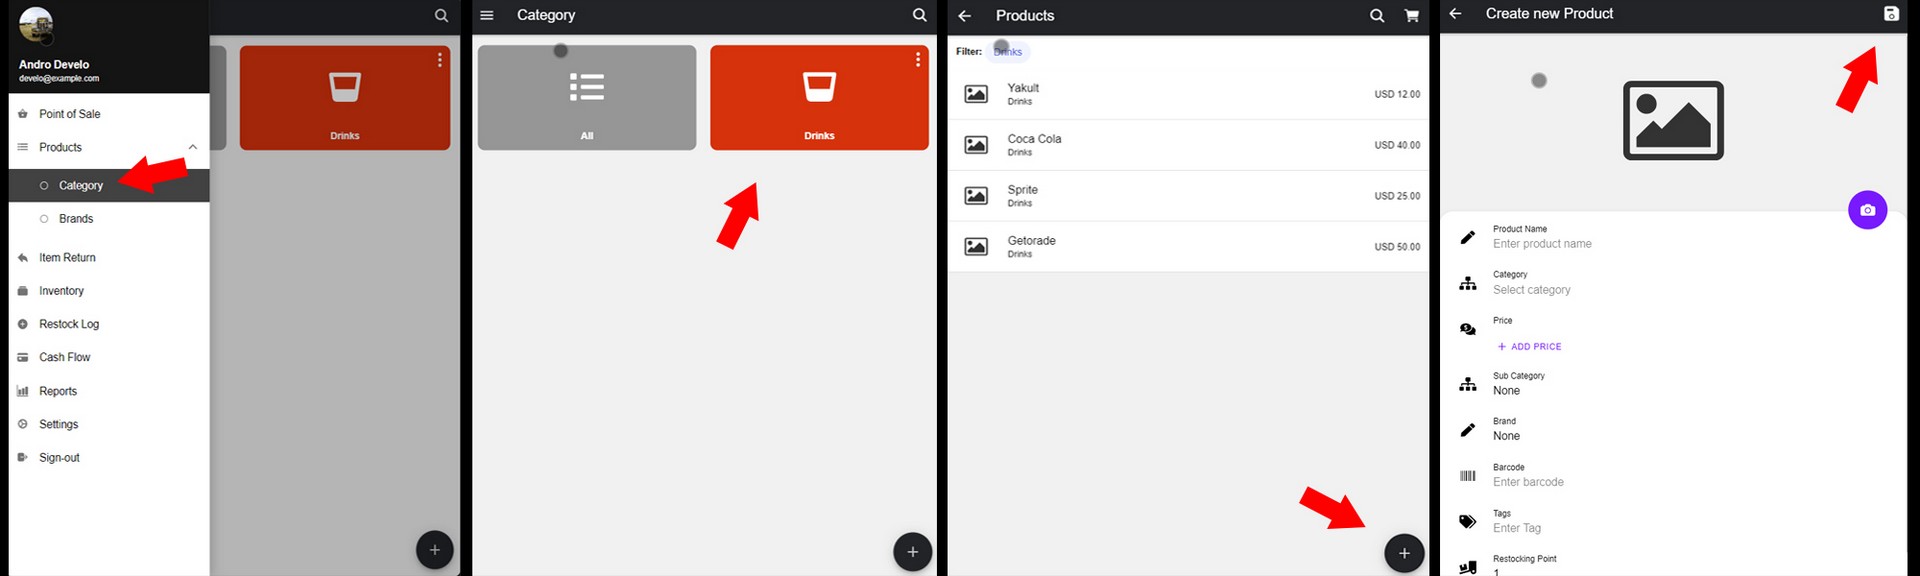
Step 1. Tap the Category you want to choose. Step 2: Tap the + bottom right side of the screen. Step 3: Assign value for Product Name, Category, Price, Sub Category, Brand, Barcode, Tags, Restocking Point. Step 4: Tap the Save button on the Top right side of the screen.
You have created a product on the category.
How to create Brand
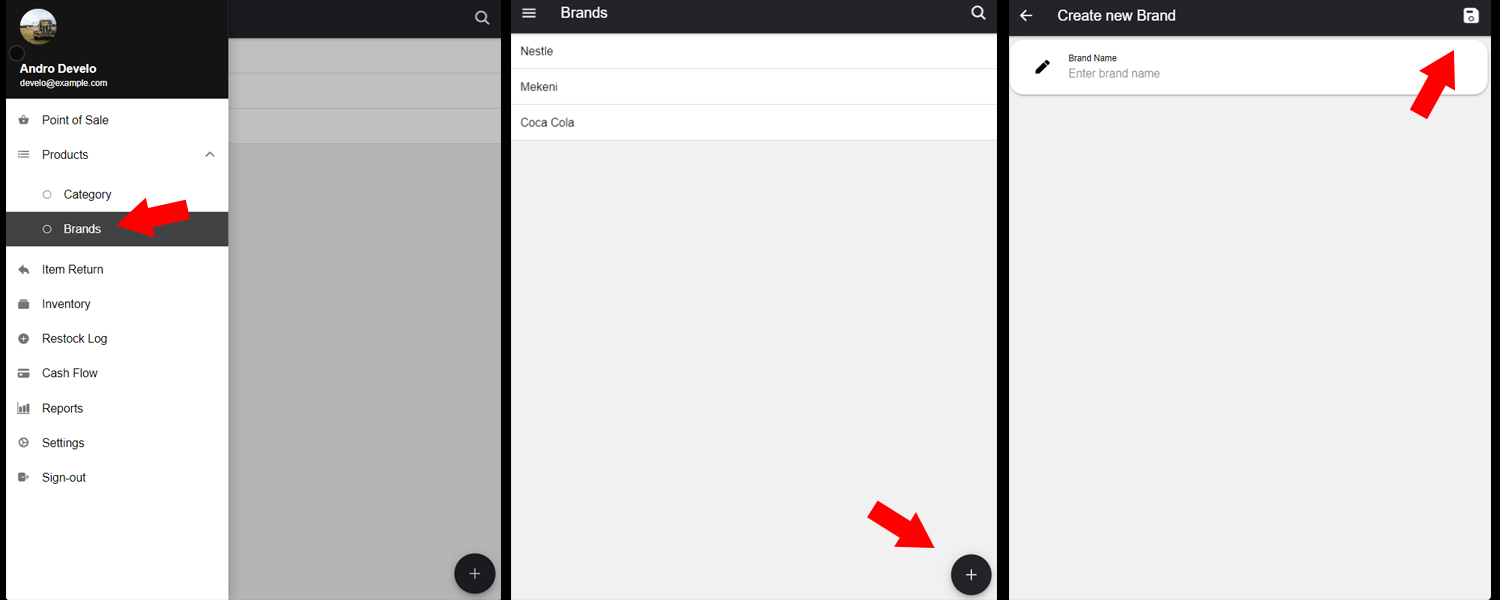
Step 1: Go to the navigation bar or simply tap the = on the top left side. Step 2: Tap Products, Under product tap Brands. Step 3: Tap the + on the bottom right side of the screen. Step 4: Assign value for Brand Name. Step 5: Tap the Save button on the top right side of the screen.
You have created a brand.
Why did it not show the product at the Point of Sale?
you need first to create a Inventory, vendor and Restock Log, to show the product on the Point of Sale.
How to create an Inventory
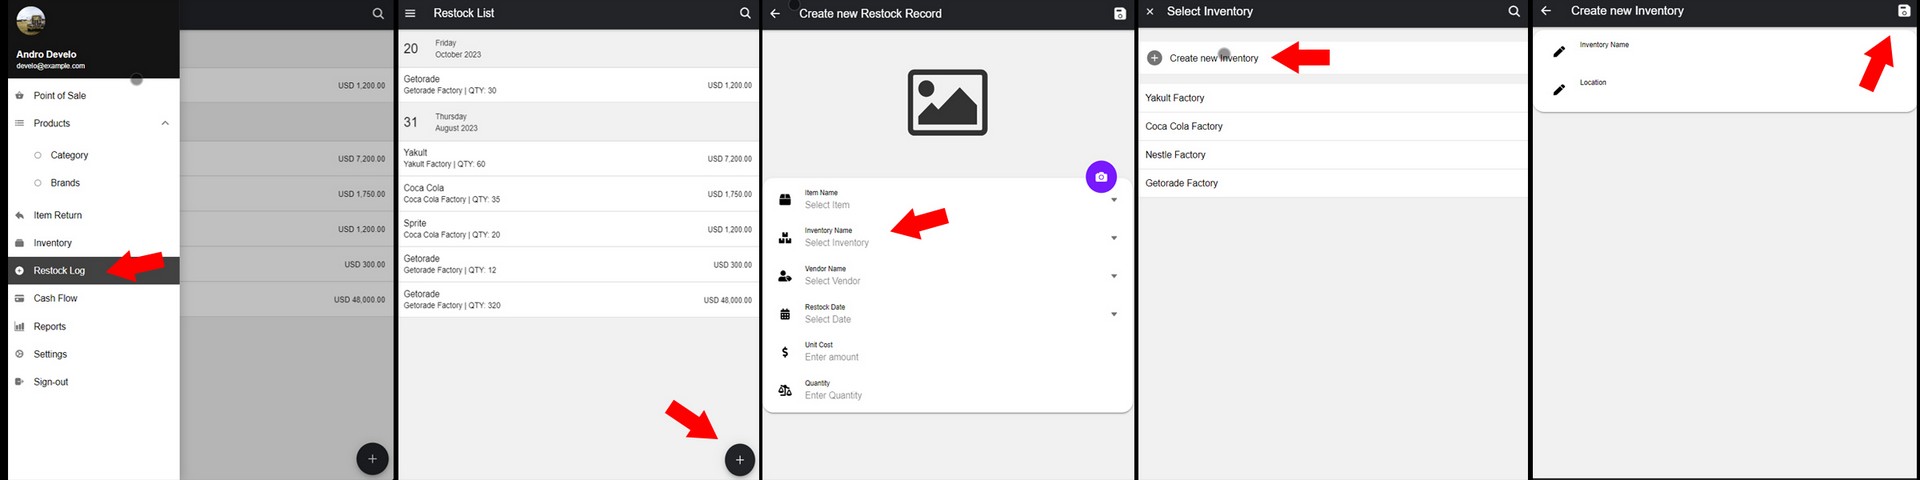
Step 1: Go to the navigation bar or simply tap the = on the top left side. Step 2: Tap Restock Log. Step 3: Tap the + on the bottom right side of the screen. Step 4: Tap the Inventory Name, a select Inventory will show. Step 5: Tap the Create new Inventory. Step 6: Assign value for Inventory Name, and Location. Step 7: Tap the Save button on the top right side of the screen.
You have created a Inventory.
Before you can create a Restock you need to create first a vendor.
How to create a Vendor
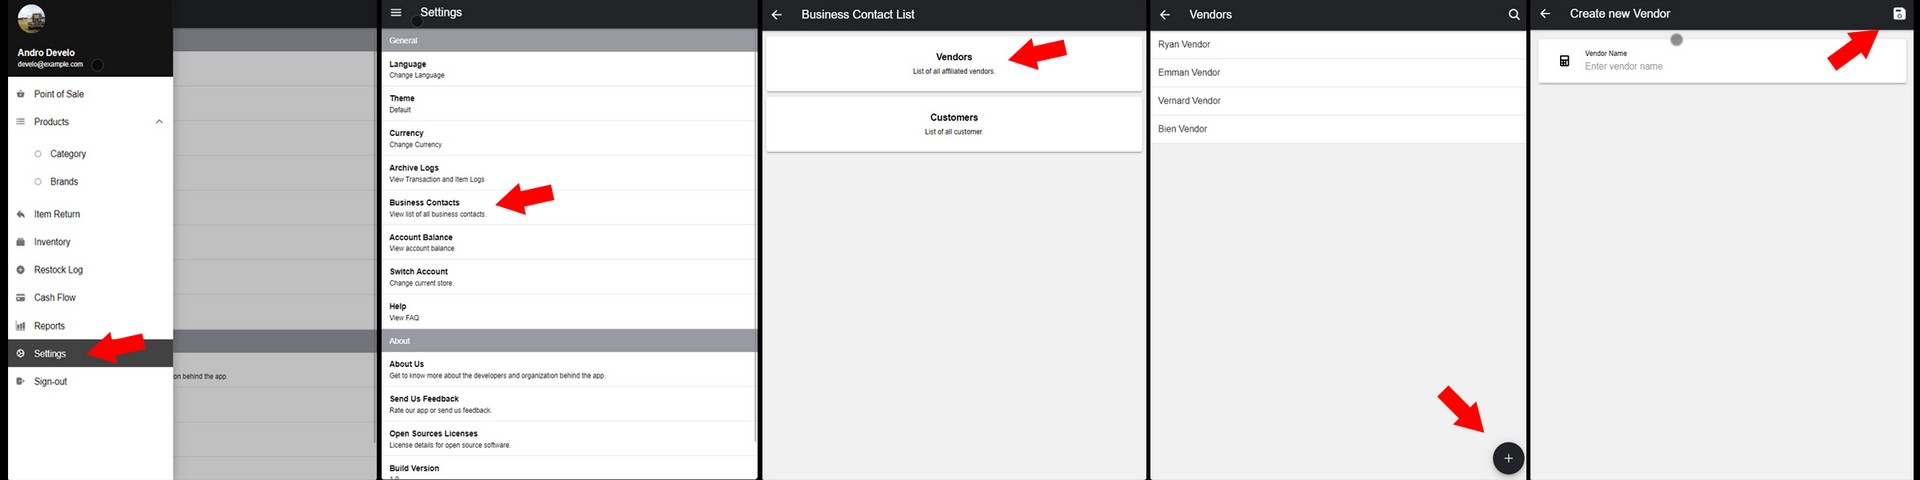
Step 1: Go to the navigation bar or simply tap the = on the top left side. Step 2: Tap Settings. Step 3: Tap Business Contacts, tap Vendors Step 4: Tap the + on the bottom right side of the screen. Step 5: Assign value for Vendor Name. Step 6: Tap the Save button on the top right side of the screen.
You have created a Vendor.
How to create a Restock
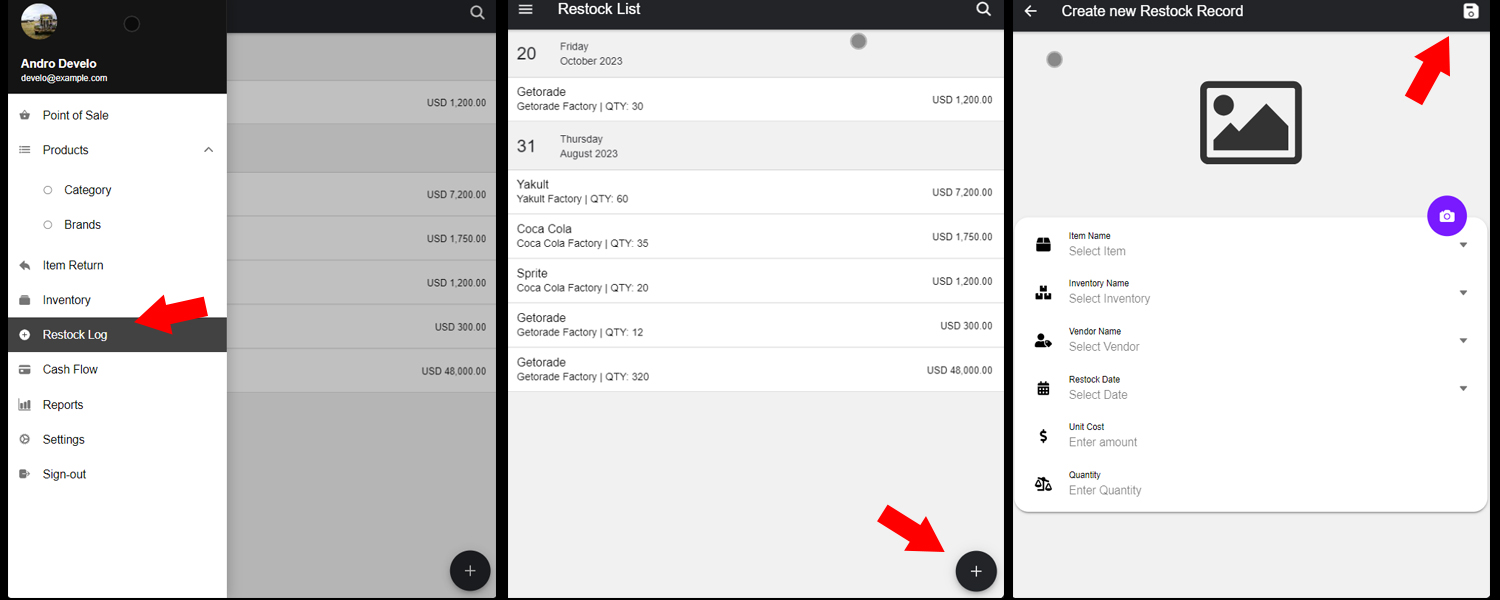
Step 1: Go to the navigation bar or simply tap the = on the top left side. Step 2: Tap Restock Log. Step 3: Tap the + on the bottom right side of the screen. Step 4: Assign value for Item Name, Inventory Name, Vendor Name, Restock Date, Unit Cost, and Quantity. Step 5: Tap Save button on the top right side of the screen.
You have created a Restock.
You can now check if the product show in the Point of Sale
How do I checkout/pay for the product?
you need to add product on Cart to checkout the product.
How to add product on Cart

Step 1: Go to the navigation bar or simply tap the = on the top left side. Step 2: Tap Point of Sale. Step 3: Tap a Product and a Add to Cart will pop up. Step 4: Assign value for Quantity, tap Add.
You have added a product on the cart.
To view the cart
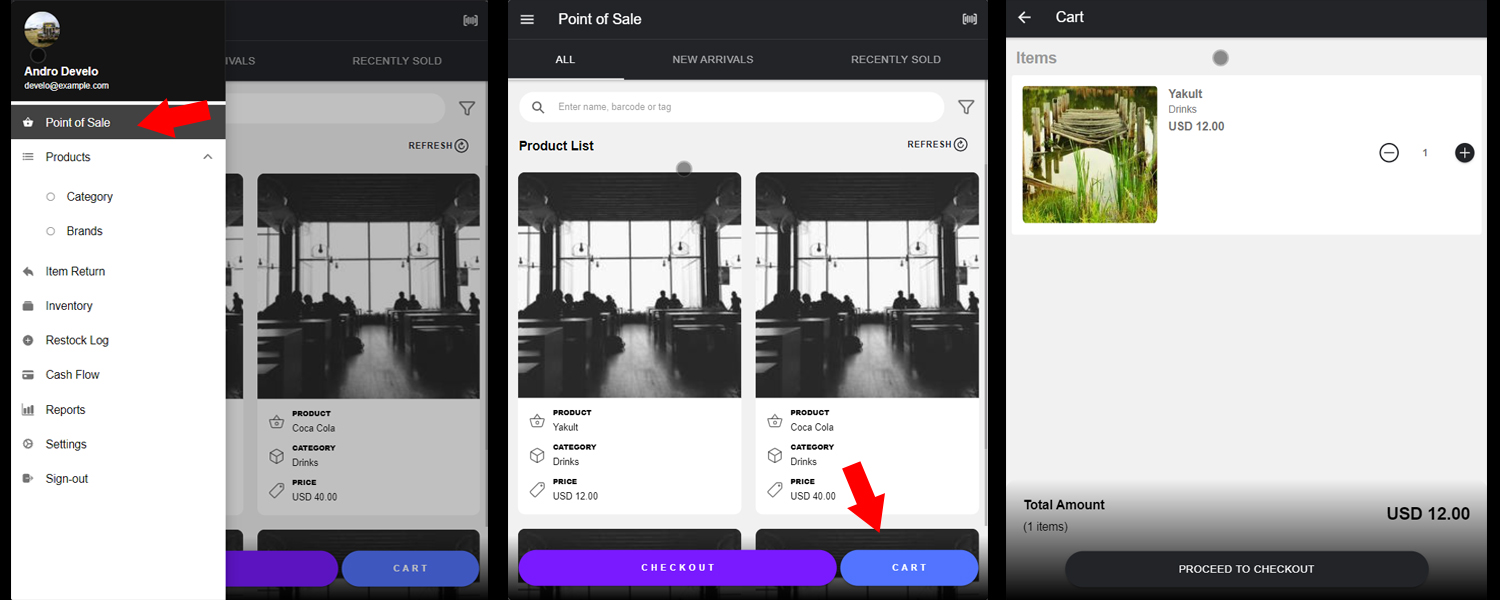
Step 1: Go to the navigation bar or simply tap the = on the top left side. Step 2: Tap Point of Sale. Step 3: Tap the Cart button on the bottom right side of the screen.
You can see all the added product on the cart.
How to checkout the product
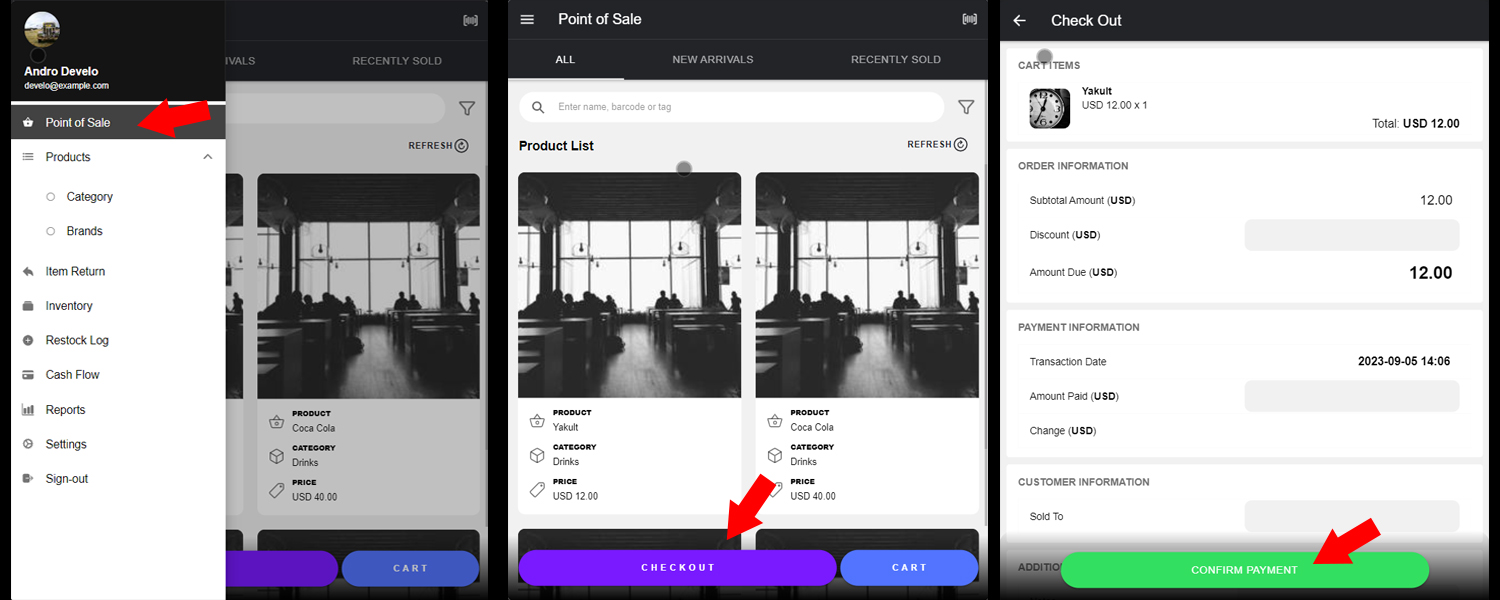
Step 1: Go to the navigation bar or simply tap the = on the top left side. Step 2: Tap Point of Sale. Step 3: Tap the checkout button on the bottom right side of the screen. Step 4: Assign value for Discount(Optional), Amount Paid, Sold to, and Notes. User can choose if Print Receipt or not. Step 5: Tap the Confirm Payment to complete the transaction.
You have successfully checkout the product.
How do I do an Item return?
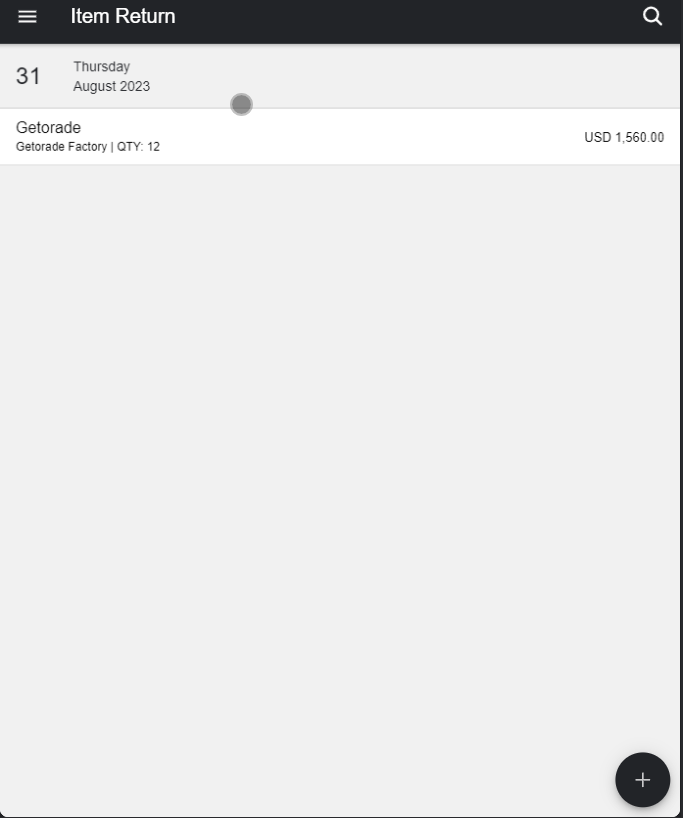
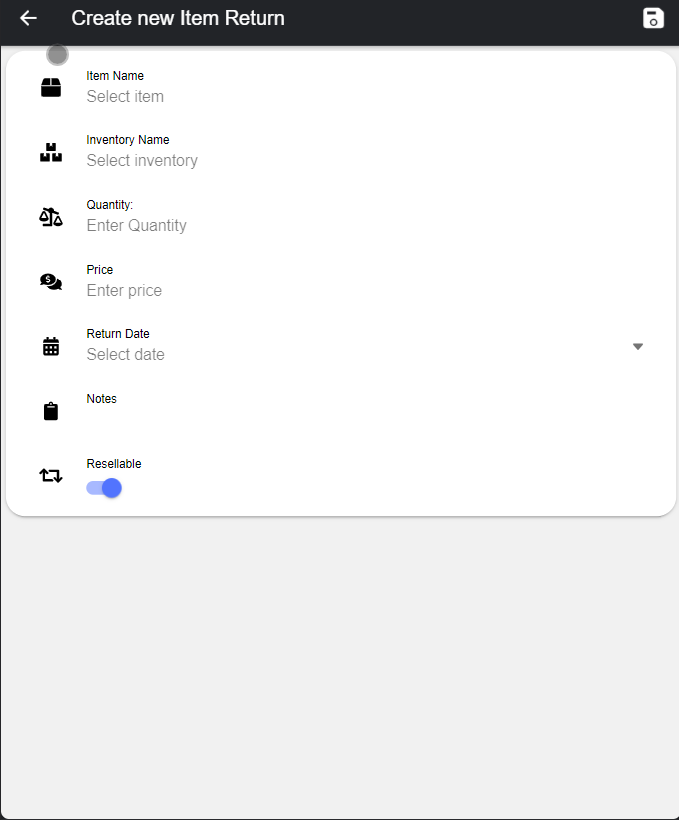
How to add an Item return
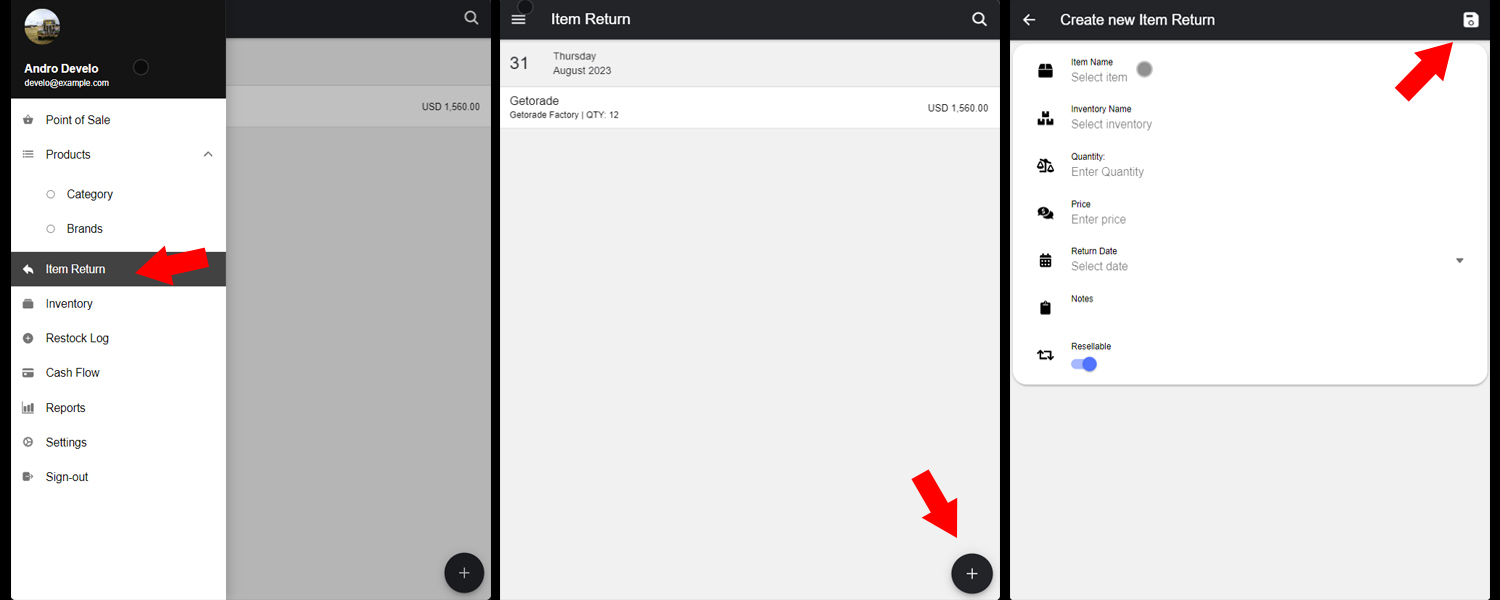
Step 1: Go to the navigation bar or simply tap the = on the top left side. Step 2: Tap Item Return. Step 3: Tap + on the bottom right side of the screen. Step 4: Assign a value for Item Name, Inventory Name, Quantity, Price, Return Date, Notes, and Resellable. Step 5: Tap the Save button on the top right side of the screen.
You have successfully created an Item return.
How do I create a cash flow?
you can't add a create a cash flow if you didn't create first an Cash flow category, to create a cash flow category check below:
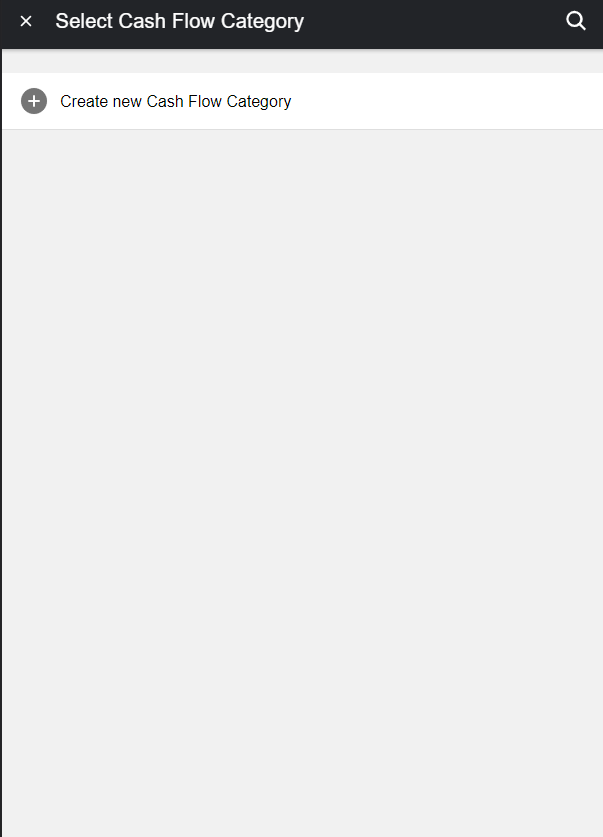
How to add a new Cash flow category,
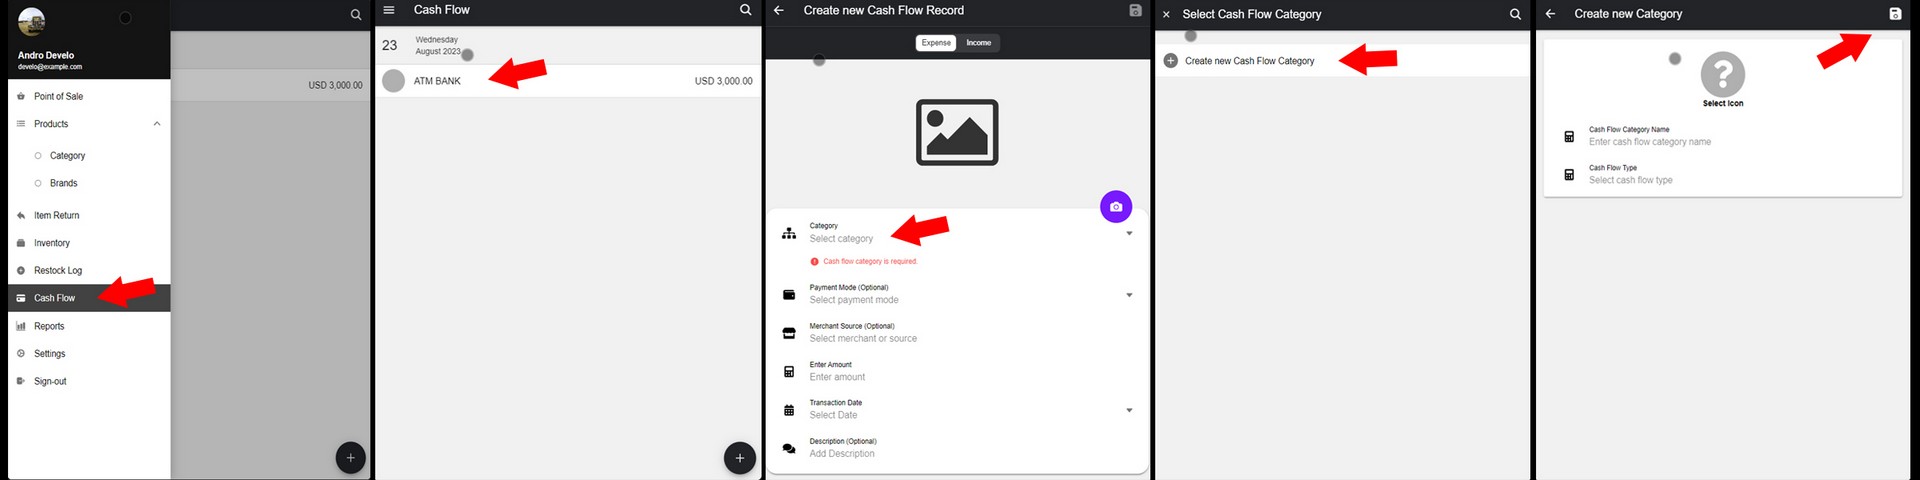
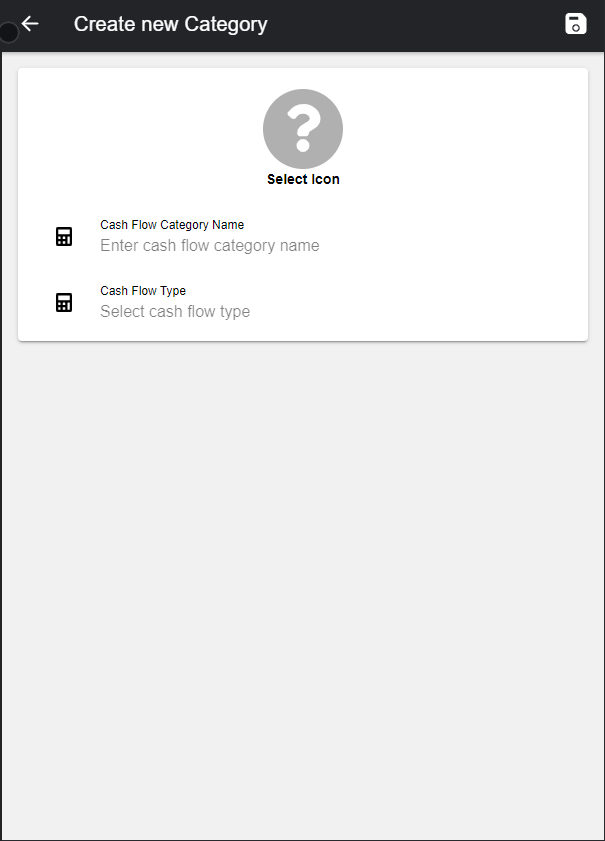
Step 1: Go to the navigation bar or simply tap the = on the top left side. Step 2: Tap Cash Flow. Step 3: Tap + on the bottom right side of the screen. Step 4: Tap the Select Category, cash flow category will pop up. Step 5: Tap the Create a new Cash flow Category. Step 6: Assign value for Cash Flow Category Name, and Cash Flow Type. Step 7: Tap the Save button on the top right screen.
You have successfully create a new cash flow category
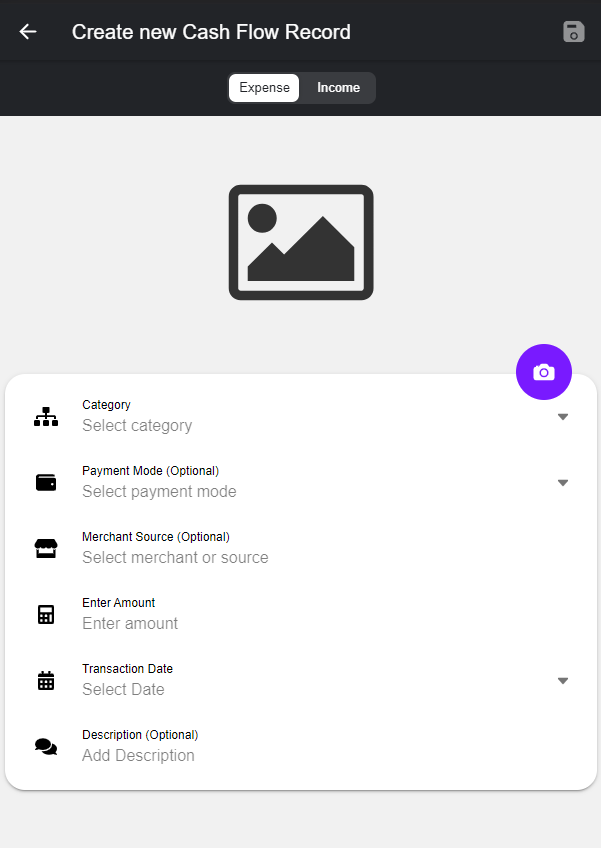
How to add an cash flow
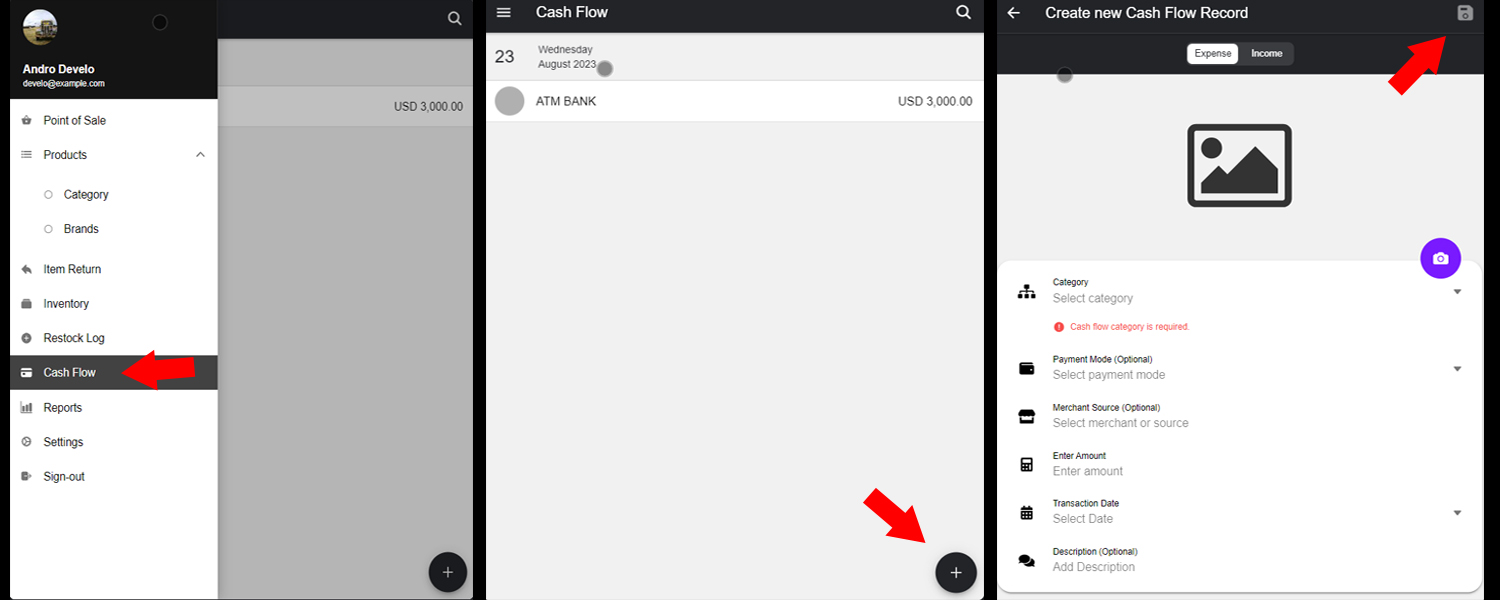
Step 1: Go to the navigation bar or simply tap the = on the top left side. Step 2: Tap Cash Flow. Step 3: Tap + on the bottom right side of the screen. Step 4: Assign a value for Expense/Income, Category, Inventory Name, Quantity, Price, Return Date, Notes, and Resellable. Step 5: Tap Save button on the top right side of the screen.
You have successfully added a new cash flow
How to add new customer
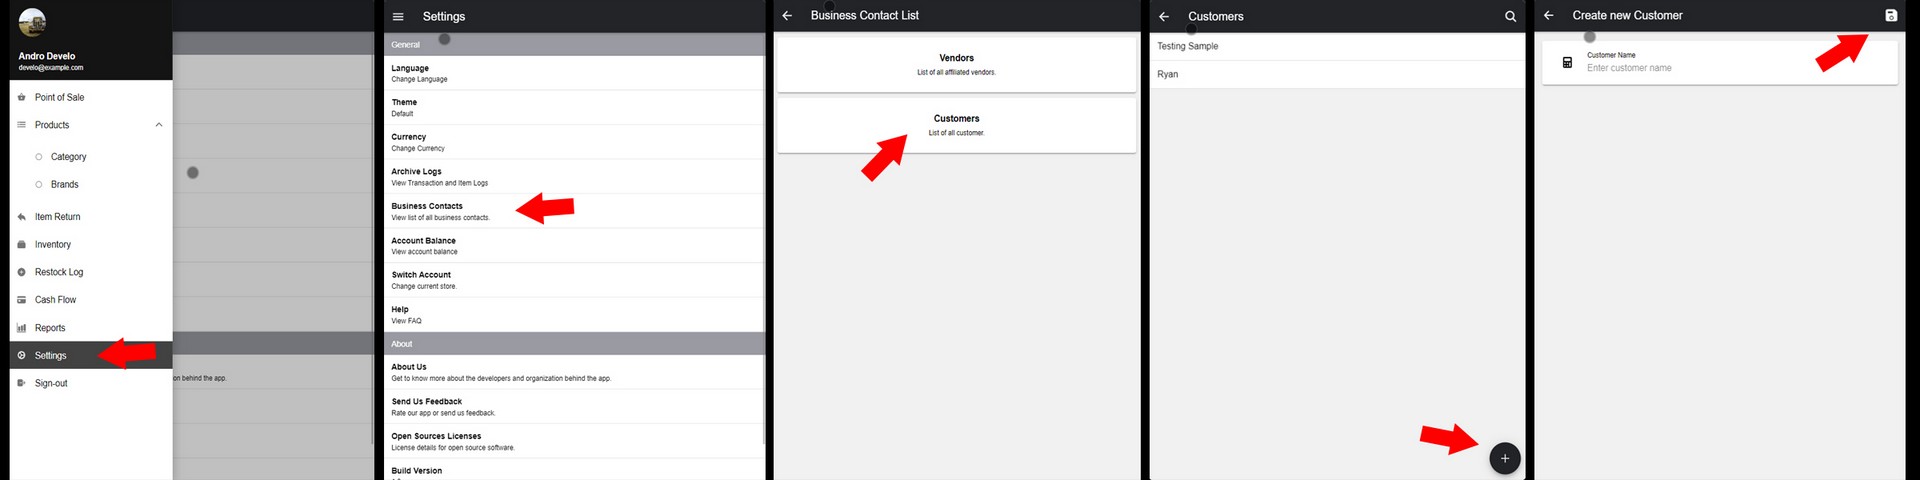
Step 1: Go to the navigation bar or simply tap the = on the top left side. Step 2: Tap Settings, Tap Business Contacts. Step 3: Tap Customers. Step 4: Tap + on the bottom right side of the screen. Step 5: Assign value for Customer Name. Step 6: Tap Save button on the top right side of the screen.
You have successfully created a new customer
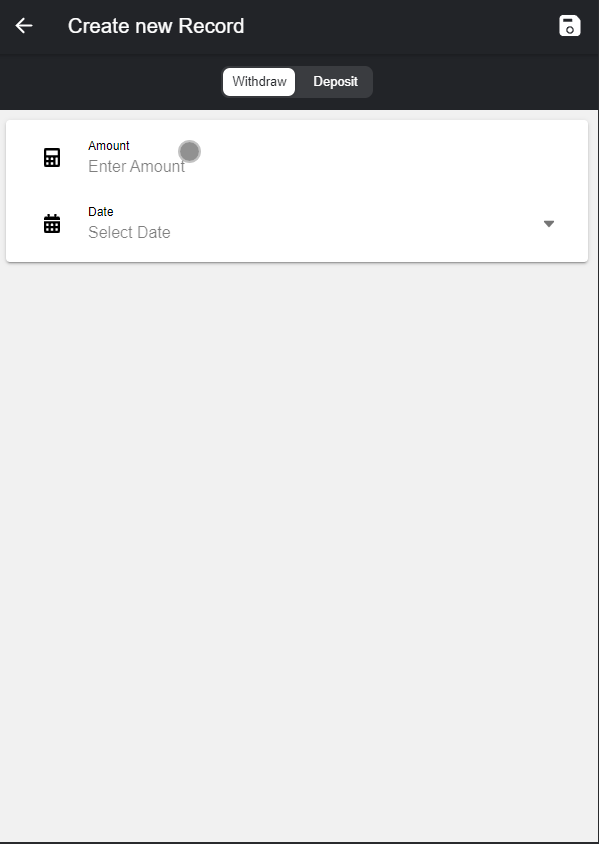
How to add new account balance
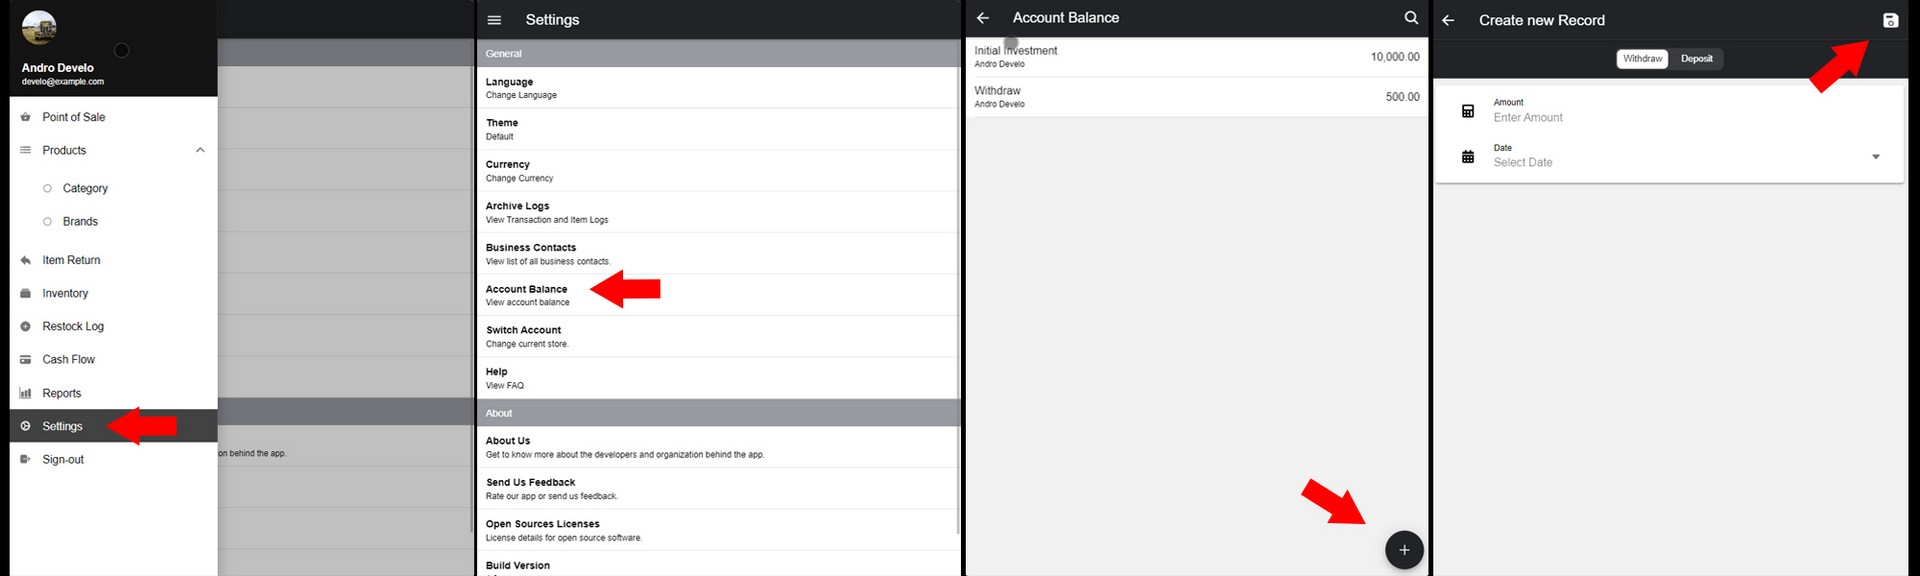
Step 1: Go to the navigation bar or simply tap the = on the top left side. Step 2: Tap Settings, Tap Account Balance. Step 3: Tap Account Balance. Step 4: Tap + on the bottom right side of the screen. Step 5: Assign value for Withdraw/Deposit, Amount, and Date. Step 6: Tap Save button on the top right side of the screen.
How do I edit details?
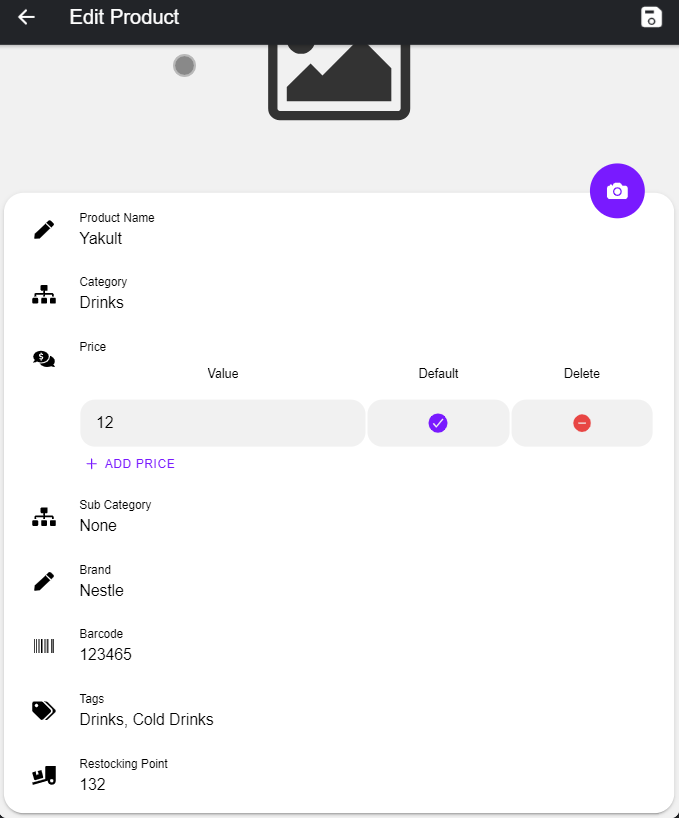
How to edit product
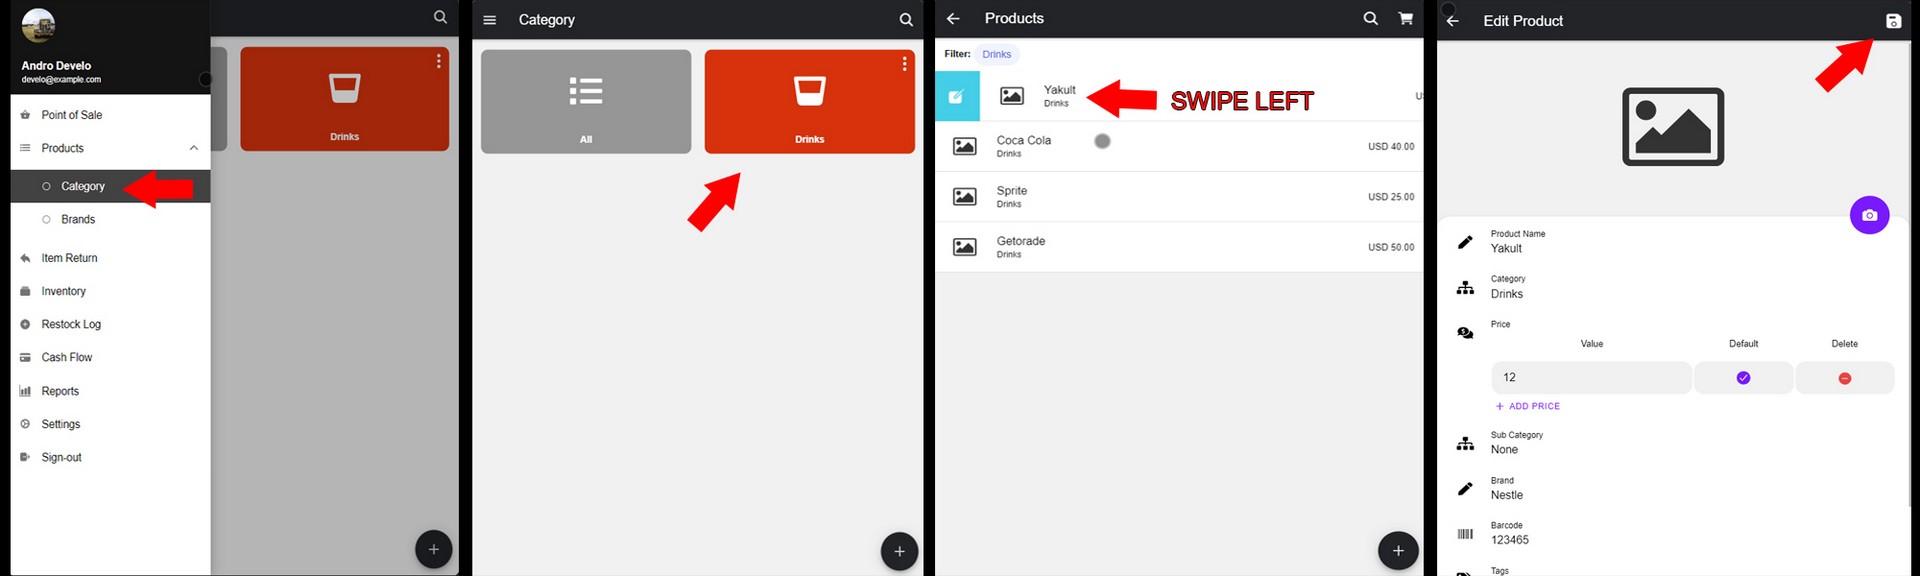
Step 1: Go to the navigation bar or simply tap the = on the top left side. Step 2: Tap Products, Under the product tap Category. Step 3: Choose a Category, then Tap the chosen category. Step 4: Choose a Product, then swipe left. Step 5: Assign value for Product Name, Category, Price, Sub Category, Brand, Barcode, Tags, Restocking Point. Step 6: Tap the Save button on the Top right side of the screen.
You have successfully edit the details of the product.
How to edit category

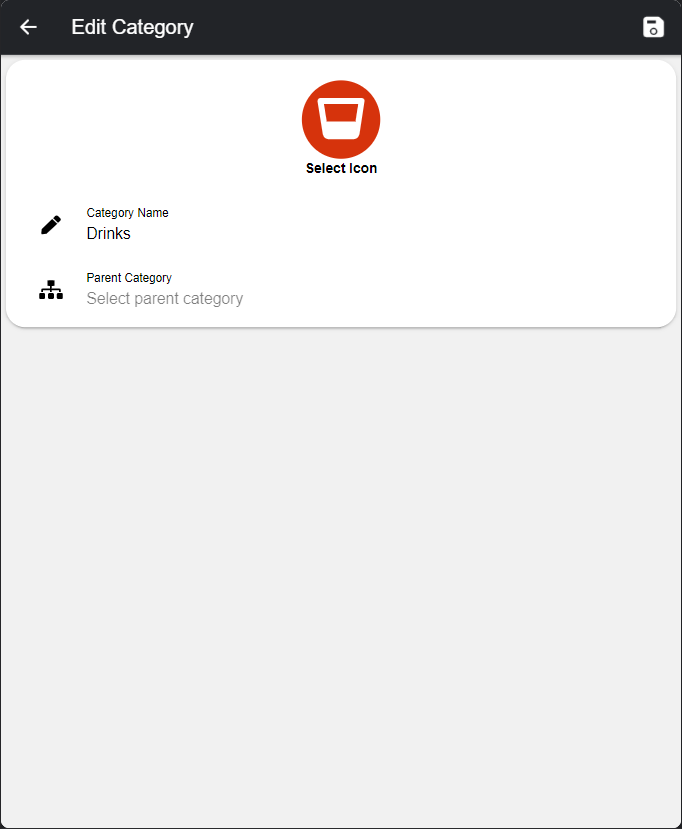
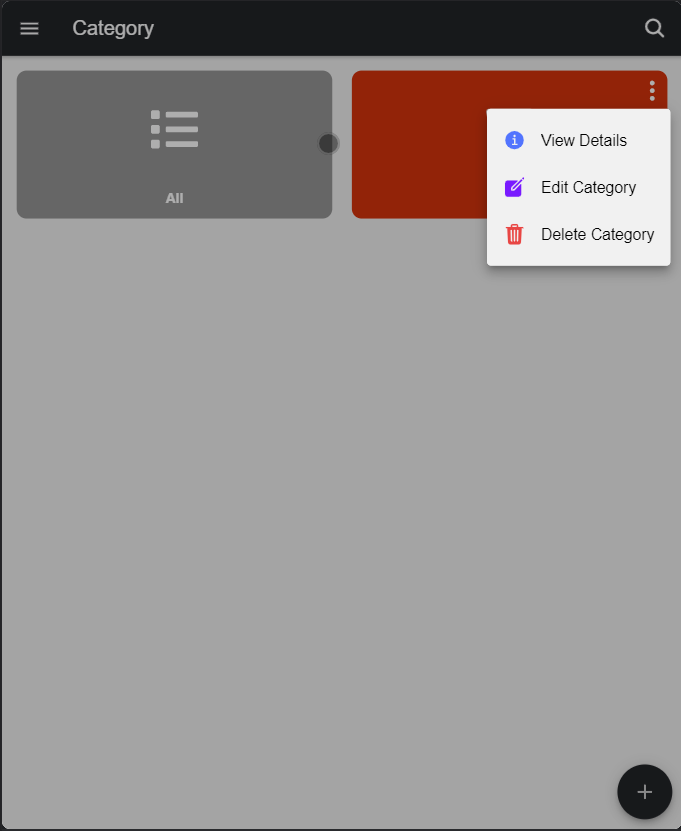
Step 1: Go to the navigation bar or simply tap the = on the top left side. Step 2: Tap Products, Under the product tap Category. Step 3: On the category you will see : tap that to view setting of the category. Step 4: Tap Edit Category. Step 5: Assign value for Category Name and Parent Category. Step 6: Tap the Save button on the Top right side of the screen.
You have successfully edit the details of the category.
How to edit Brands
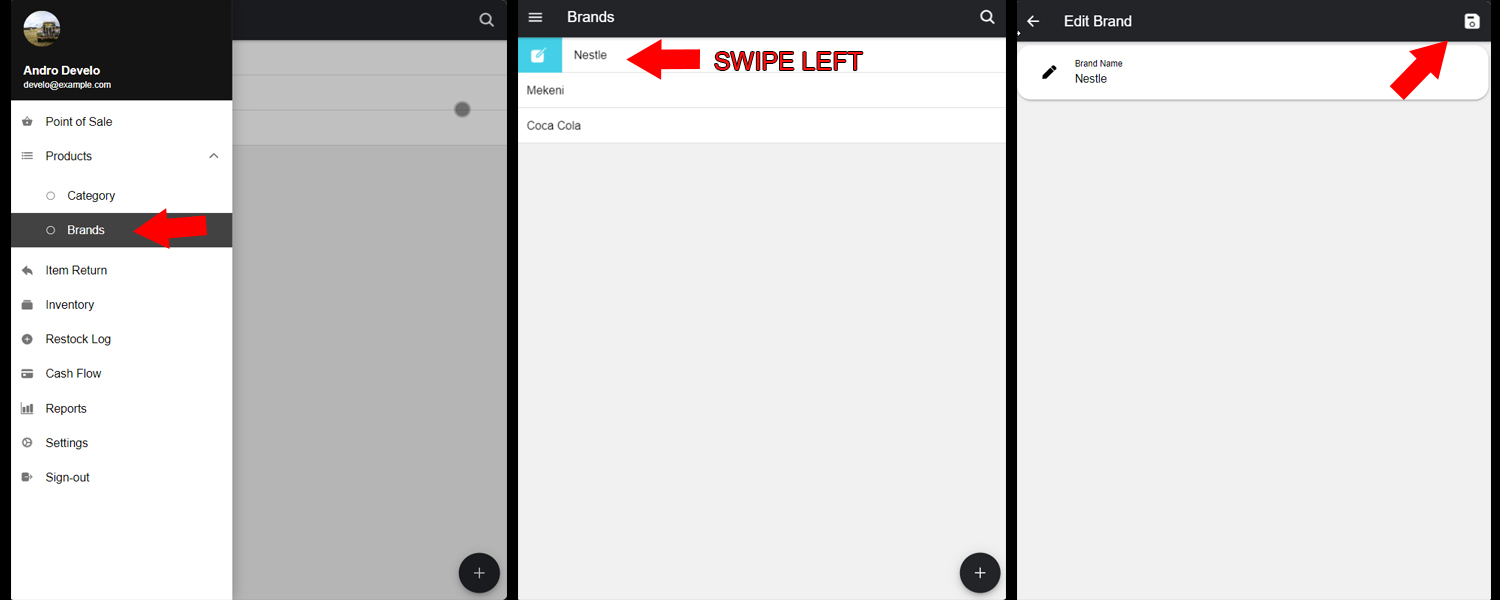
Step 1: Go to the navigation bar or simply tap the = on the top left side. Step 2: Tap Products, Under the product tap Brands. Step 3: Swipe Left a brand. Step 4: Assign value for Brand Name. Step 5: Tap the Save button on the Top right side of the screen.
You have successfully edit the details of the Brand.
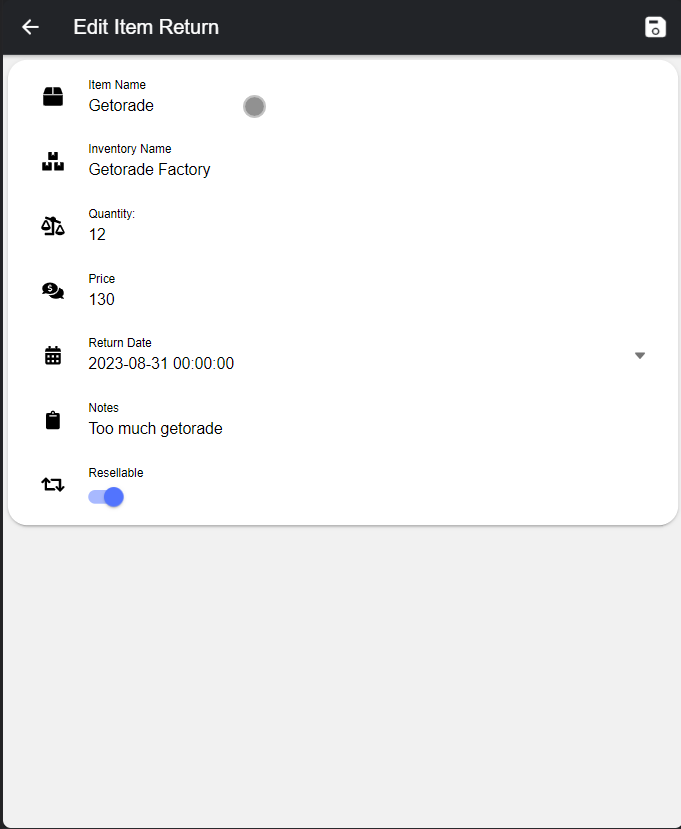
How to edit Item Return
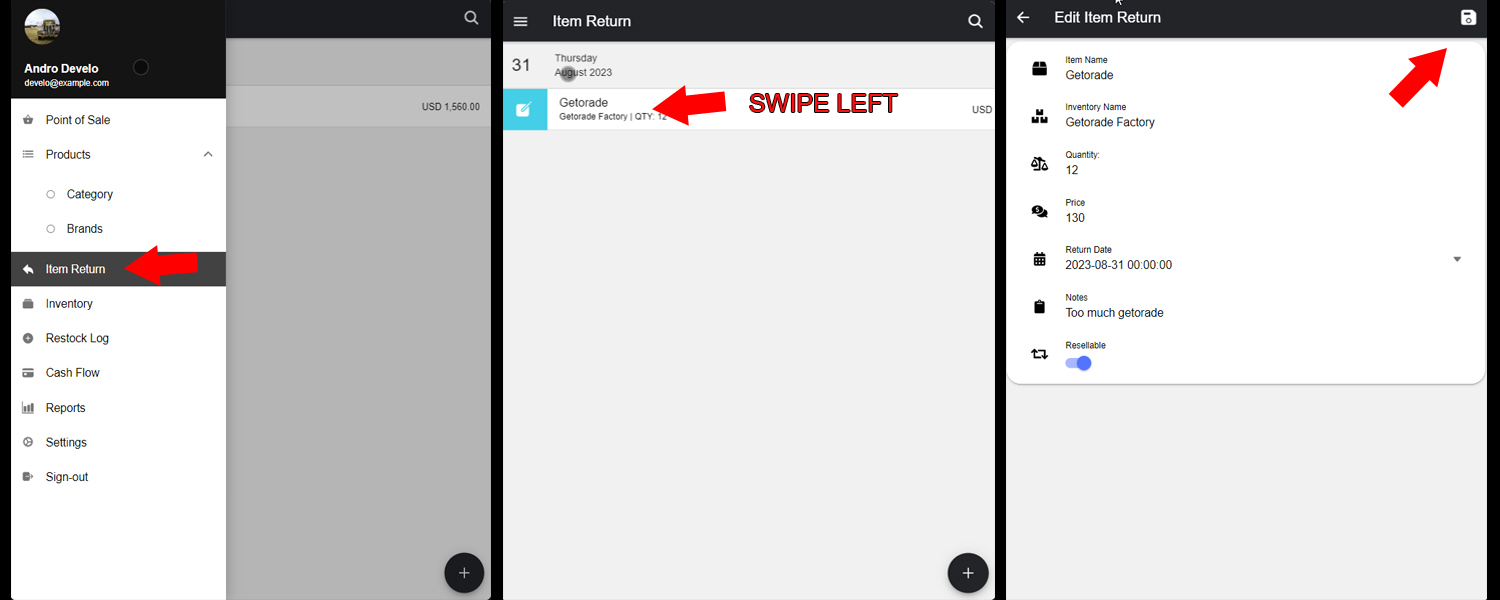
Step 1: Go to the navigation bar or simply tap the = on the top left side. Step 2: Tap Item Return Step 3: Swipe Left a Item Return. Step 4: Assign value for Item Name, Inventory Name, Quantity, Price, Return Date, Notes, and Resellable. Step 5: Tap the Save button on the Top right side of the screen.
You have successfully edit the details of the Item Return.
How to edit Inventory

Step 1: Go to the navigation bar or simply tap the = on the top left side. Step 2: Tap Inventory. Step 3: Swipe Left a Inventory. Step 4: Assign value for Inventory Name and Location. Step 5: Tap the Save button on the Top right side of the screen.
You have successfully edit the details of the Inventory.
How to edit Restock
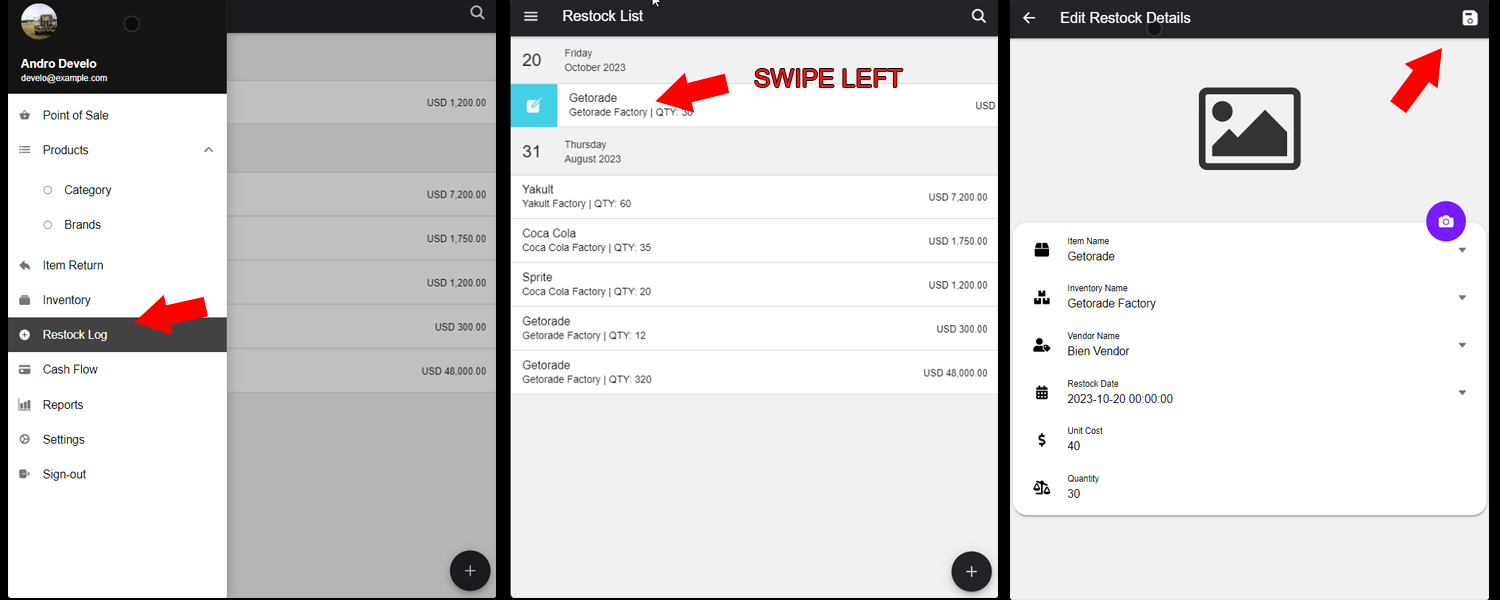
Step 1: Go to the navigation bar or simply tap the = on the top left side. Step 2: Tap Restock Log. Step 3: Swipe Left a Restock. Step 4: Assign value for Item Name, Inventory Name, Vendor Name, Restock Date, Unit Cost, and Quantity. Step 5: Tap the Save button on the Top right side of the screen.
Note: Some where unable to edit either due to its quantity being 0.
You have successfully edit the details of the Restock.
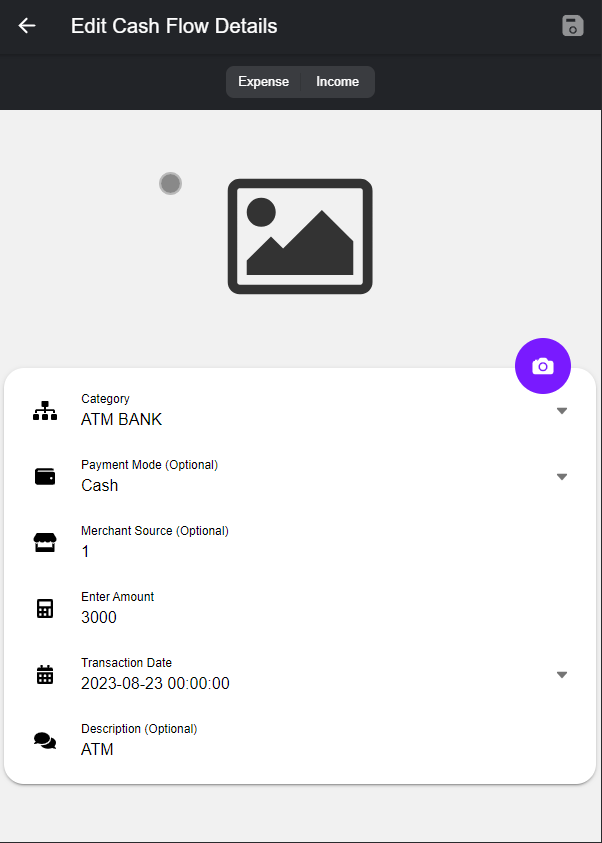
How to edit Cash Flow
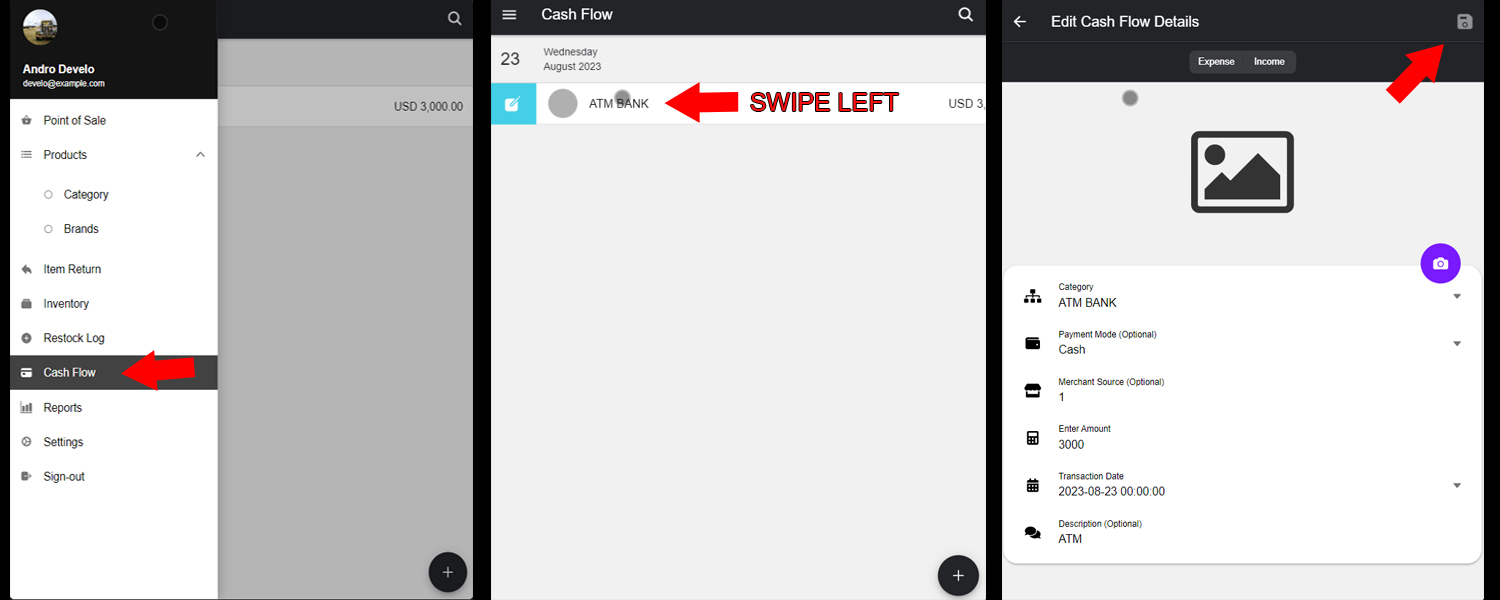
Step 1: Go to the navigation bar or simply tap the = on the top left side. Step 2: Tap Cash Flow. Step 3: Swipe Left a Cash Flow. Step 4: Assign value for Expense/Income ,Category, Payment Option, Merchant Source, Enter Amount, Transaction Date, and Description. Step 5: Tap the Save button on the Top right side of the screen.
You have successfully edit the details of the Cash Flow.
How to edit Vendor
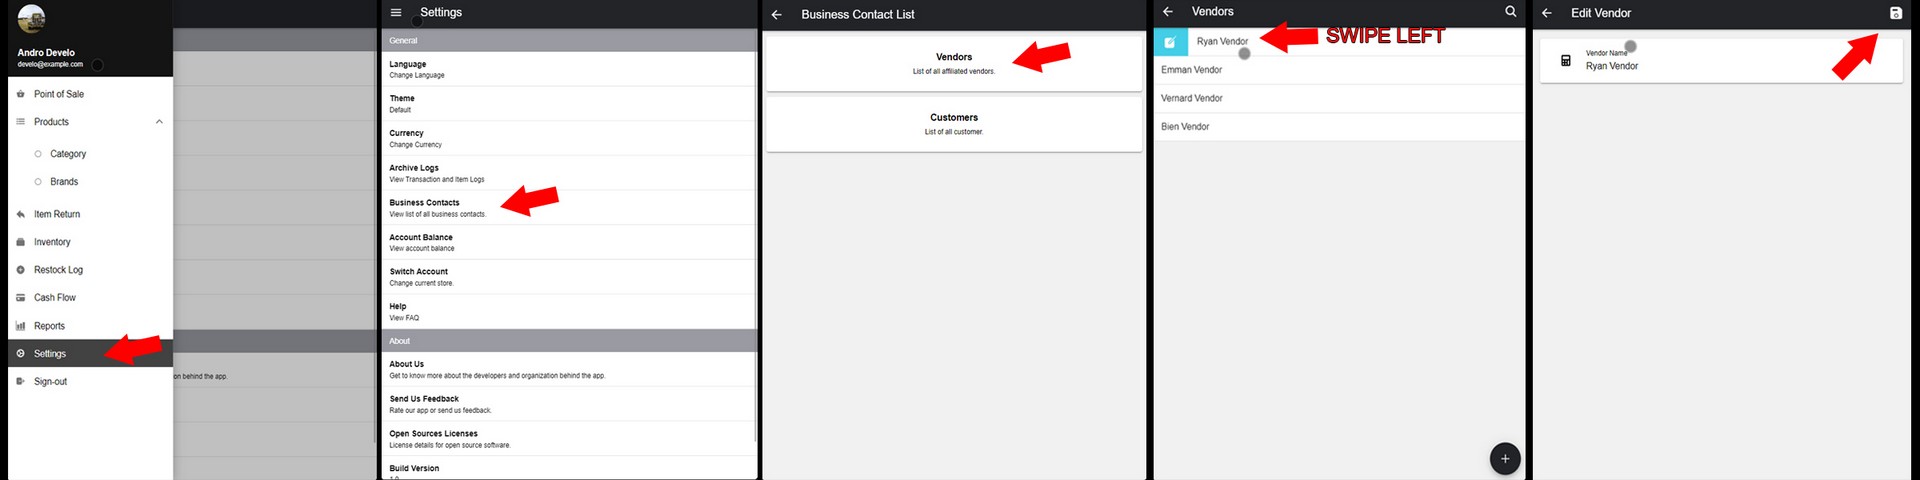
Step 1: Go to the navigation bar or simply tap the = on the top left side. Step 2: Tap Settings. Step 3: Tap Business Contacts, Tap Vendors. Step 4: Swipe Left a vendor. Step 5: Assign value for Vendor Name. Step 6: Tap the Save button on the Top right side of the screen.
You have successfully edit the details of the Vendor.
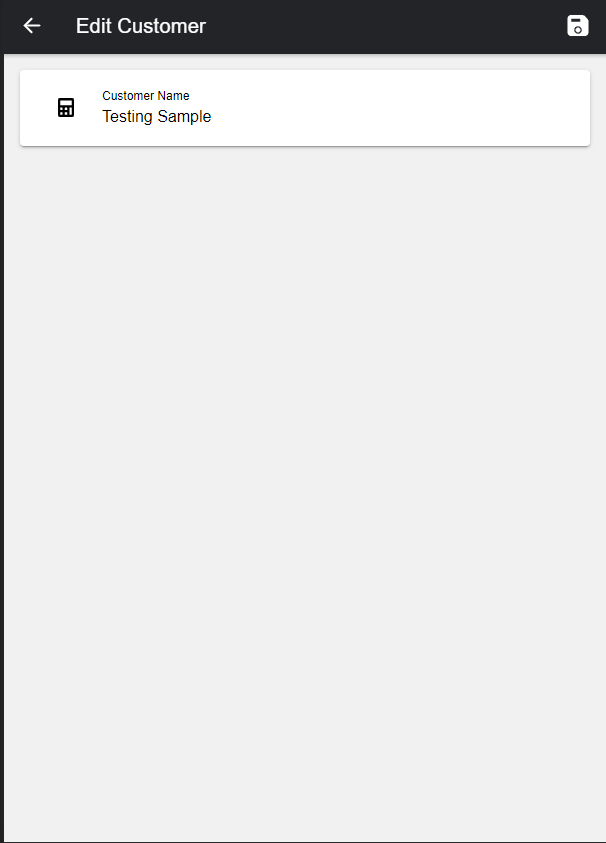
How to edit customer
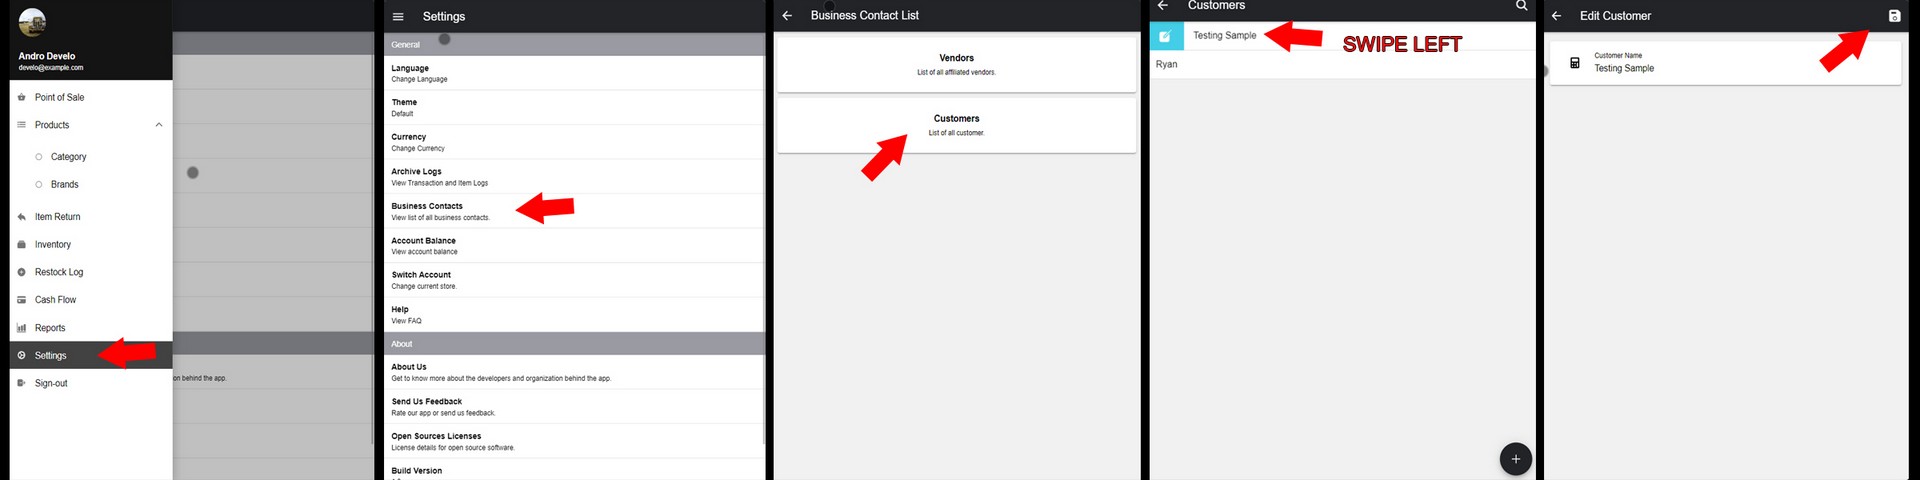
Step 1: Go to the navigation bar or simply tap the = on the top left side. Step 2: Tap Settings, Tap Business Contacts. Step 3: Tap Customers. Step 4: Swipe Left a customer. Step 5: Assign value for Customer Name. Step 6: Tap Save button on the top right side of the screen.
You have successfully edit the details of the customer.
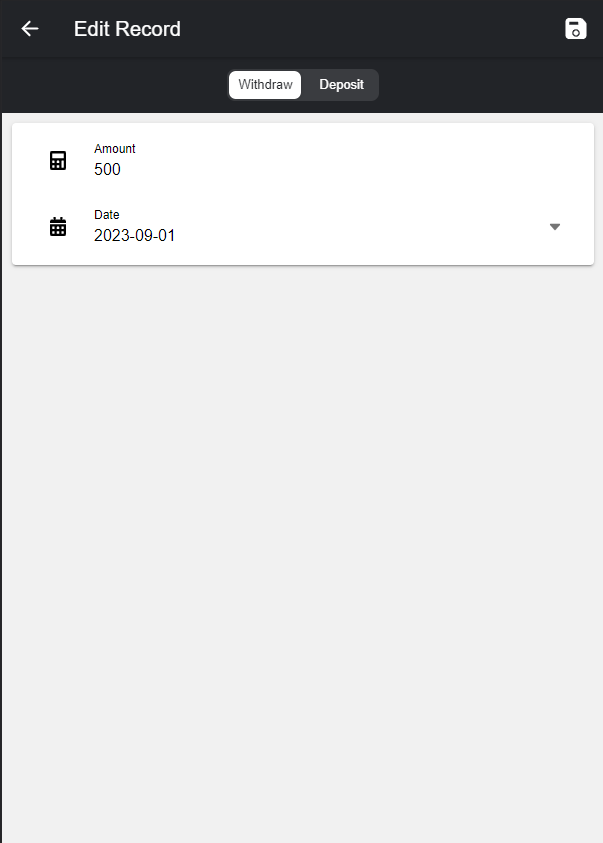
How to edit Account Balance
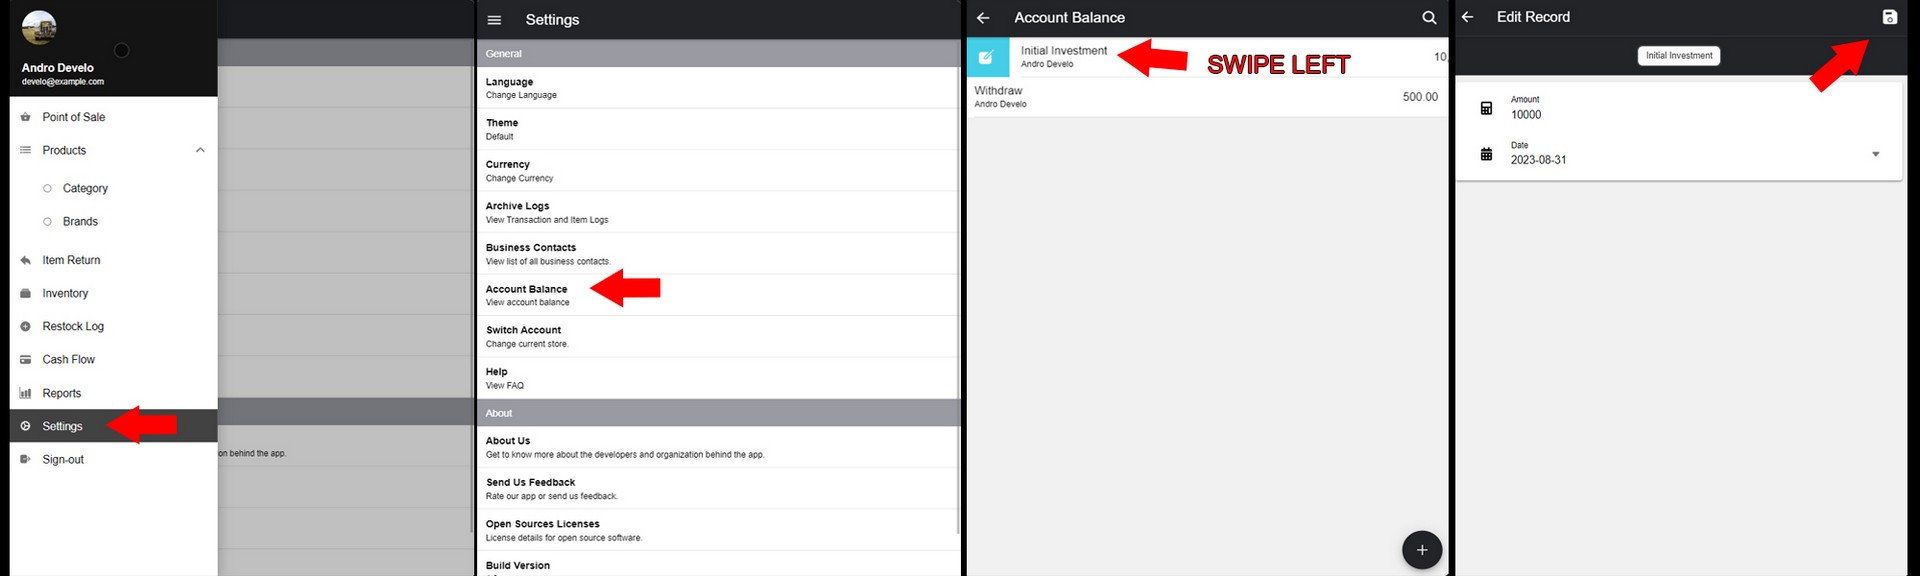
Step 1: Go to the navigation bar or simply tap the = on the top left side. Step 2: Tap Settings, Tap Account Balance. Step 3: Swipe Left a account balance. Steo 4: Assign value for Amount and Date. Step 5: Tap Save button on the top right side of the screen.
You have successfully edit the details of the Account Balance.
How do I delete data?
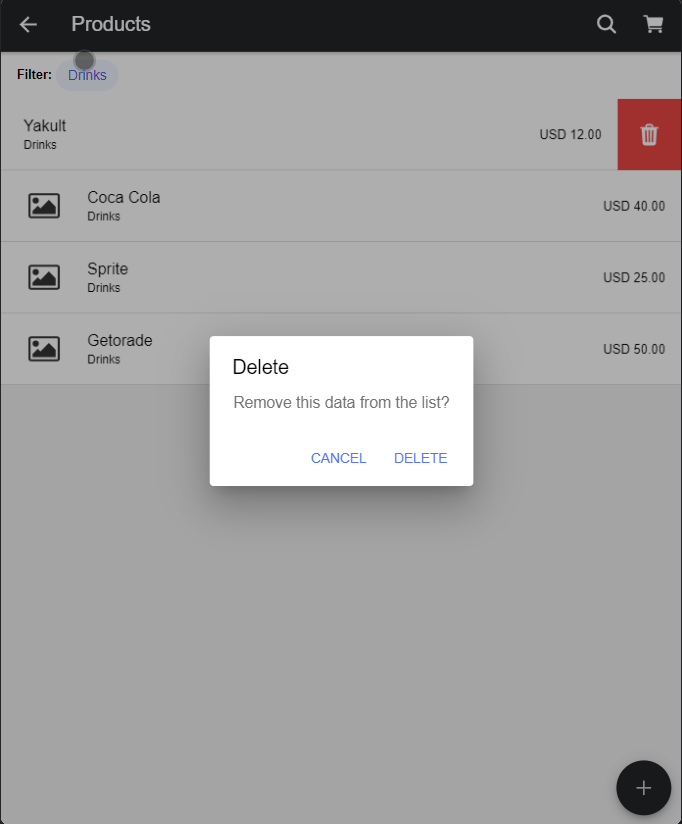
How to delete a product
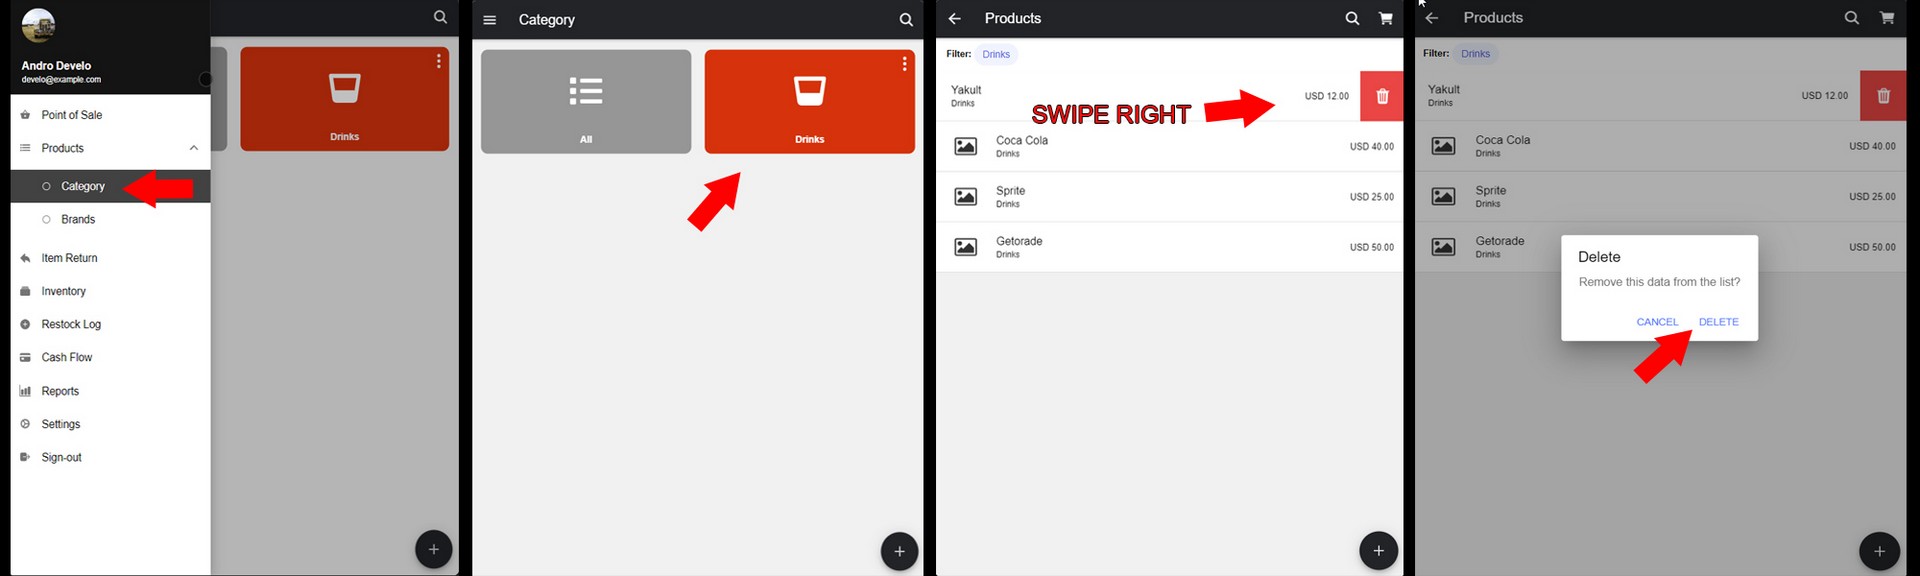
Step 1: Go to the navigation bar or simply tap the = on the top left side. Step 2: Tap Products, Under the product tap Category. Step 3: Choose a Category, then Tap the chosen category. Step 4: Choose a Product, then swipe Right. Step 5: Tap the DELETE button on the pop-up message.
You have successfully delete the Product.
How to delete a category
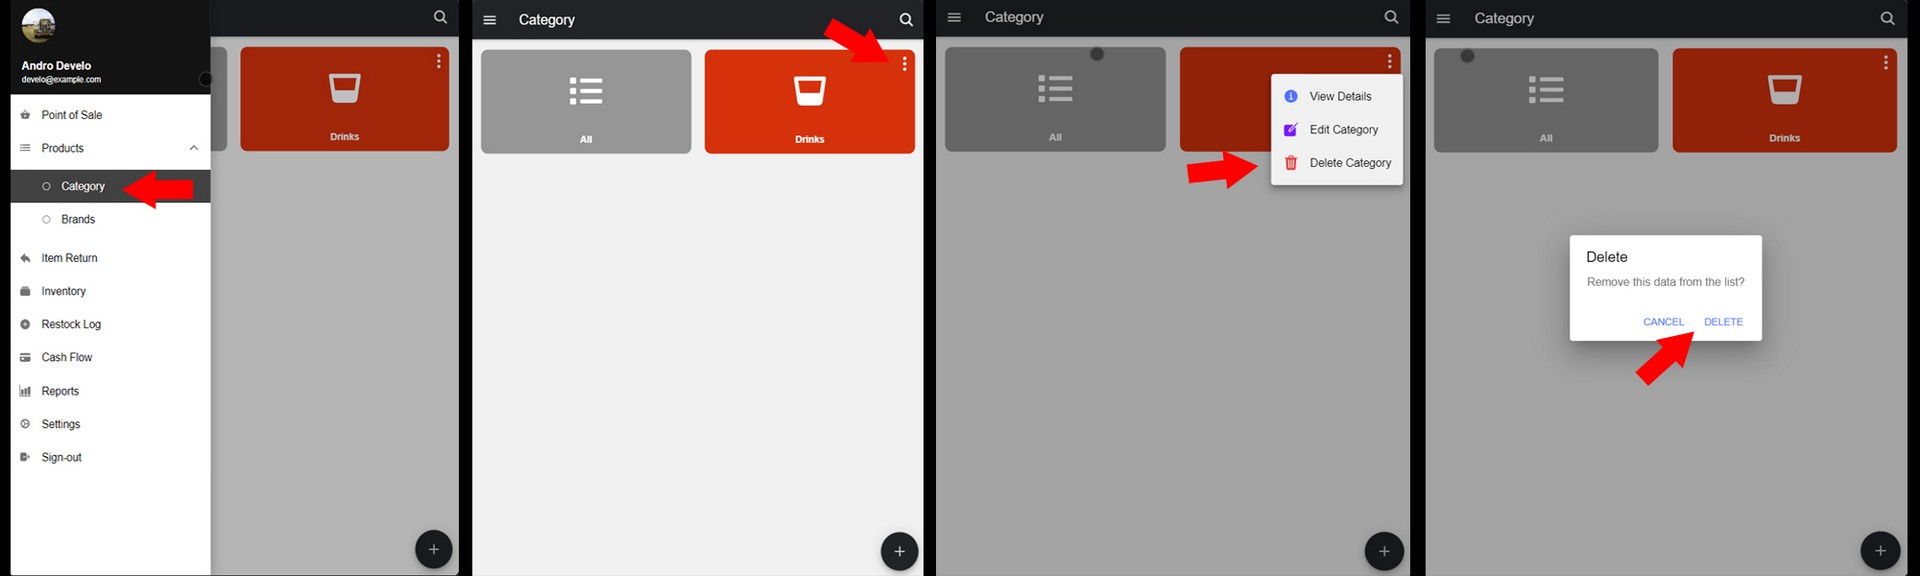
Step 1: Go to the navigation bar or simply tap the = on the top left side. Step 2: Tap Products, Under the product tap Category. Step 3: Choose a Category, then Tap the : chosen category. Step 4: Tap the Delete Category. Step 5: Tap the Delete button on the pop-up message.
You have successfully delete the Category.
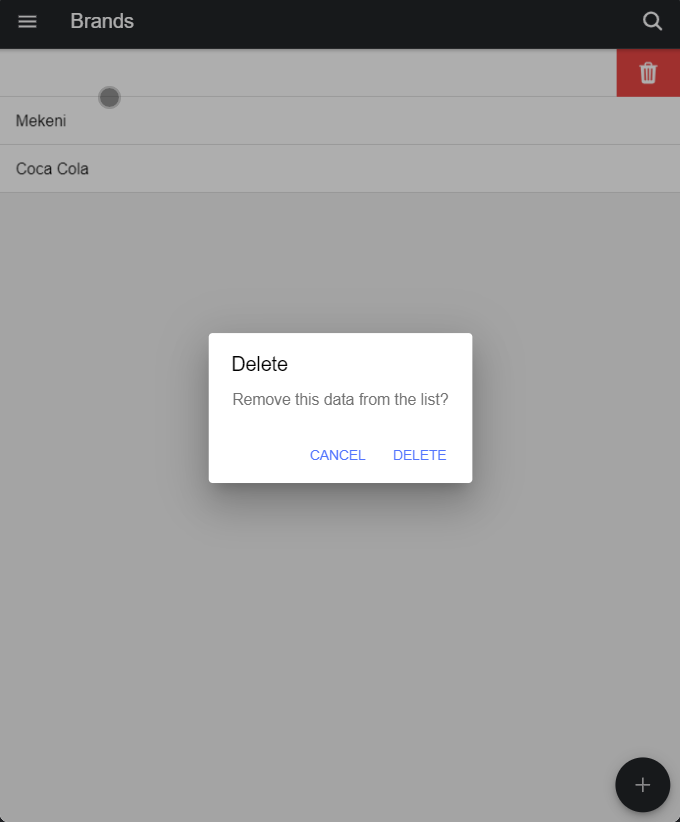
How to delete a brand
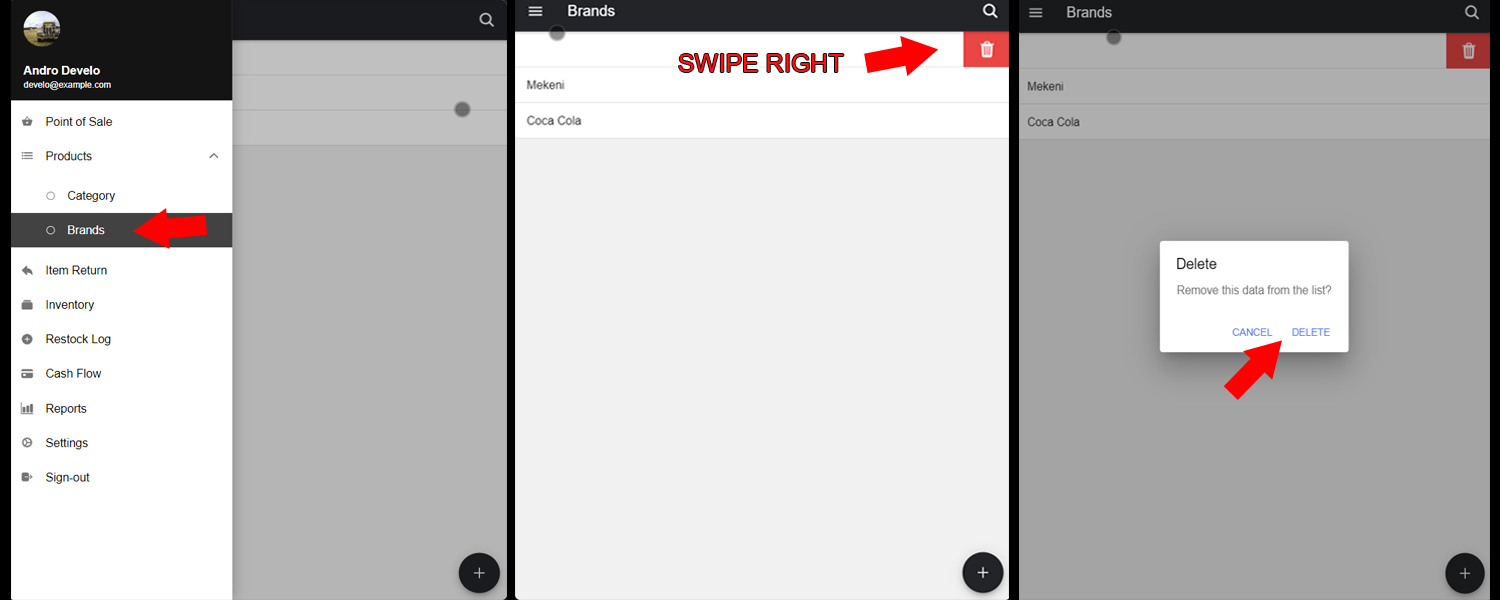
Step 1: Go to the navigation bar or simply tap the = on the top left side. Step 2: Tap Products, Under the product tap Brands. Step 3: Swipe Right a brand. Step 4: Tap Delete button.
You have successfully delete the Brand..
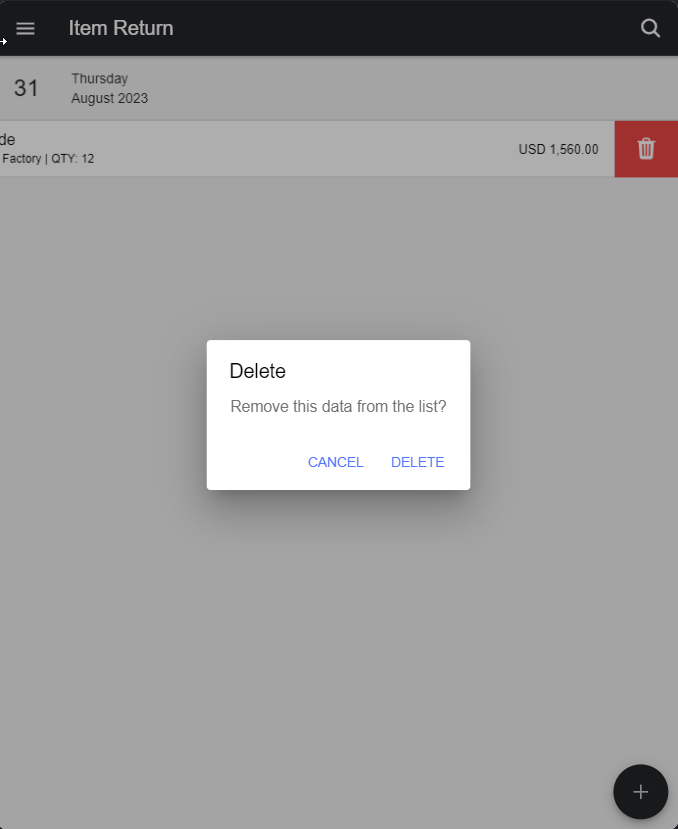
How to delete a Item Return
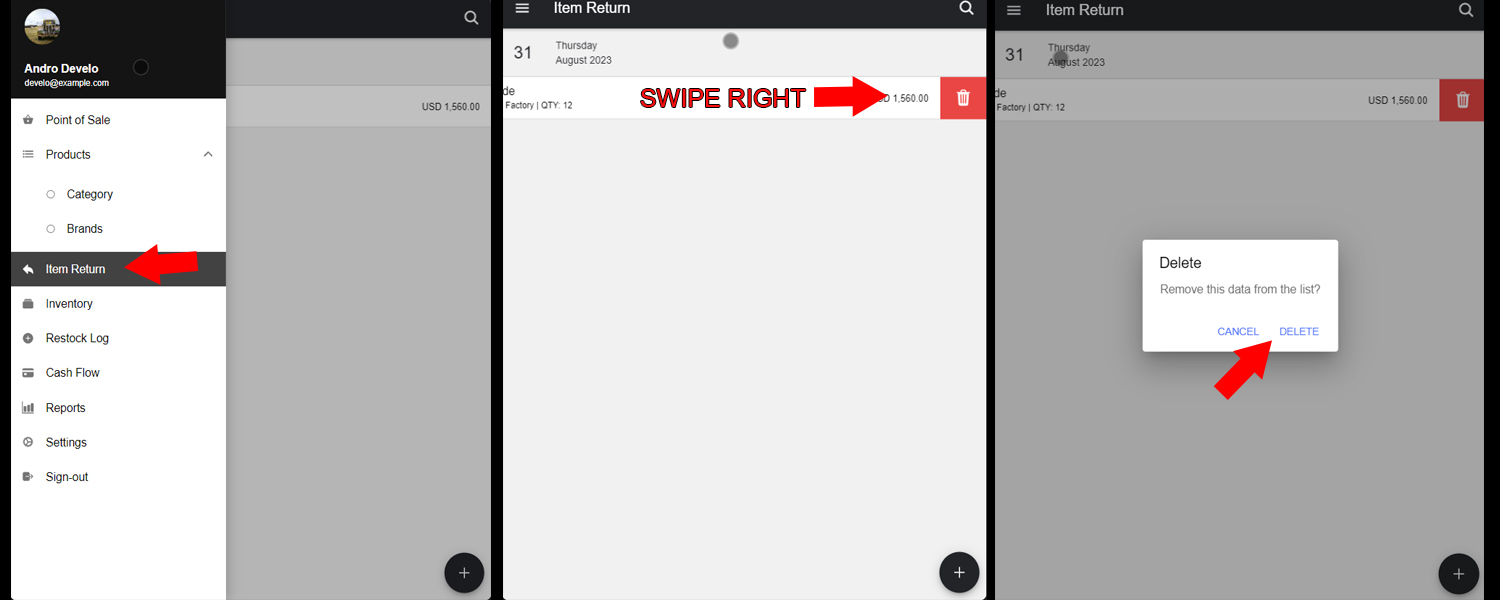
Step 1: Go to the navigation bar or simply tap the = on the top left side. Step 2: Tap Item Return. Step 3: Swipe Right a item return. Step 4: Tap Delete button.
You have successfully delete the Item Return..
How to delete a Inventory
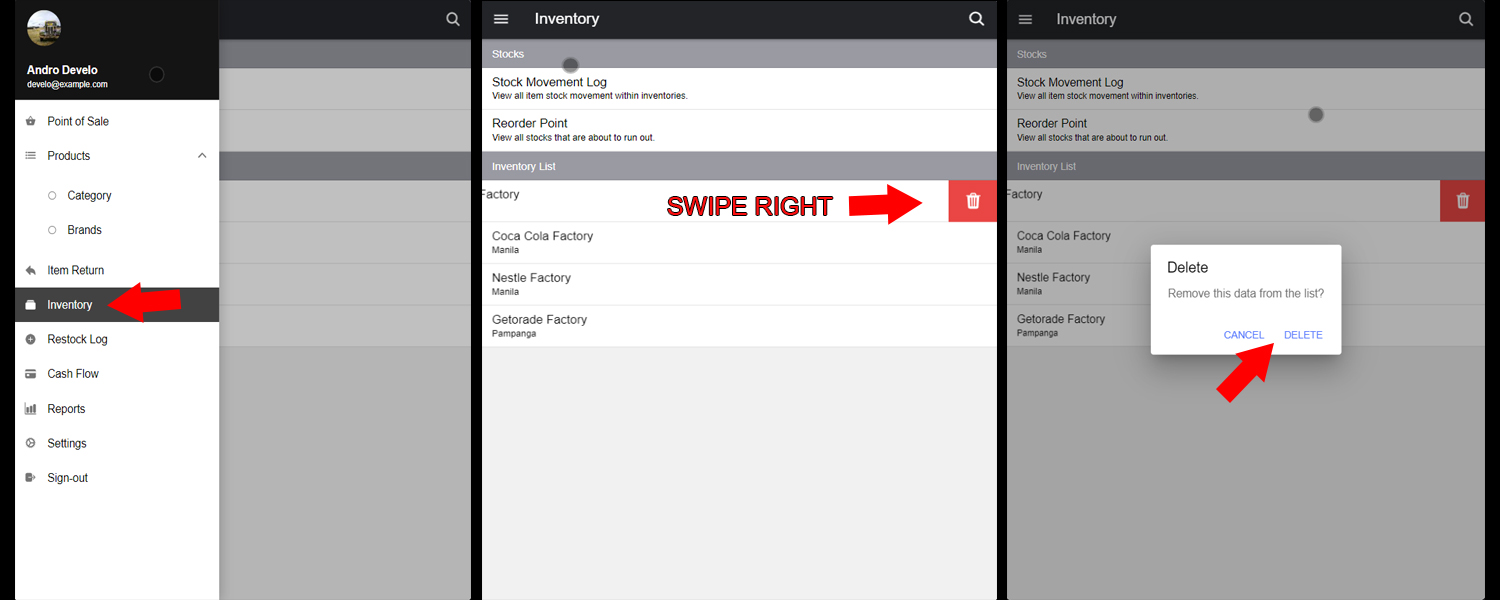
Step 1: Go to the navigation bar or simply tap the = on the top left side. Step 2: Tap Inventory. Step 3: Swipe Right a Inventory. Step 4: Tap Delete button.
You have successfully delete the Inventory..
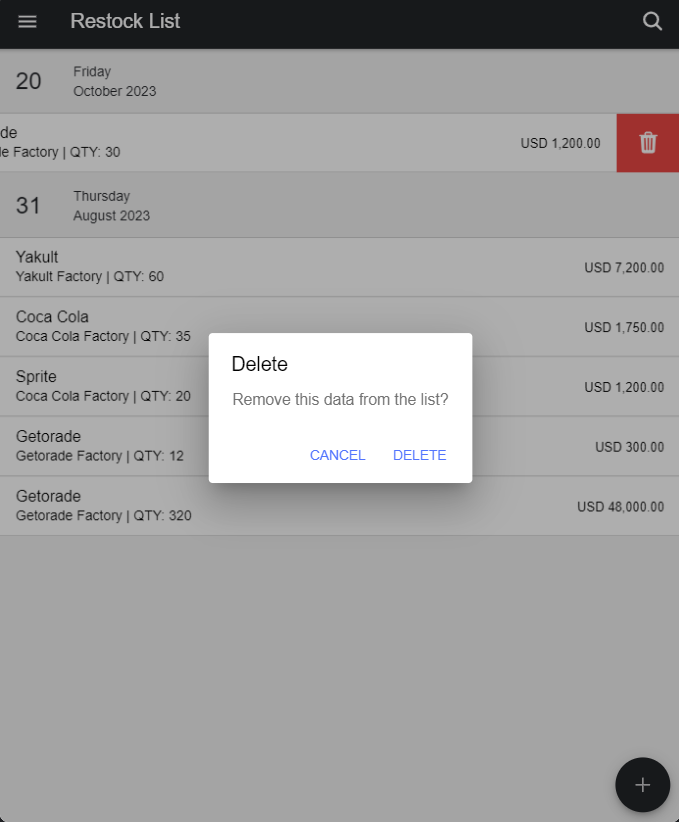
How to delete a Restock
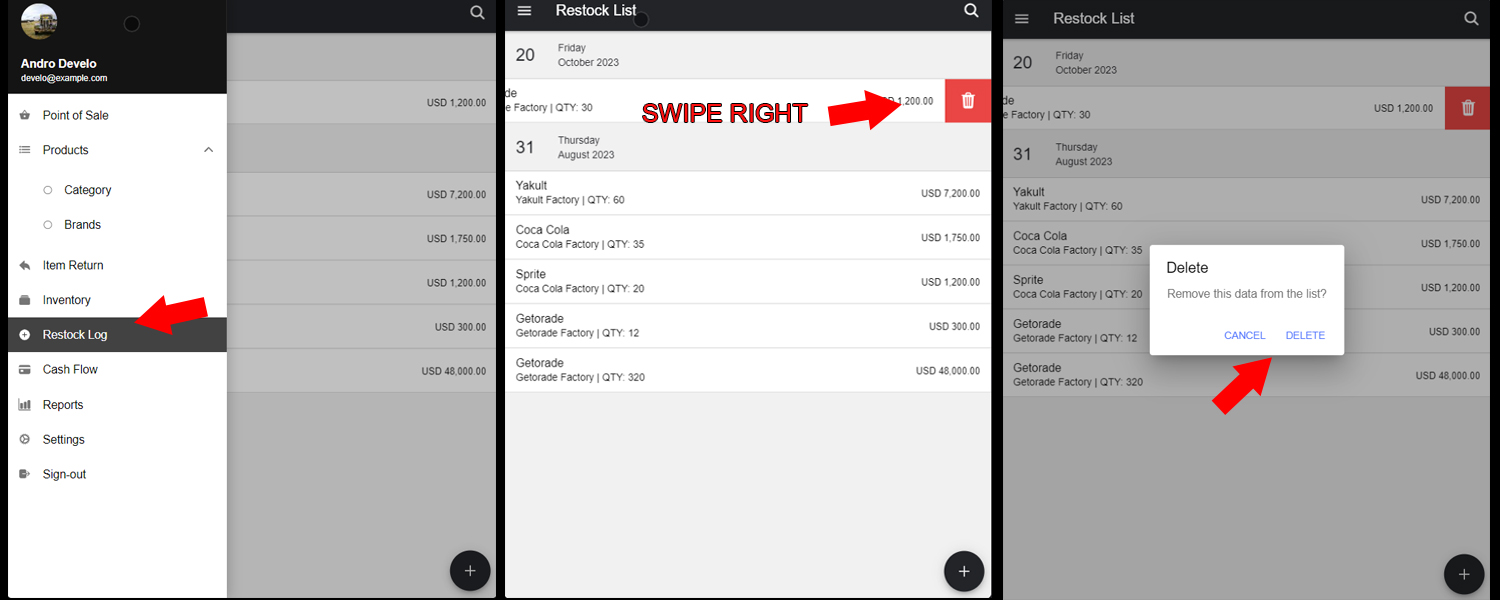
Step 1: Go to the navigation bar or simply tap the = on the top left side. Step 2: Tap Restock List. Step 3: Swipe Right a Restock. Step 4: Tap Delete button.
You have successfully delete the Restock.
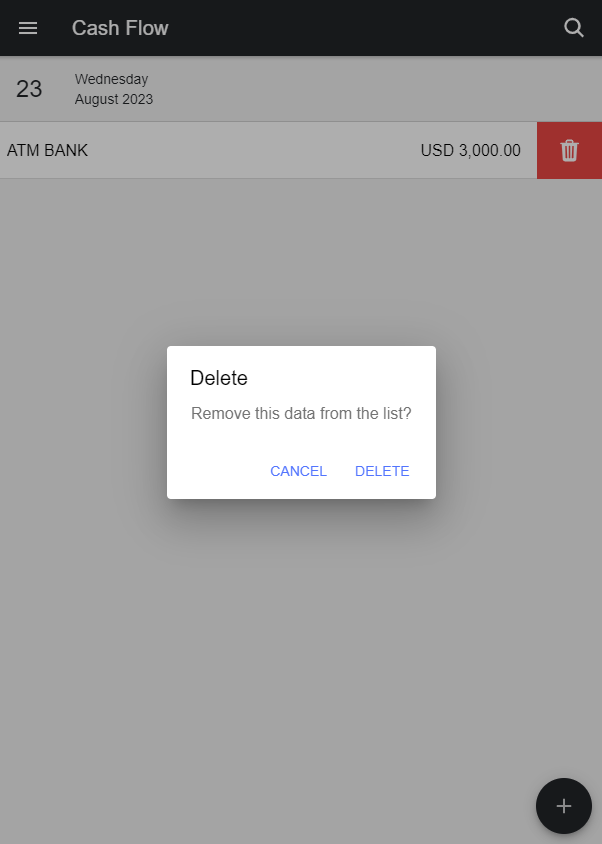
How to delete a Cash Flow
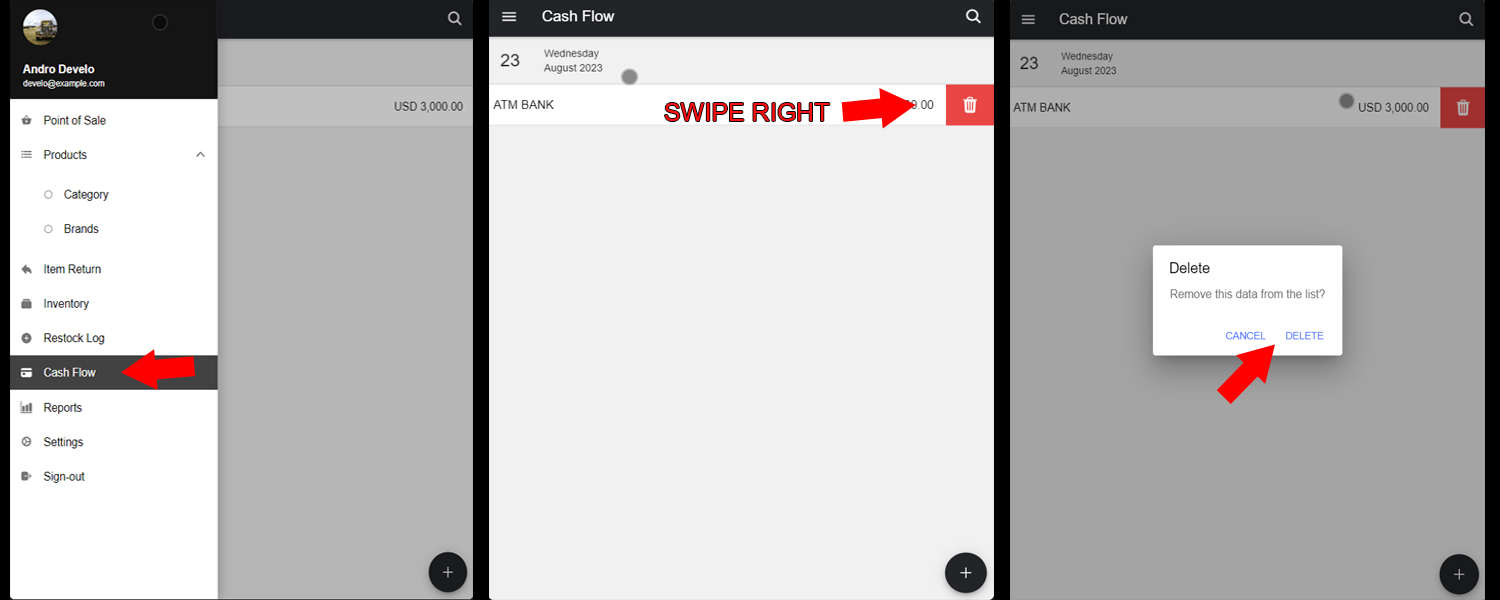
Step 1: Go to the navigation bar or simply tap the = on the top left side. Step 2: Tap Cash Flow. Step 3: Swipe Right a Cash Flow. Step 4: Tap Delete button.
You have successfully delete the Cash Flow.
How to delete a Restock
Step 1: Go to the navigation bar or simply tap the = on the top left side. Step 2: Tap Restock List. Step 3: Swipe Right a Restock. Step 4: Tap Delete button.
You have successfully delete the Restock.
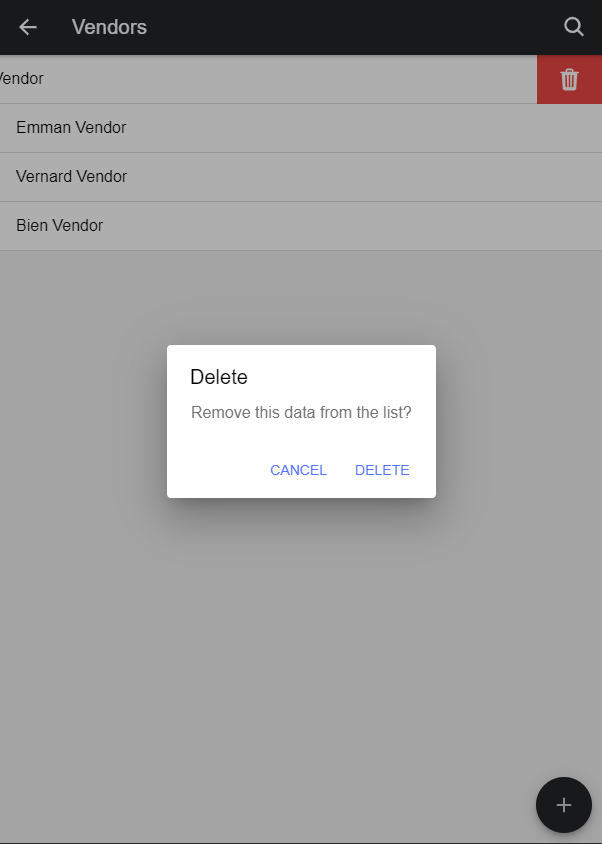
How to delete a Vendor
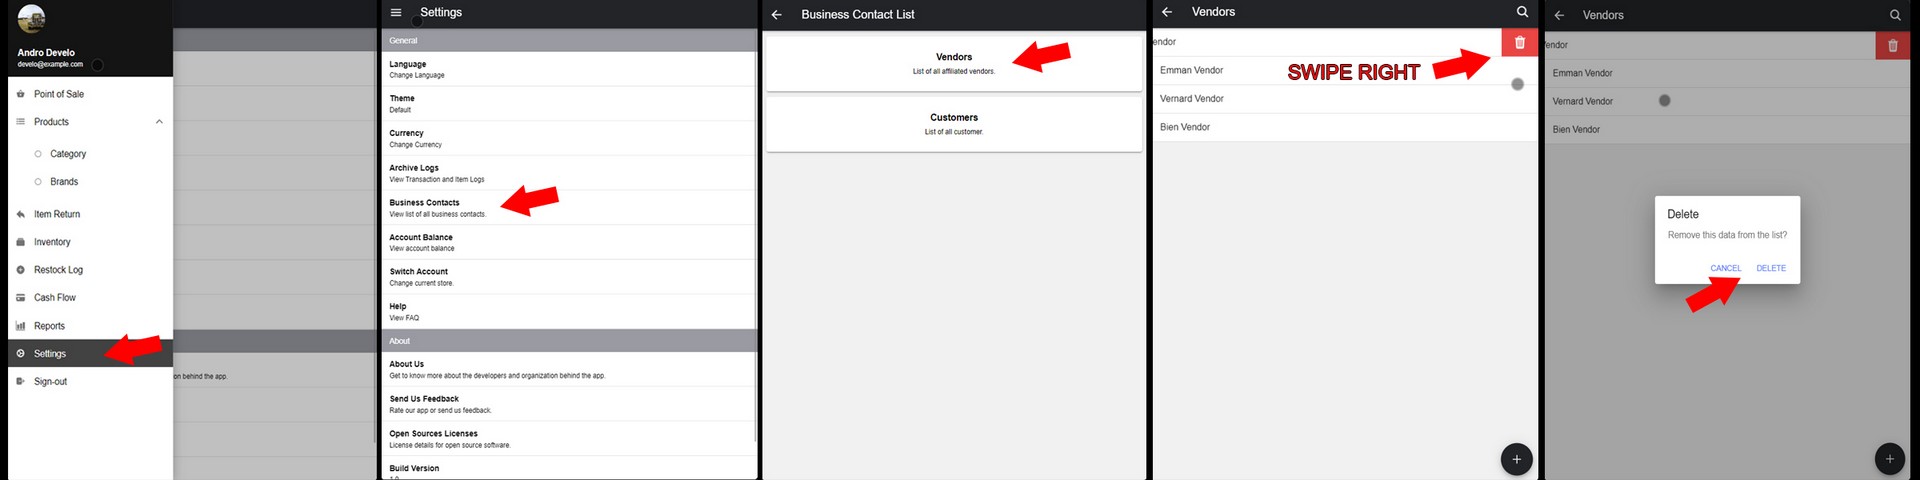
Step 1: Go to the navigation bar or simply tap the = on the top left side. Step 2: Tap Settings. Step 3: Tap Business Contacts, Tap Vendors. Step 4: Swipe Right a vendor. Step 5: Tap Delete button.
You have successfully delete the Vendor.
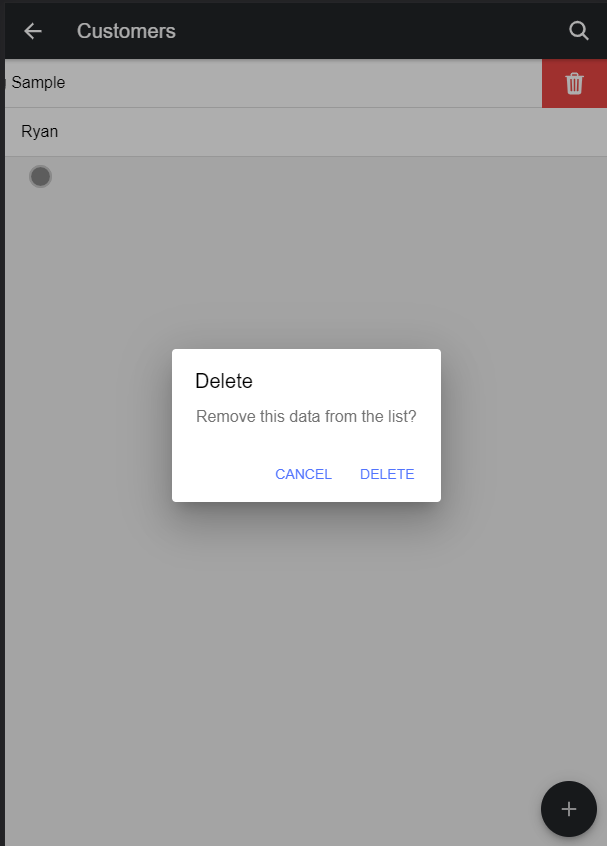
How to delete a Customer
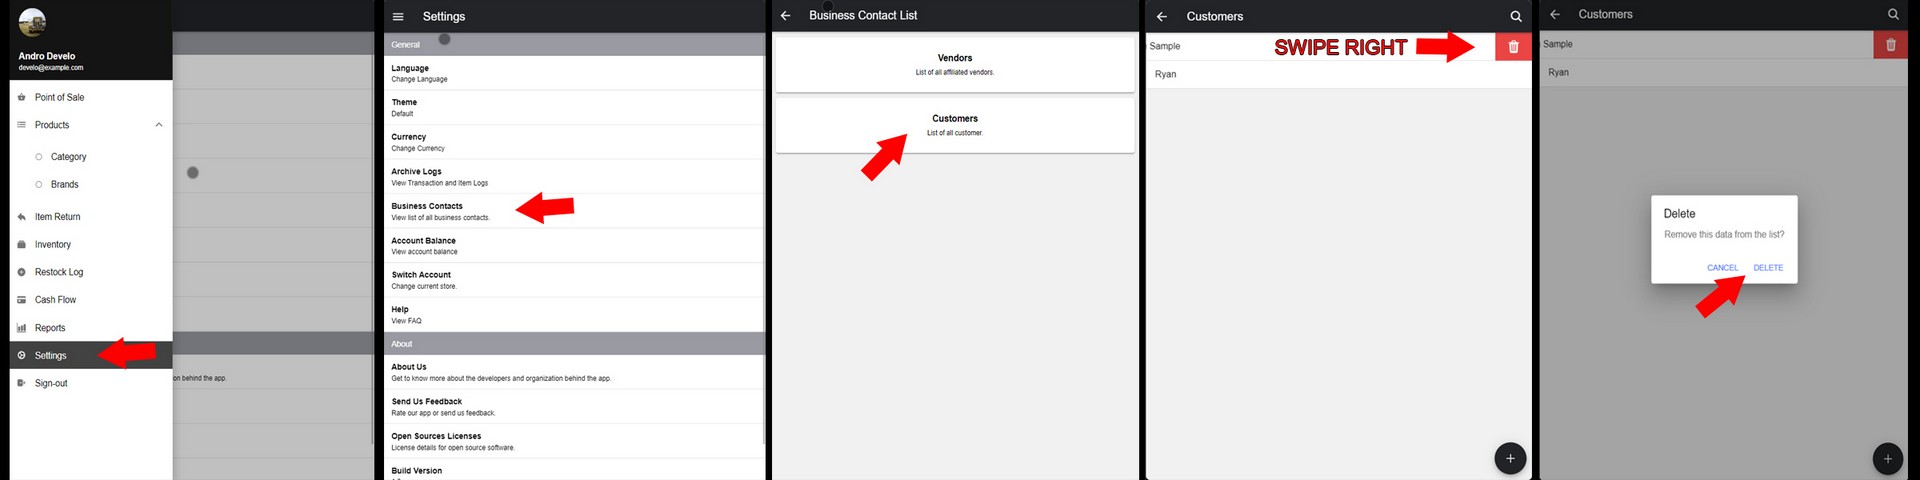
Step 1: Go to the navigation bar or simply tap the = on the top left side. Step 2: Tap Settings. Step 3: Tap Business Contacts, Tap Customers. Step 4: Swipe Right a customer. Step 5: Tap Delete button.
You have successfully delete the Customer.
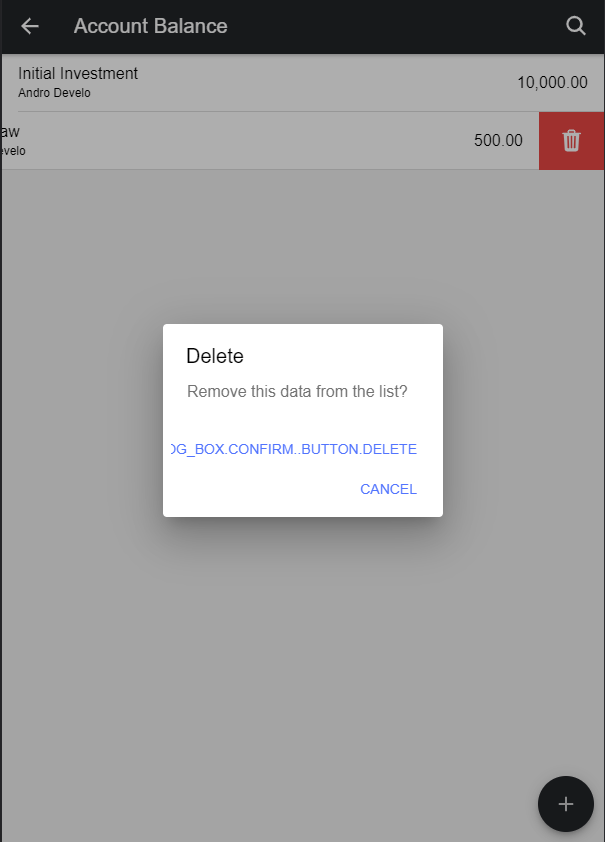
How to delete a Account Balance
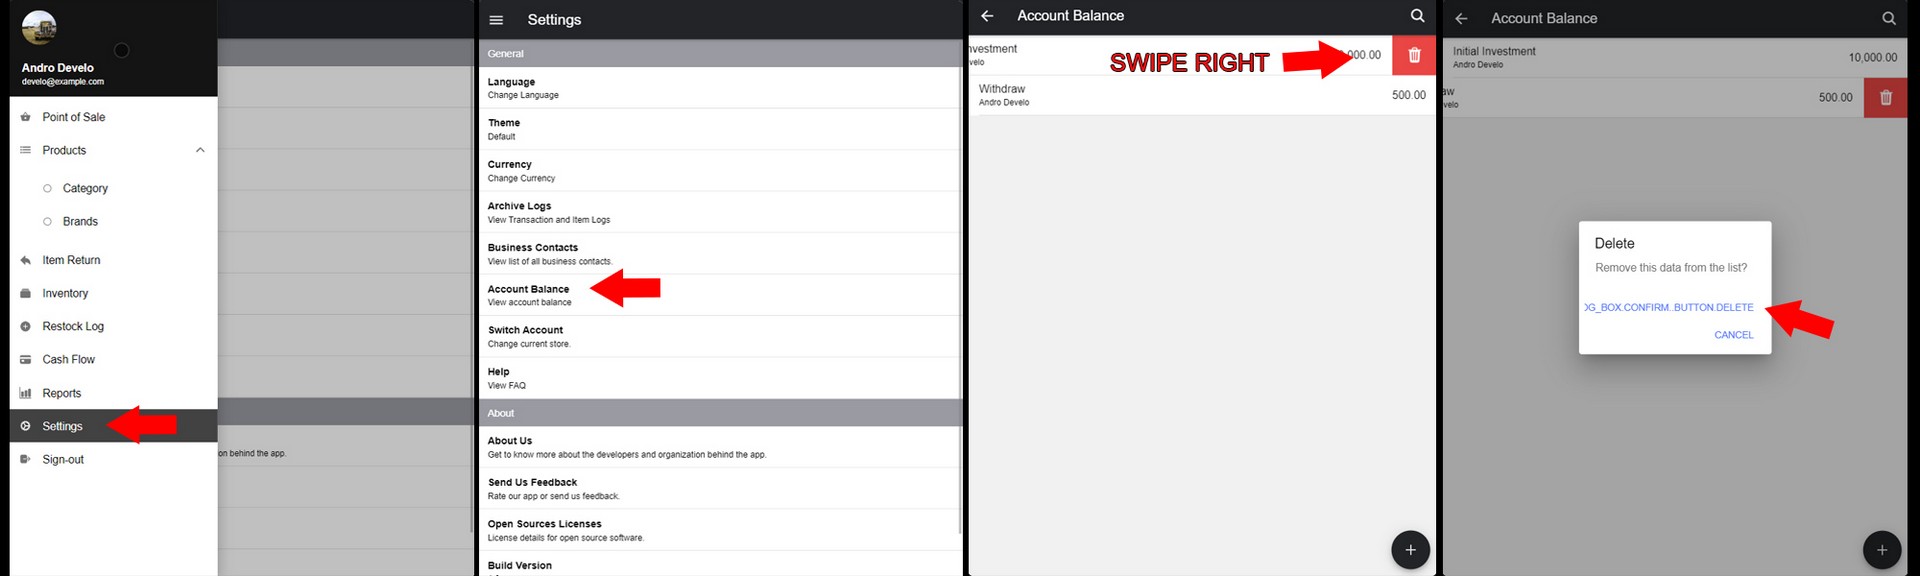
Step 1: Go to the navigation bar or simply tap the = on the top left side. Step 2: Tap Settings. Step 3: Tap Account Balance Step 4: Swipe Right a account balance. Step 5: Tap Delete button.
You have successfully delete the Account Balance.
What are the other feature of the Mabenta application?
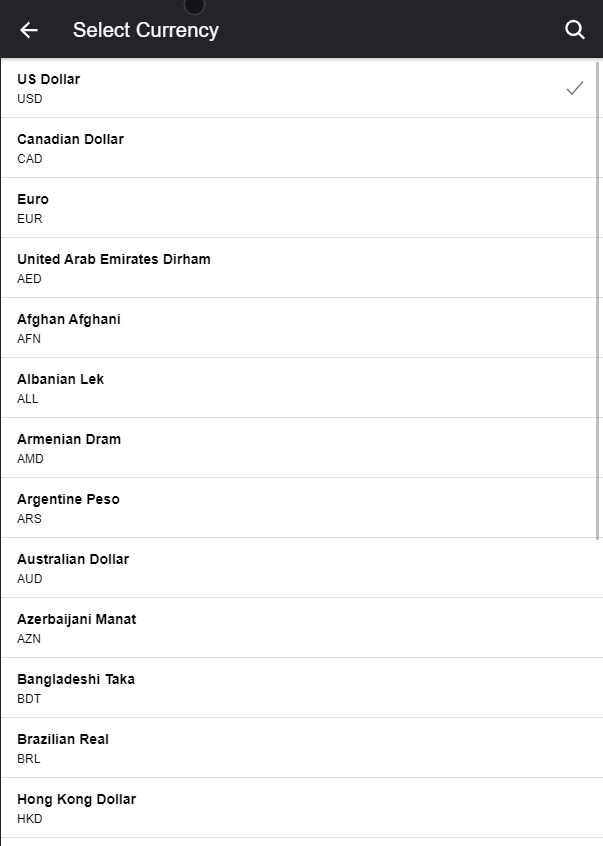
How do I change Currency
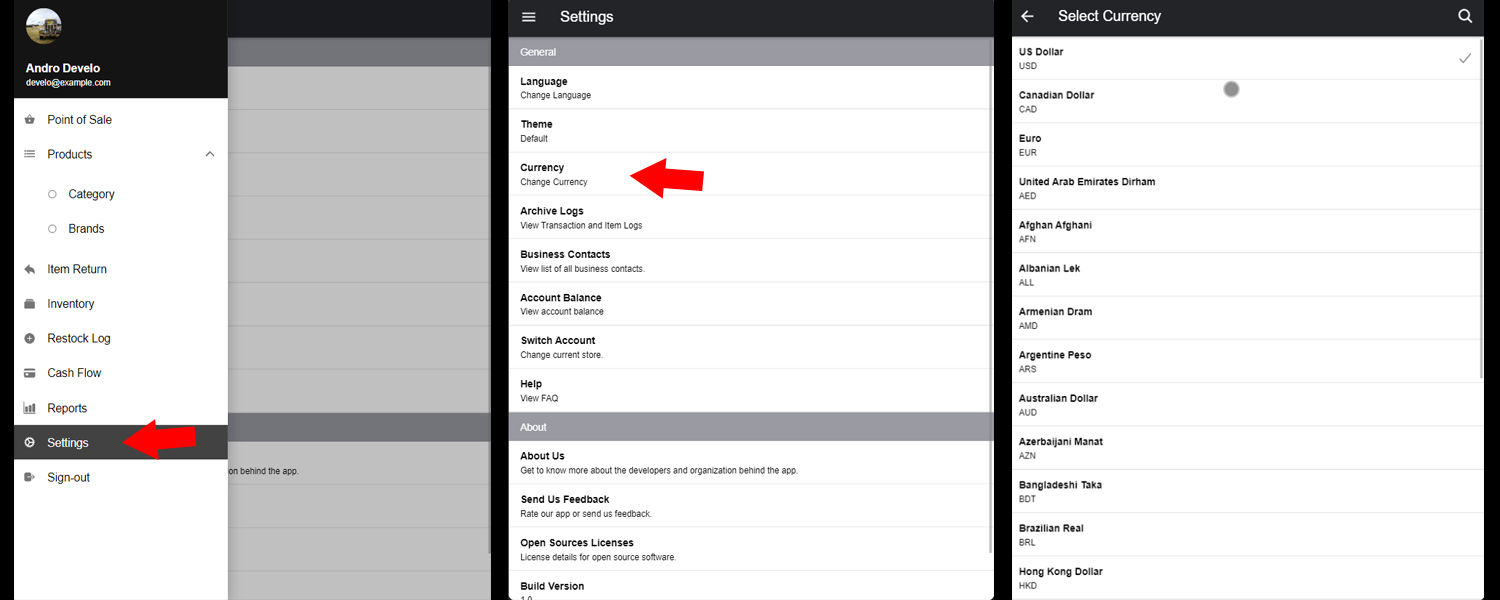
Step 1: Go to the navigation bar or simply tap the = on the top left side. Step 2: Tap Settings. Step 3: Tap Currency. Step 4: Choose a currency, then Tap the currency you want to use. (if you see the mark check on the right side of the currency, it means it have been selected).
You have successfully change the Currency.
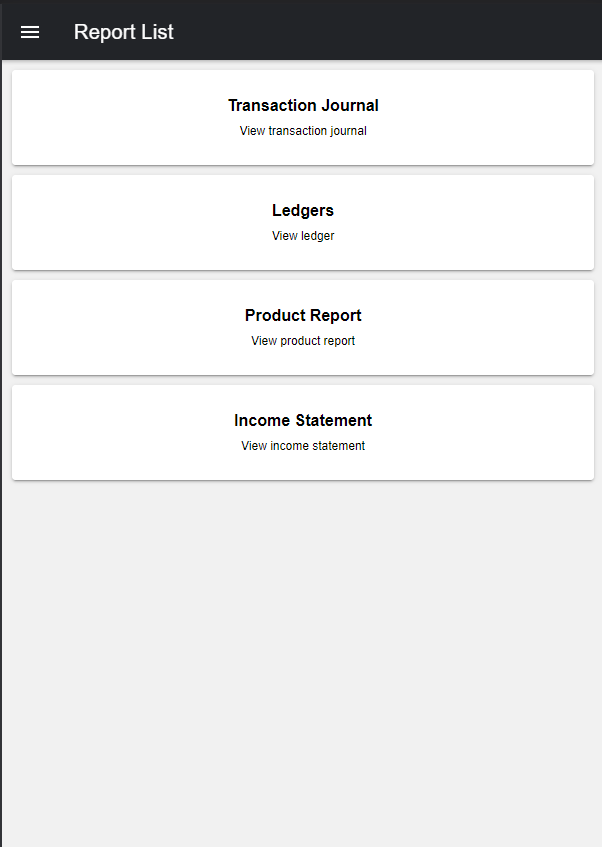
How do I view the report of Transaction Journal, Ledgers, Product Report, and Income Statement.
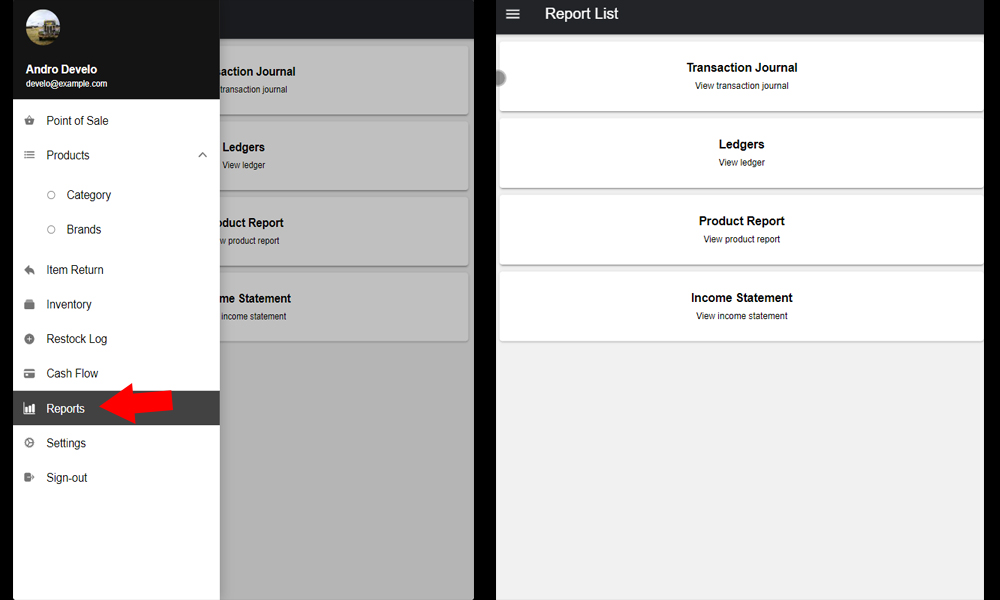
Transaction Journal - view transaction journal. Ledgers - view ledger. Product Report - view product report. Income Statement - view income statement.
Step 1: Go to the navigation bar or simply tap the = on the top left side. Step 2: Tap Reports. Step 3: Choose a Report
User can view all the Report on the application.
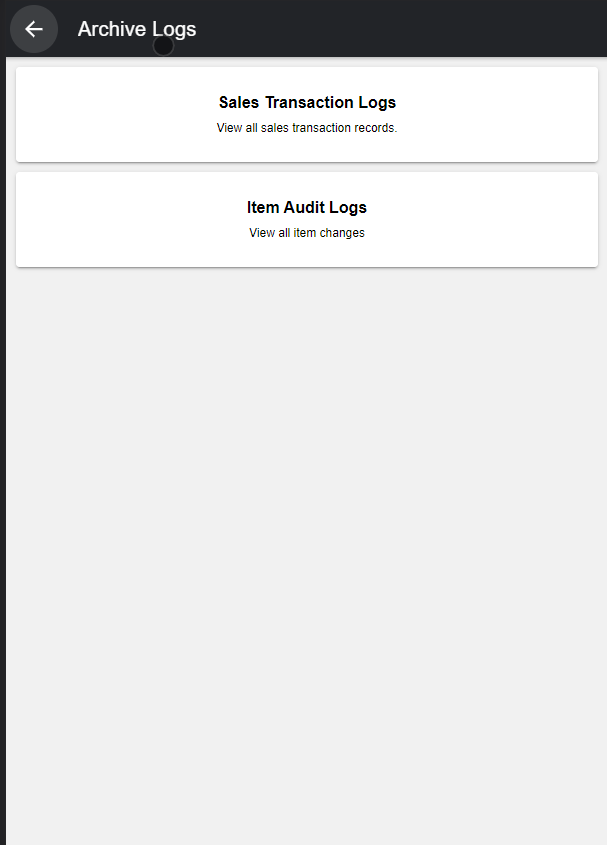
How do I view the audit log on this application?
To view the audit logs.
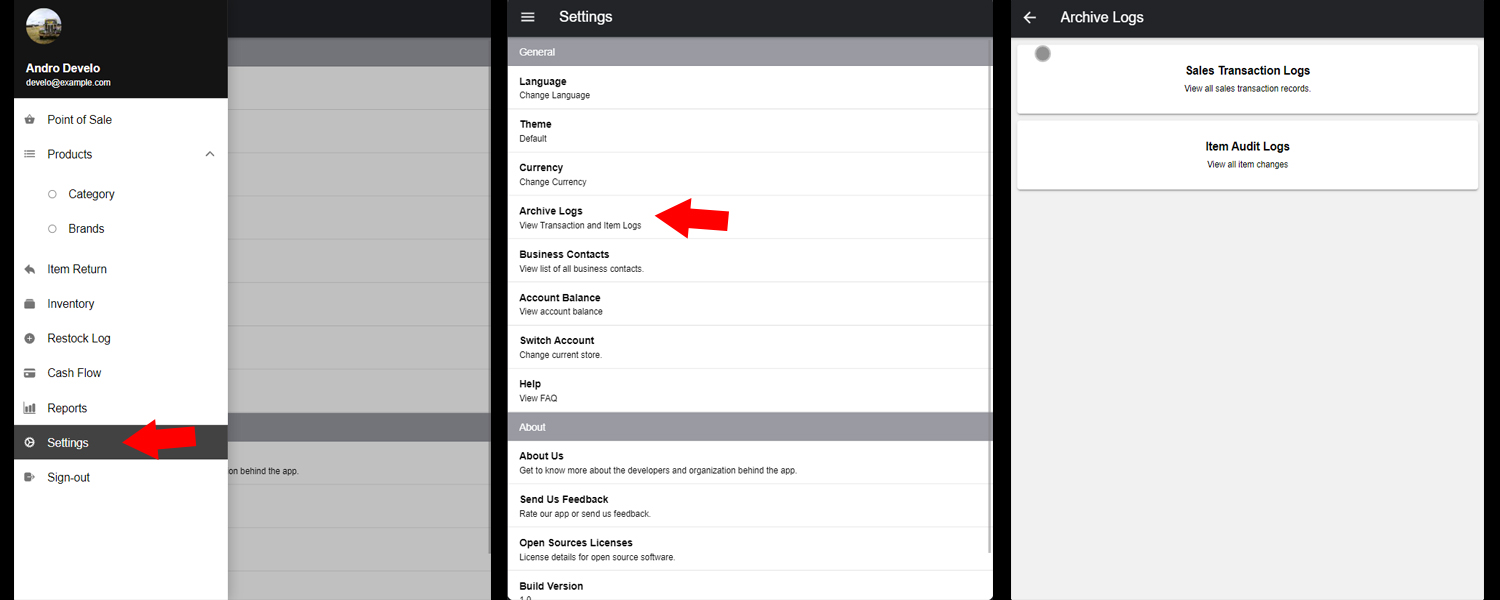
Sales Transation Logs - view all sales transation records. Item Audit Logs - View all item changes.
Step 1: Go to the navigation bar or simply tap the = on the top left side. Step 2: Tap Settings. Step 3: Tap Archive Logs. Step 4: Choose either Sales Transaction Logs or Item Audit Logs Step 5: Tap the chosen.
User can view the audit Logs.